Today in Mood DIY we’re going to make a bubble skirt! This one is so easy you don’t even need pattern paper, and using only about 1 yard of brocade, it’s an instant cocktail skirt that won’t break the bank.

Required materials:
- ~1 yd brocade (Most brocades are 55-59″ wide; you need enough yardage to cover desired length + 10″)
- ~3/4 yard lining material (again, based on desired length) — any lightweight fabric in a coordinating color will do (acetate lining, lightweight poly or rayon, silk habotai, cotton batiste)
- 1.5″ elastic (length: half of your waist measurement) — large safety pin
- OR a 1″ button
Optional materials:
- ~1 yd net/tulle (equal yardage to your brocade, or more for serious bubbliness)

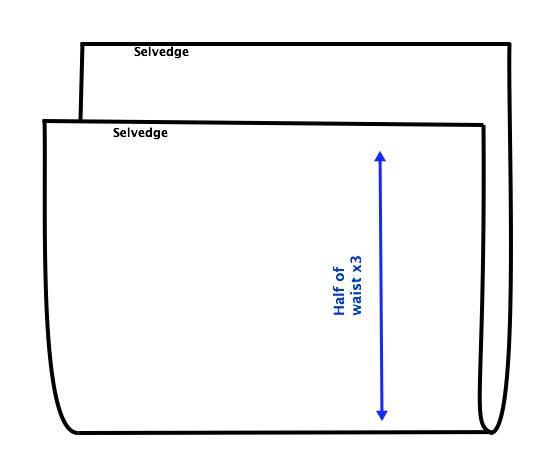
Measurements
This project consists of 3 rectangles, so measuring is a breeze this time. You will need these measurements:
- Waist __ x 3 +1″ =
- Waist __ + 13″ =
- Waist to desired hem length + 1″ (a friend may help here; stand straight, hold the tape at your waist, let it hang loosely)
That’s it! The additional 1″ is for seam allowance. (The waist + 13″ already has an extra inch in there.) There is some adding and subtracting in cutting, so pay attention.
Cut your self fabric (the brocade):
Many brocades are reversible. Even if not designed as reversible, the wrong side is often so cool looking that it’s worth using. So when browsing the catalog, make sure you look at the alternate pictures! I’m using this fabulous new arrival. It’s fully reversible, so I chose one side for the main body and used the other side for the waistband.

This is where we use the waist x 3 measurement. If you waist x 3 is less than your fabric width, you’ll cut one big rectangle and sew it into a cylinder. If your waist x3 is greater than your fabric width, you’ll cut two rectangles and have two seams, which means you will need double the yardage and you’ll cut it on a crosswise fold. In my case, 3x my waist measurement was exactly the width of my fabric, so I used the selvedges and just cut to length. Fold your fabric so that the top folded part is half of the total top measurement (as opposed to being folded perfectly in half, selvedge to selvedge). So if (waist x 3) /2 = 25″, fold up 25″ of your fabric. For length: Measure out desired length + 4″. Cut on fold, so you get one big rectangle.
Cut your waistband:
Cut a rectangle that’s waist x 5″. I’m doing my skirt with a half elastic waist, so I made my waistband equal to my hip size, so that I can pull it on. If you are doing a flat waist band with a button closure, cut to your actual waist size + 2.25″. (That’s 1″ seam allowance and an extra 1.25″ for overlap, to button.)

Cut your netting/tulle (optional):
I added a middle layer of netting to give my bubble extra poof, because I wanted an actual bubble, not just a bubbly hem. So I cut a piece of tulle the same size as my brocade, but 4″ longer. So that’s (waist x3) by (desired length + 8″). You could make the tulle even wider (say, waist x4) if you really want the skirt to be a bubble all over.
Ignore this step to make a bubble skirt the way most normal human beings make it. (I’m tempted to make a matching hip-length cape so that I can wear them together and look like a metallic rose version of Grimace.)
Cut your lining: I’m using this lightweight poly with a matte finish. It’s a bit more durable and less staticky than acetate lining, and the matte texture makes it much easier to work with.
Here is where you use waist + 13″. Follow the same procedure as for cutting the brocade. For length: Measure desired length – 4″. Cut on fold.
Let me go ahead and warn you. If you like to keep a neat work area, abandon all hope now. It’s a losing battle with brocade.

That blurry bit in the foreground is a footlong trail that accumulated on my armrest.
Sewing
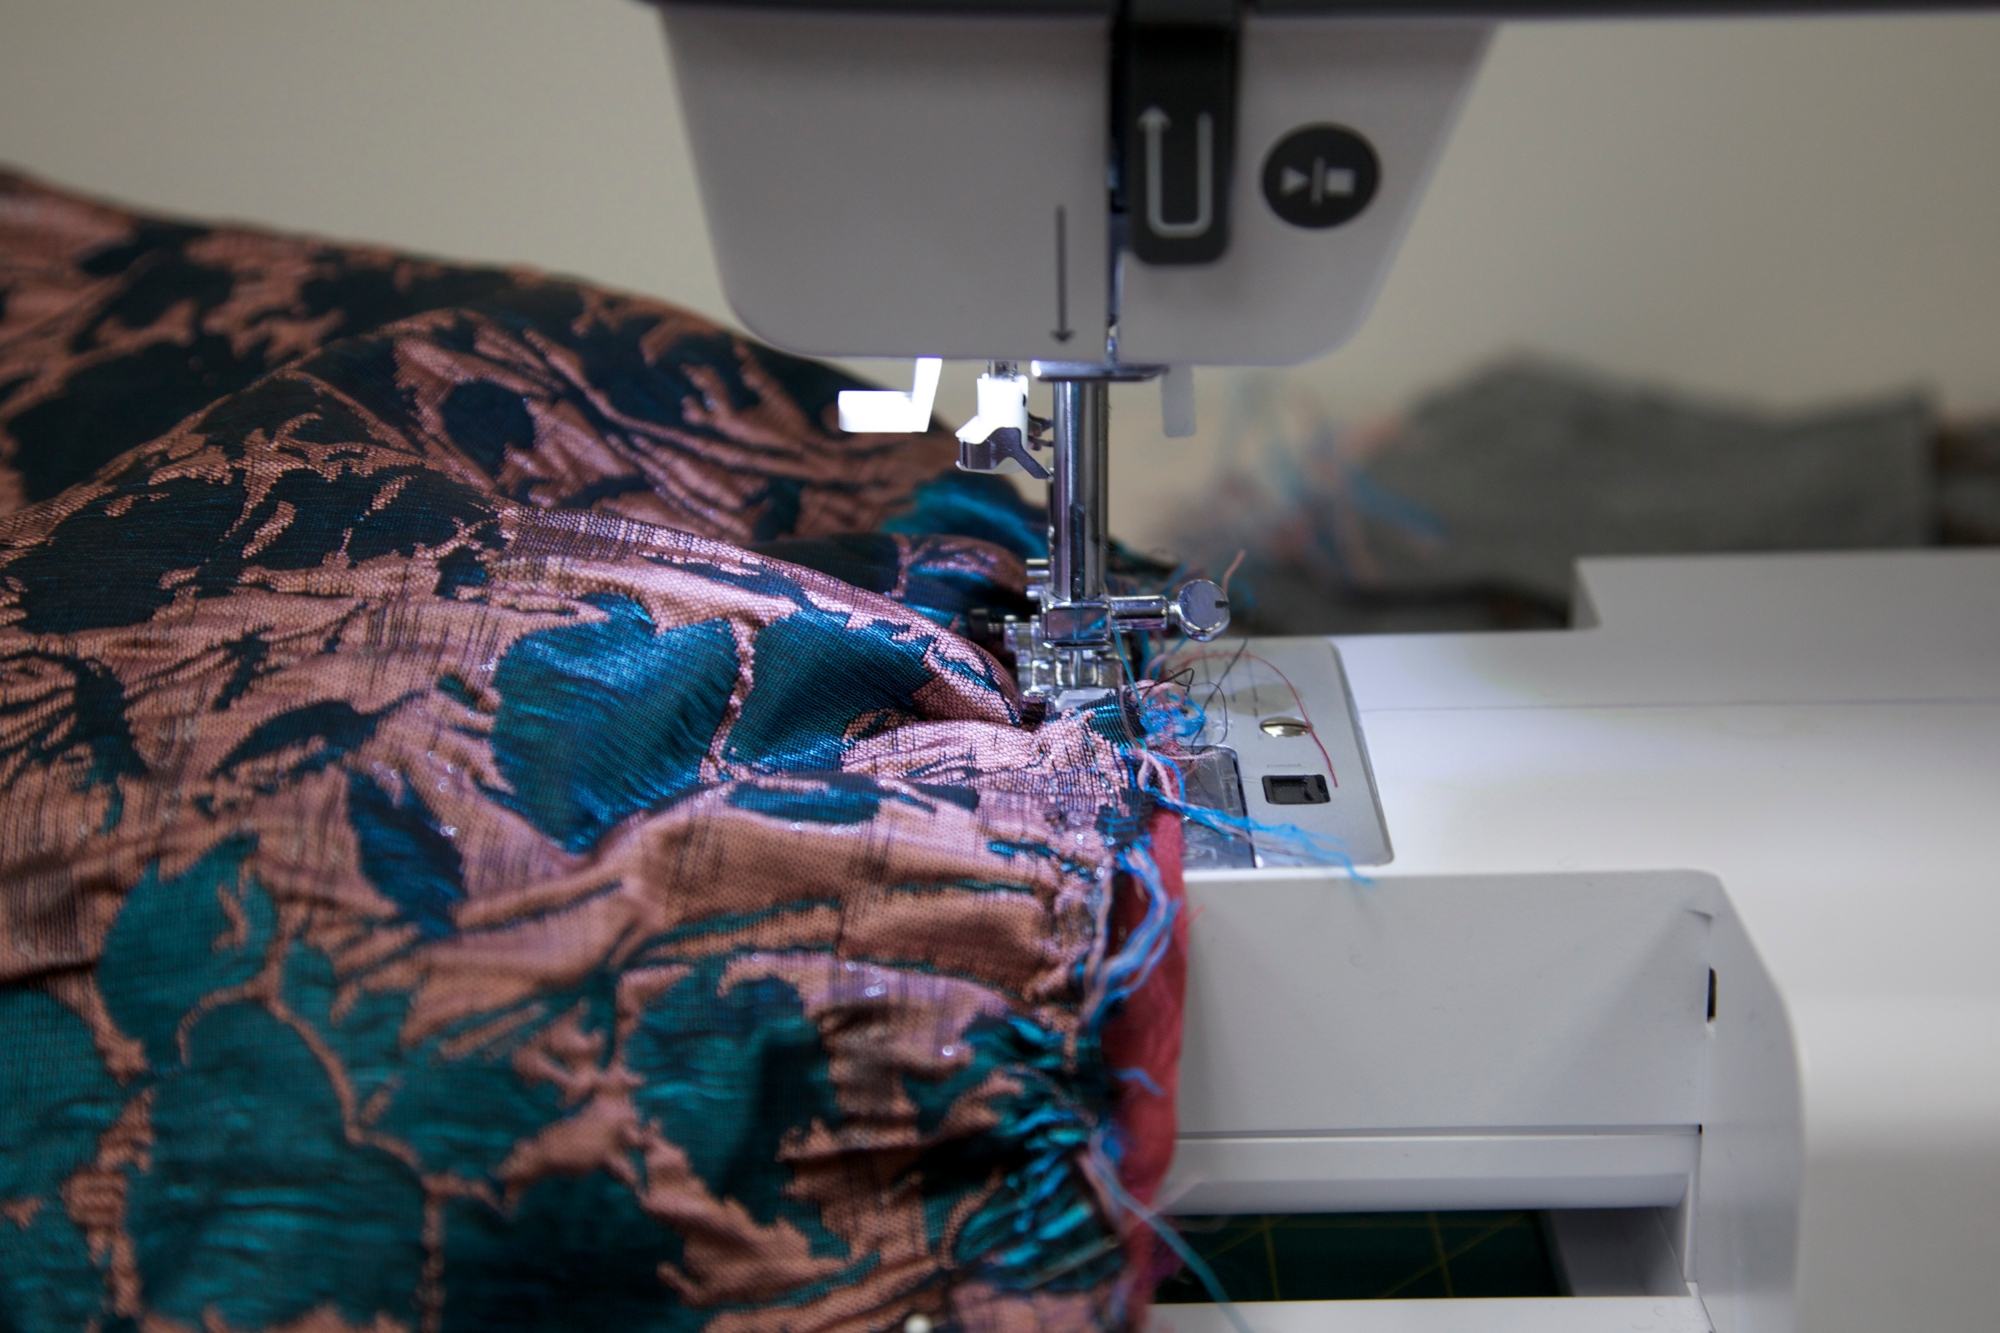
The sewing on this skirt is really quick and easy. You’ll spend the bulk of your time in this project adjusting your gathers.
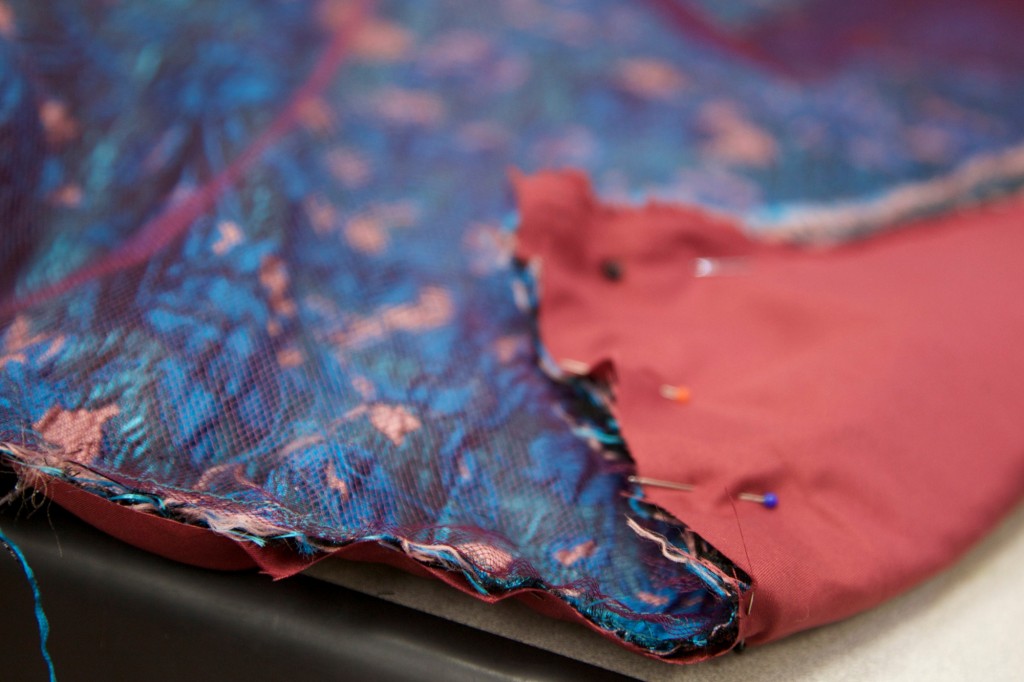
Start by sewing gathering stitches on both ends of your brocade. (If using tulle, you can place it on the wrong side of the brocade and sew them together in a single step, here.) Remember, to do a gathering stitch, set your machine to the longest stitch length and sew about 1/4″ from the edge, then once more at 3/8″. Do not back stitch at either end. You need loose threads to pull on to do the gathering.

Gather the brocade to fit the lining. Put right sides together and sew with a 1/2″ seam allowance. (If your brocade has a distinct top and bottom in the design, make sure you’re sewing the bottom side.) There’s the hem of your skirt!
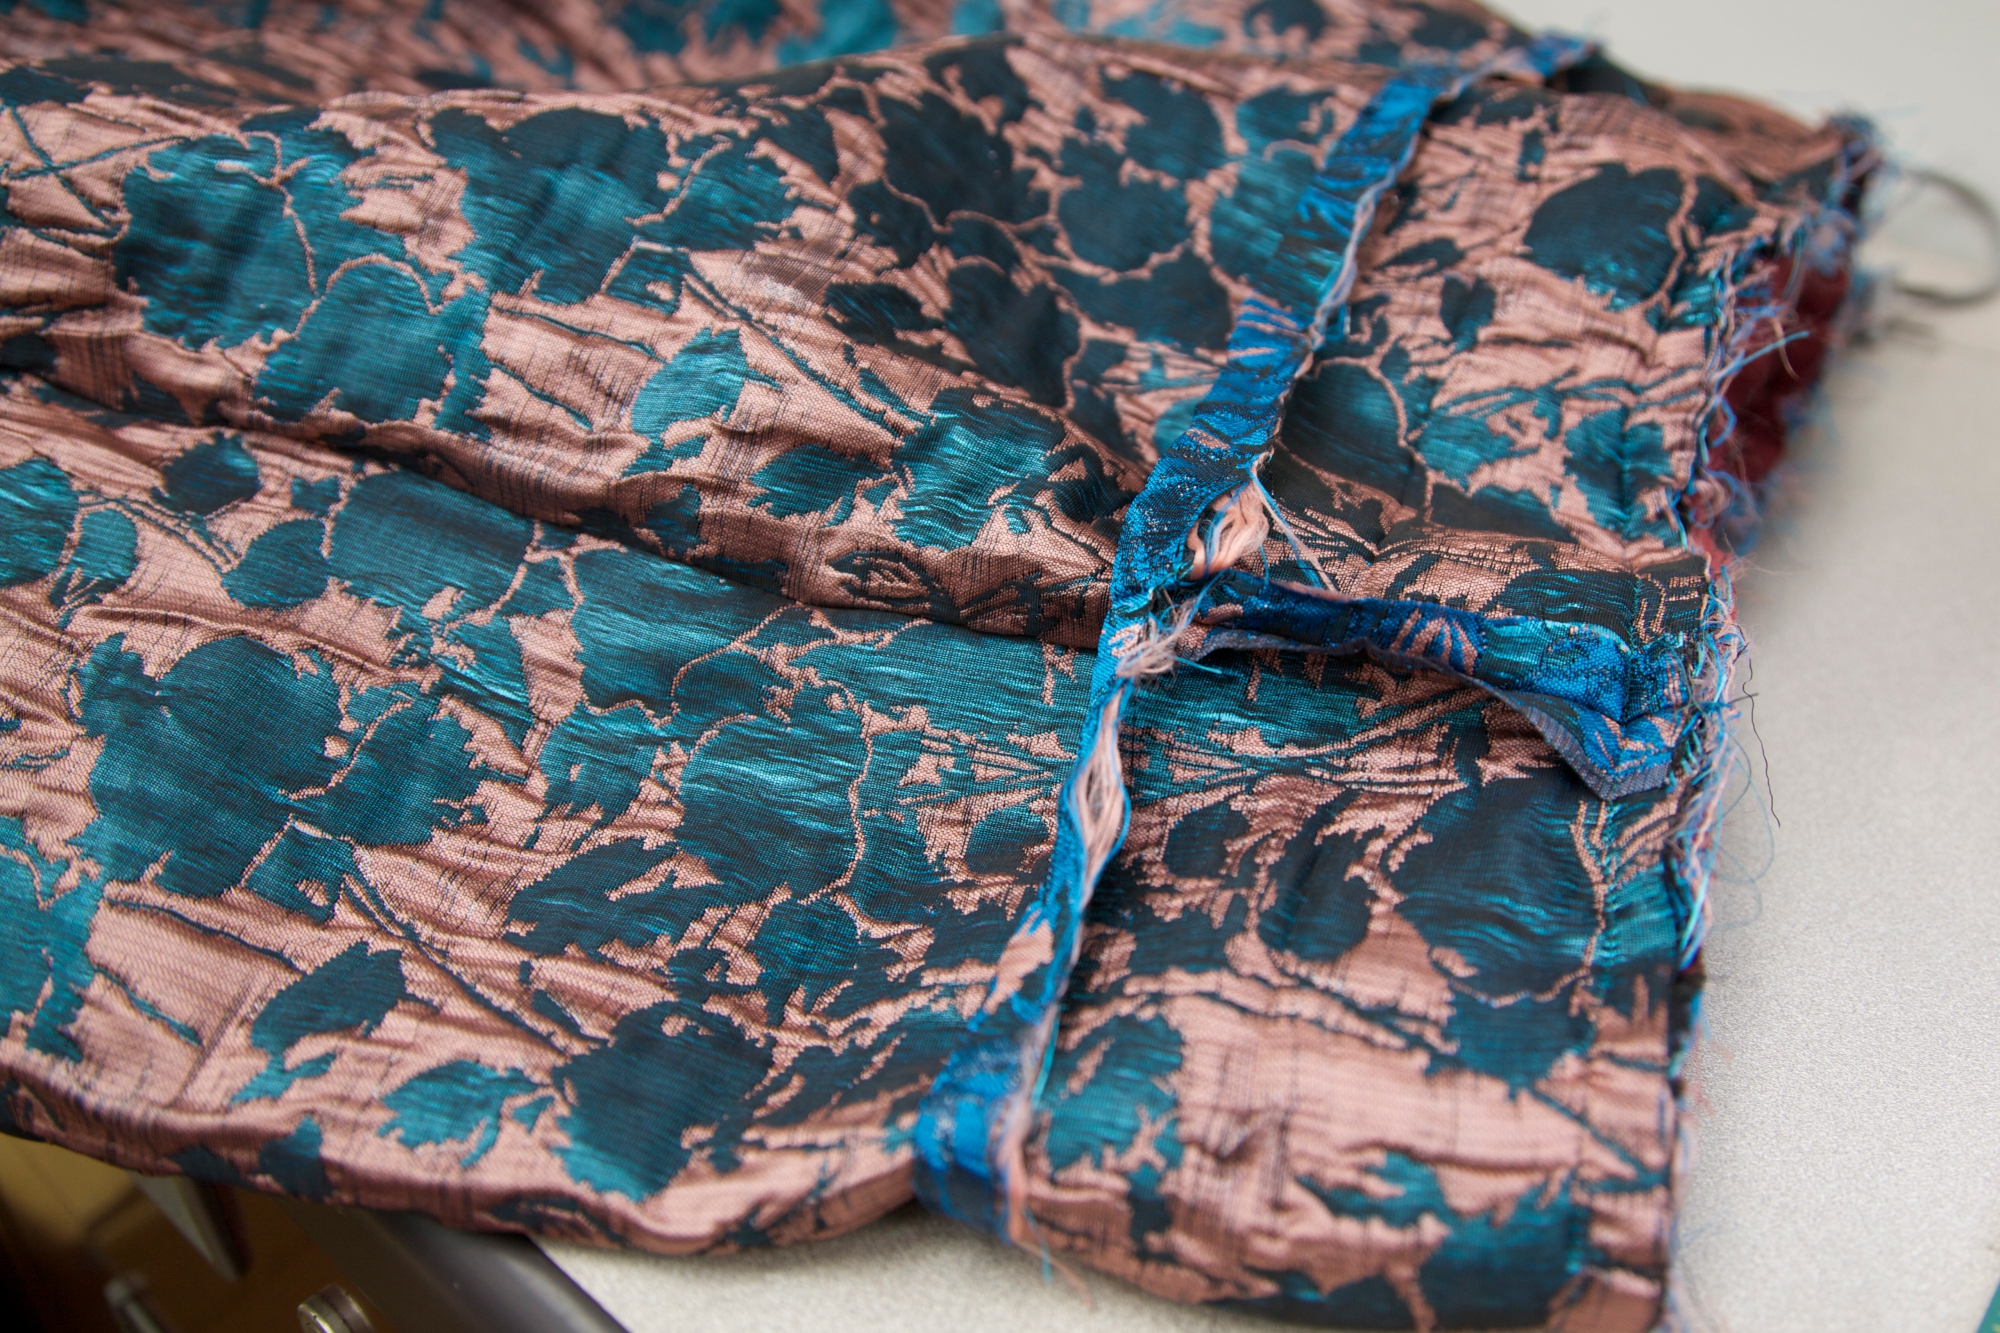
Open along this seam to make a loooong rectangle. Bring the right sides of each half together and sew the side seam. (You can do this in one long pass.)

If making a flat/buttoned waistband: leave about the top 5″ of either side seam open. Turn under the seam allowance on either side and hem. This is your opening for getting into the skirt.
If using tulle: I didn’t sew the side seam of my tulle, because I wanted it to float freely. So I just pulled it to the sides, as you can see in the picture, and sewed as if it wasn’t there. (Afterward, I tacked the middle of the tulle to the middle of the side seam, just to help distribute fullness.)
Fold your two layers back together, wrong sides together. Ironing the hem seam is a good idea.

Bubble, bubble, toil and trouble!
Gather the brocade to fit the lining width and baste all of the layers together. We need to gather all of these layers to fit the waist band, so you can leave the ends of the stitching open — basting and gathering in one!
To prepare the waistband, just iron it in half, and press under the seam allowance along one side. If doing an elastic waist, sew the ends together to make a circle. If doing a flat/buttoned waist, just leave it as is for the time being.
Place the right side of your waistband against the right side of your skirt. Adjust the top edge of the skirt to fit. (Because I’m doing a half elastic waistband, I concentrated my gathering in the middle third, since the rest will be gathered along the elastic.) Sew.
If doing a flat waist: you’ll have a half inch hanging off one end, and over an inch hanging off the other end. To finish the ends, fold the waistband in half, right sides together, and make sure the seam allowance is turned under on both sides. Sew the short end closed. Trim the seam allowance. This is the same process we used to attach the collar band on last week’s summer wool cardigan, so have a look at that photo if you need a visual.
Turn the waistband to the inside. Again, ironing will help a lot here.

You can machine stitch shut or hand stitch, if you want the seam to be invisible. Topstitch the top edge of the waistband.

If doing a flat waistband: make a buttonhole, sew on your button, and you’re finished! (You can add snaps or hooks to the opening to keep it shut, if you’re concerned.)
If adding elastic: remember to leave a 2-3″ space open for inserting the elastic. As I said before, I’m doing a half elasticated waist, because brocade is bulky and I want the front to have a smooth finish. Now, maybe you’ll have a better idea for inserting the elastic, but here’s what I did. Lay your skirt out flat. Mark out half of your waist measurement. (I’d recommend making these markings over the area where you left a seam opening for elastic insertion.)

Cut your elastic so that it’s at least 3″ smaller than half of your waist measurement, but be sure to leave seam allowance. Attach your trusty safety pin to one end of the elastic and begin feeding through your waistband. Pull slowly, because you want to catch the end of the elastic when it’s near the first waist mark you made. Pin it and sew across to secure this end.

I felt out the end of the elastic, which is a half inch to the left of my marking. I pinned and stitched along the marking.

Continue feeding the safety pin back around to the other marking. Sew this end securely, remove your safety pin, and then stitch up the hole.
Ta-da! You’re ready to put on your skirt and prance away to somewhere fancy.


Contrast waistband

A peek at the lining.

A bird’s eye view of the poof. Behold the power of tulle!