I made a cute, retro wrap dress recently, based off Butterick 4790, and was amazed by how simple it was. Since it was little more than two rectangle panels, with a hole cut out for the neckline, it was complete in an afternoon. Feeling adventurous, I decided to try creating a similar look with a crop top I was making for a coworker.

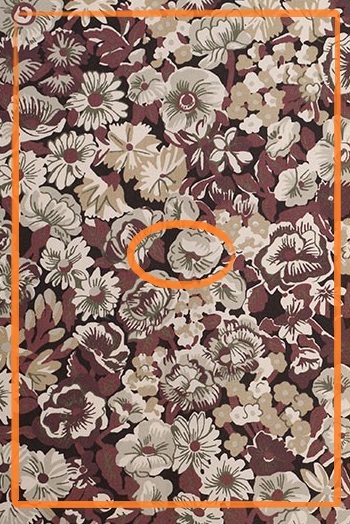
Even fully lined, the shirt only took 1 yard of cotton poplin, and drafting a pattern for it was incredibly simple (you can see it below). The main panel was 54″x36″ and I also cut two 36″x5″ strips, which would become the ties.
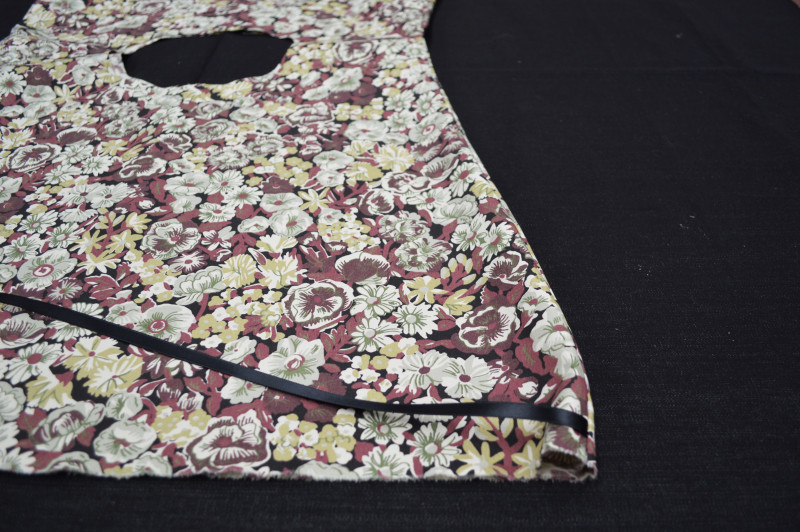
I cut two of the main panel, folded them in half and cut a hole for the head. In the photo below, what would become the back of the shirt is at the top. As you can see, the cut levels out toward the top, so the neckline doesn’t plunge in the back.

Instead of keeping the super wide, retro sleeves, I cut a long triangle off the sides of each panel, like you see here. This brought the shoulders of the shirt in just a few inches.

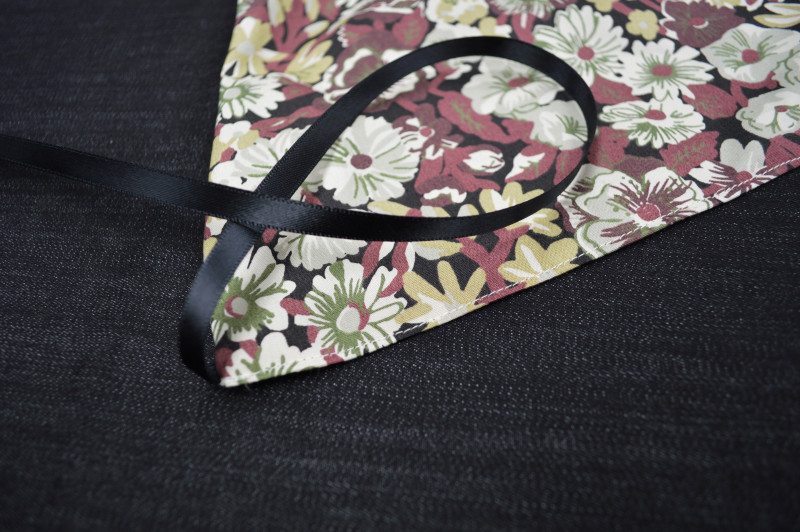
The next step was sewing the panels, right sides together. Before finishing, I added a 1/2 yard of ribbon to the edges of the front section of the panel. When putting on the finished shirt, the ribbons tie behind you, before the fabric ties wrap around from the back to tie over the front panel. Don’t sew the last 2.5″ on the ends that will become the back of the shirt.
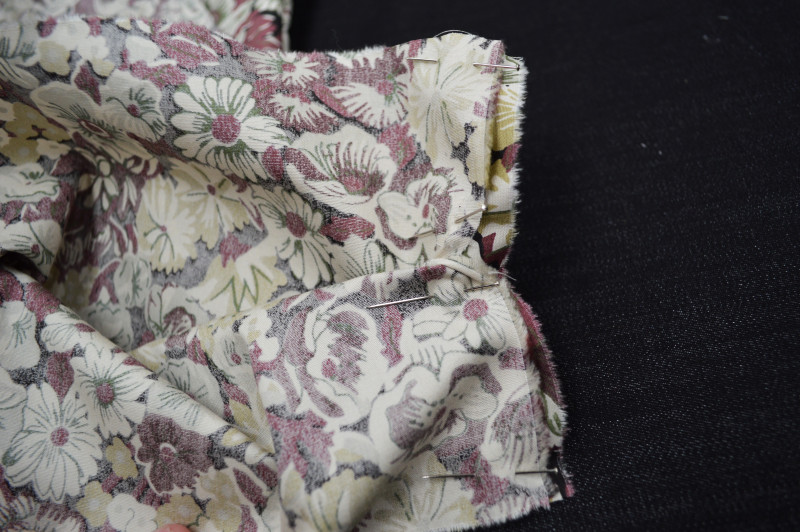
Before adding the fabric ties, the neckline needs to be sewn, which is the trickiest part of construction. Without turning the shirt completely inside out, the right sides still need to be stitched together. This can be done by sewing one half of the neckline through the opening at the bottom of the front panel, like below; then doing the same through the back panel.

After the neckline is sewn, be sure to clip the seam allowance. Skipping this step an make curves wrinkly and strained. Clipping allows the fabric to spread out, making your seams lie smooth.

Pin your fabric tie strips to the 2.5″ section you left open at the bottom of the back panel before.
Fold the strips in half, and sew from the shirt panel, to the end of the strap. At the end, I sewed a 45 degree angle, instead of making the straps boring rectangles.

Flip the ties right side out, and close the front and back panels by folding and topstitching the ends, like below.
Pair with some cute leggings or a simple midi skirt, and you’ve got a DIY vintage-inspired look perfect for spring!


5 comments
Very nice. I’m going to try to make one. Tx
So cute! Congratulations. This looks great on you.
cute like the fast aspect too
very cute and like the ‘fast ‘ aspect of the creation
like it