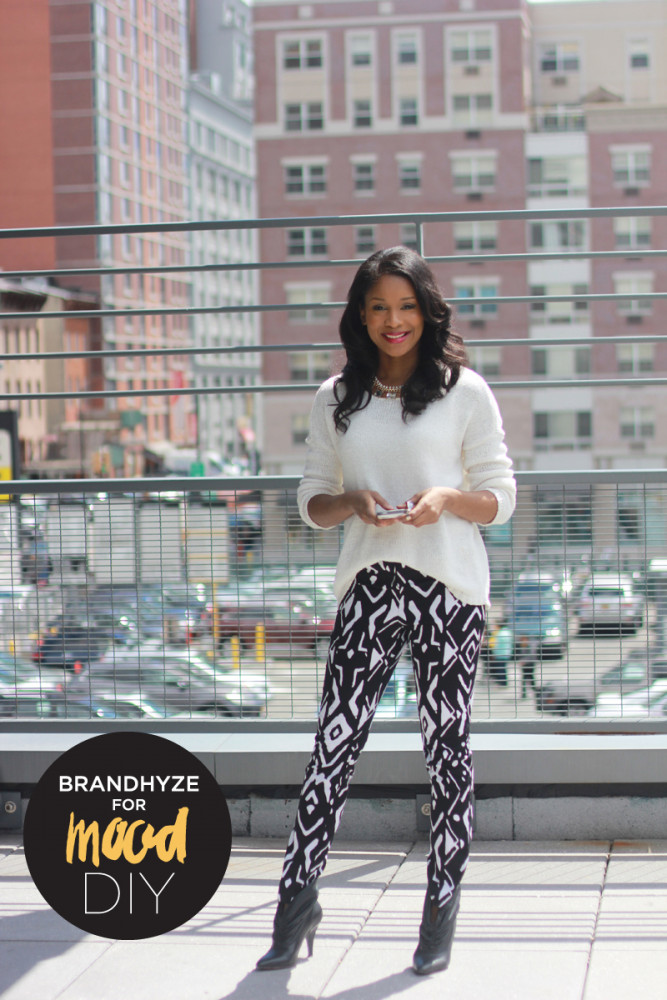
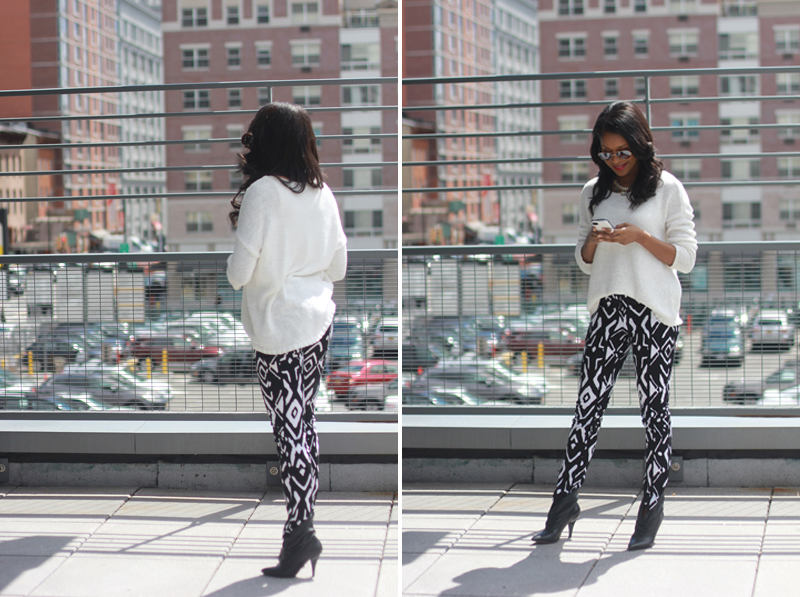
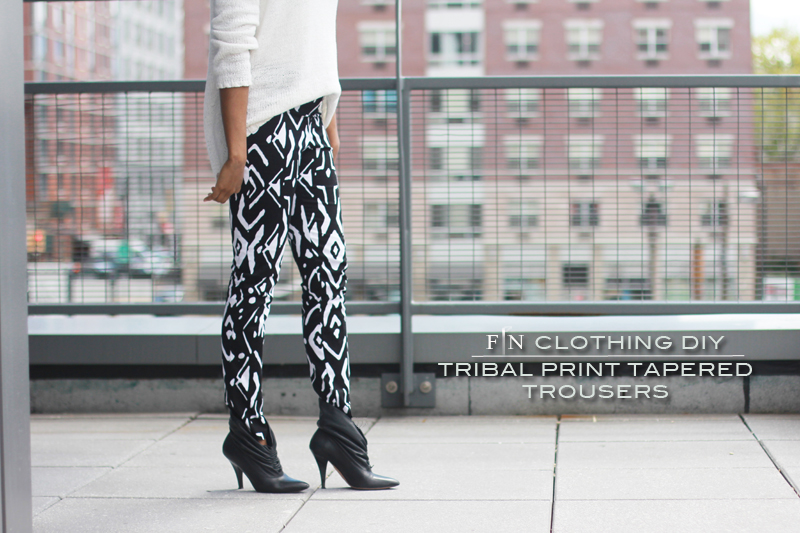
Okay, soooooo…..I’ve got a confession to make — I’ve never made a pair of trousers before. Honestly, I was a wee bit intimated by them; so I mostly stuck to dresses, skirts, and a few pairs of shorts here and there because I thought they were easier. But, I’m truly proud to show my first pair off — I just LOVE this print. Over the past year or so I’ve been inspired by the graphic and fun prints worn by folks like Solange Knowles (you gotta admit, she does rock a mean print), and while these are monochromatic, along with the tribal print there’s no shortage in character. Do you remember your first pair of pants you made? Tell me below.
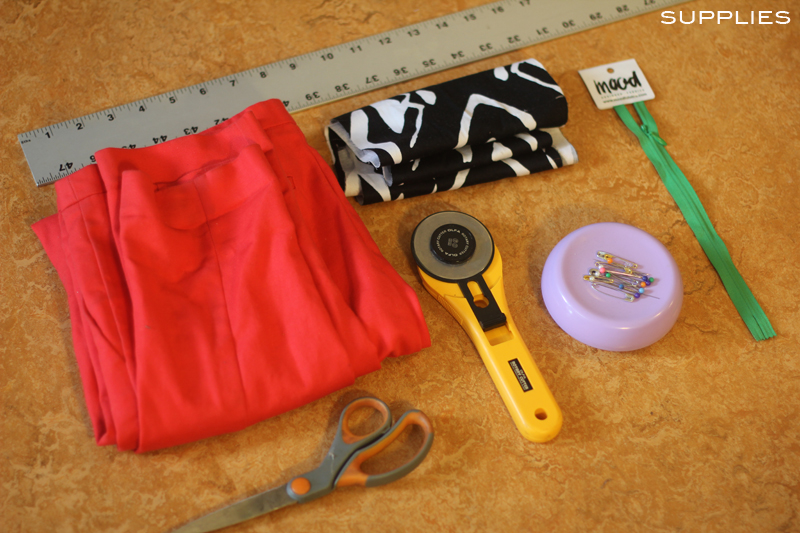 SUPPLIES: tribal print fabric, straight edge or measuring tape, straight pins, rotary cutter, scissors, a zipper (while I show green here, I used a black one), a sewing machine, and a pair of pants to copy.
 HOW-TO:
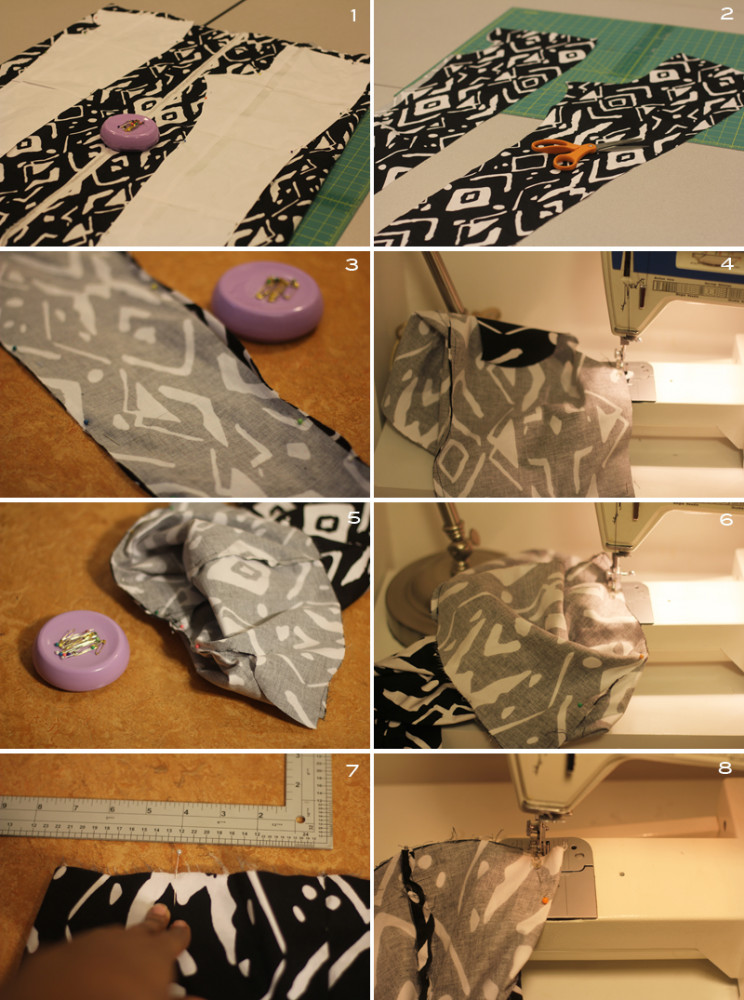
Note: to create these trousers, I took a pair of cropped pants I had gotten from Old Navy, and used them as a guide to create my pattern for one each side of one leg — much like I did with this dress. You can also take a look at this video I found if you need help.
1. To start, I laid out the fabric face down, and then pulled it in so it met in the middle — the fabric you see here is doubled up on both sides. Then, go ahead and pin down your patten to your fabric.
2. Cut out your two fronts and two backs.
3. Pin each of the legs together — one front and a back, and then the other set (Note: the back is a little wider than the front).
4. Now slide your pinned form on your sewing machine, and from waist to ankle on inner and outer thighs for both legs, stitch them together.
5. The sides are all done….so now it’s time to pin together the groin area.
6. Here I pulled out the pinned together groin and waist to give me easier access to it, and sewed it together.
7. You’ll need darts for a better fit in the waist, so to figure out exactly where they go, measure out a couple equidistant inches on either side of the back seam, and stick a pin on each side.
8. Sew your two darts into nothing on either side, like pictured here.
 HOW-TO CONT’D:
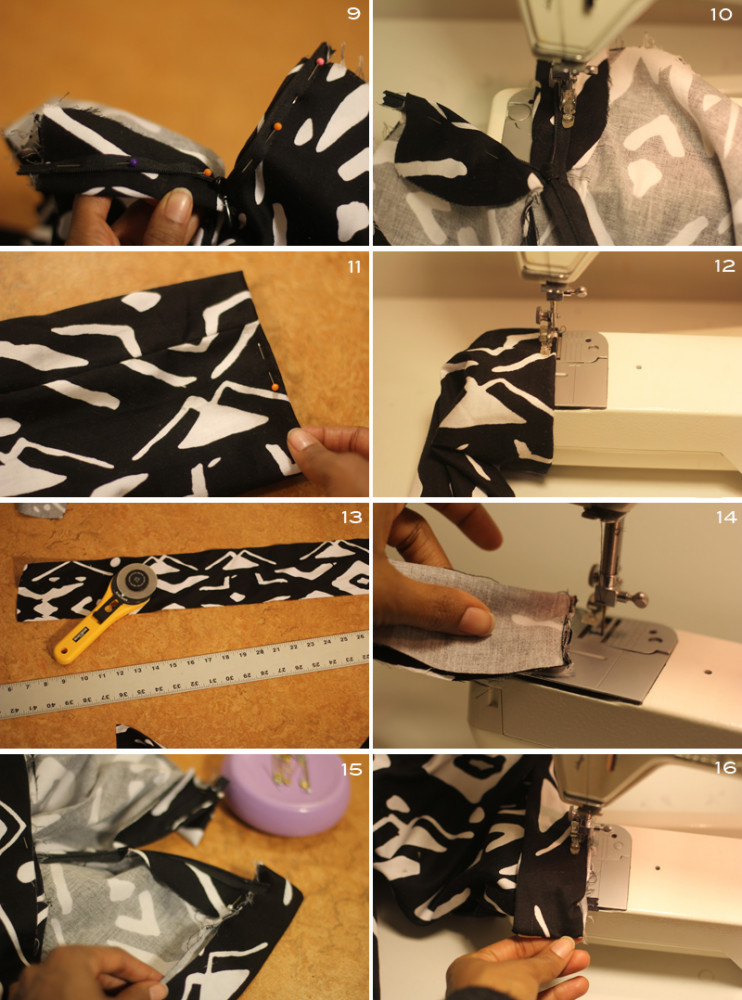
9. By copying my previous pair of pants, it created this extra flap of fabric that once doubled up, will serve to give the zipper area a little more girth so it’s not flimsy. Fold back both flaps, open up the zipper, and pin the zipper into place.
10. Go ahead and sew in the zipper.
11. Use your straight pins now, and hem your trousers to your desired length.
12. Hem your trousers with your machine.
13. Next, use your rotary cutter to cut a long rectangle for your waist band. Make it the length of your waist, plus 2 inches x 4 inches. (Note: be sure to measure it against the actual waist of your trousers to confirm the length).
14. Fold the rectangle in half (right sides facing), and then use your sewing machine to stitch together the two ends.
15. Turn the waistband to it’s correct side and begin pinning it to the waist of your pants.
16. Sew your waistband in place, and if you’d like the added security, stitch a hook an eye on for an added closure.
 Brandhyze Stanley is the chief voice of the award winning blog, Frugal-nomics.com; a platform designed to share with women how to live and look fabulous on a dime. A DIY girl at heart—Brandhyze has been featured on The View, The Early Show, The Today Show, InStyle Magazine, Essence Magazine, and MTVStyle. A Wilhelmina Model for over a decade, with a Business Degree from Loyola University Chicago, Brandhyze provides DIY content to the popular How-To Site, eHow; and has been a contributor for the Huffington Post, Yahoo Finance, Manilla, Good Housekeeping, and Newsday Westchester, to name a few. Brandhyze is a huge thrifter and a lover of all good deals, follow her on Twitter @MyFrugalnomics and on Facebook at Facebook.com/Frugalnomics.
3 comments
Gorgeous pants, I love this fabric!
Wow! Your first pair of pants?? Unbelievable results! My first pair weren’t perfectly sewn but definitely wearable and I’m till wearing them 3 years later!
3 years?! That’s awesome Norie…at least I’ll have something to look forward to for a long time 🙂 Thanks for sharing