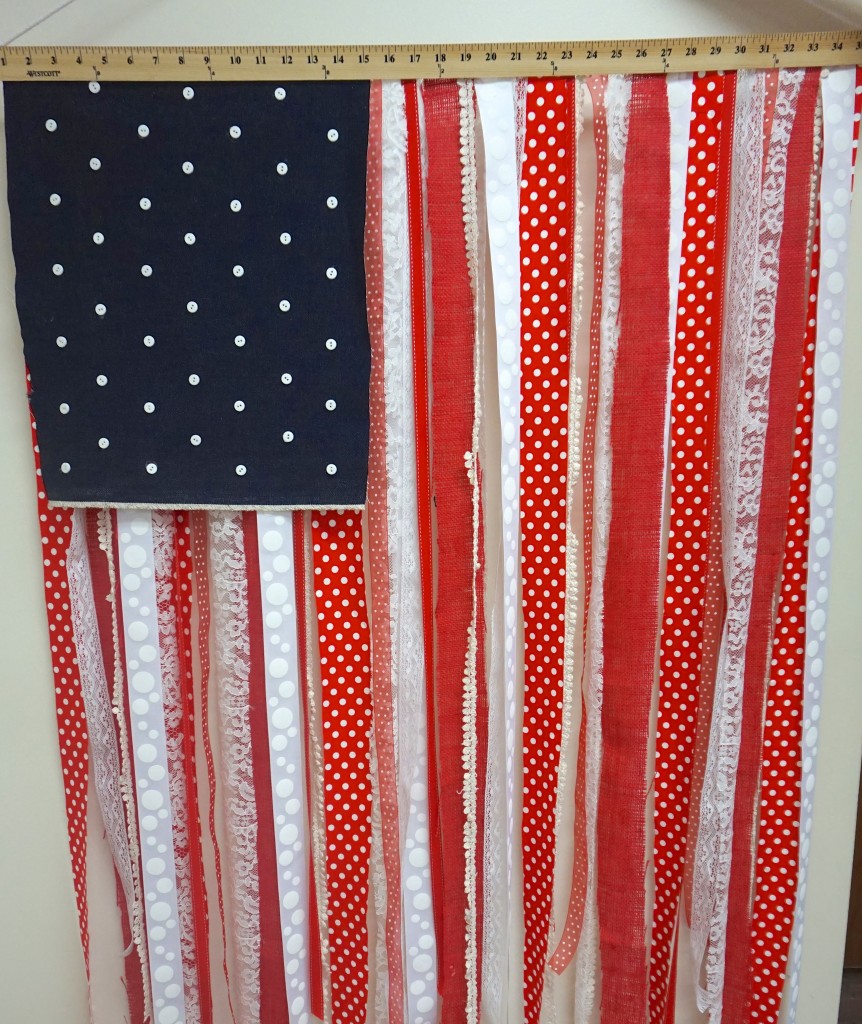
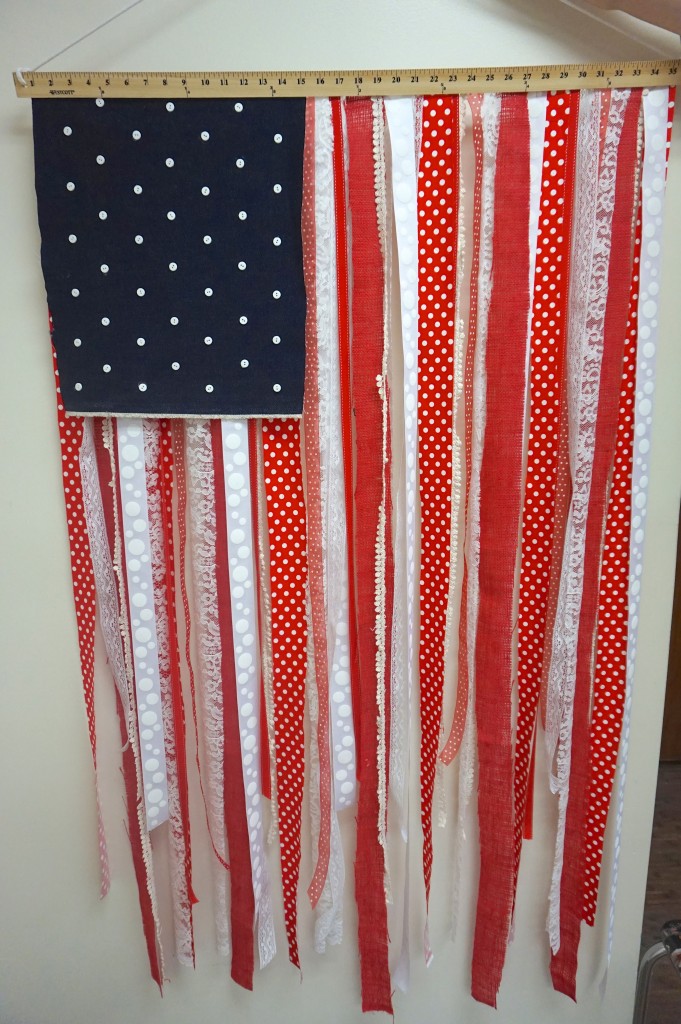
To keep up the 4th of July theme, this blog is all about how to make a shabby chic American flag from fabric. This will be another great red, white, and blue decoration for patriotic themed parties! It did not take me long at all and I love the idea that everyone’s flag will turn out a little bit different depending which fabrics and ribbons are used and how they are layered. Read on to find the simple instructions!
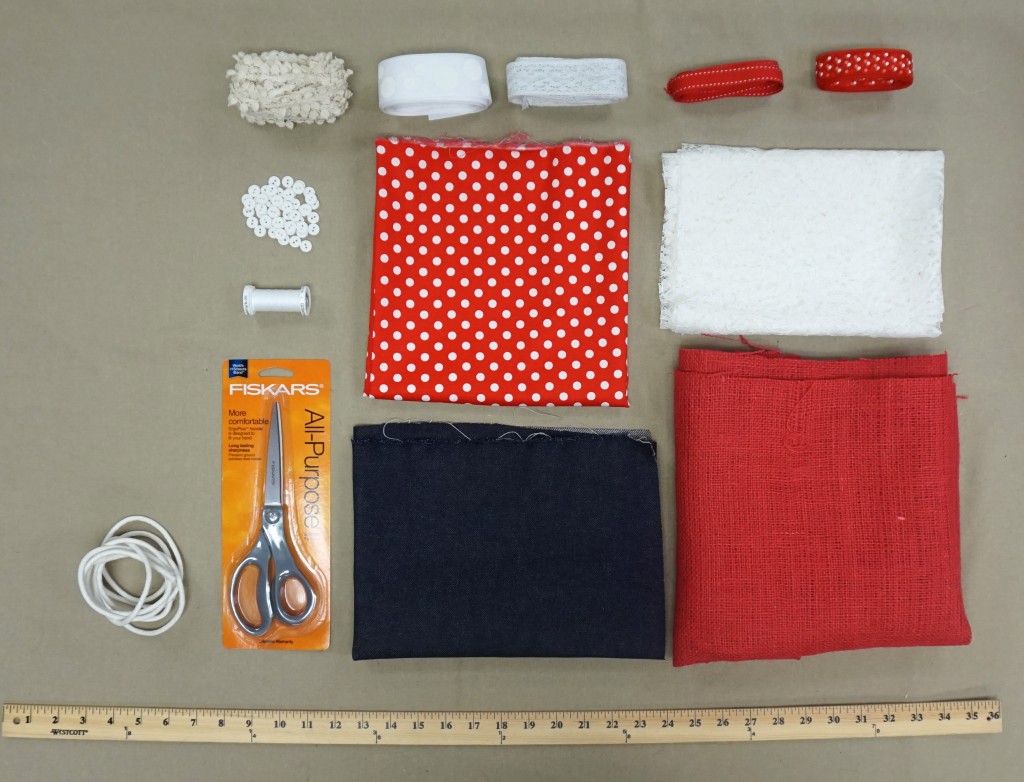
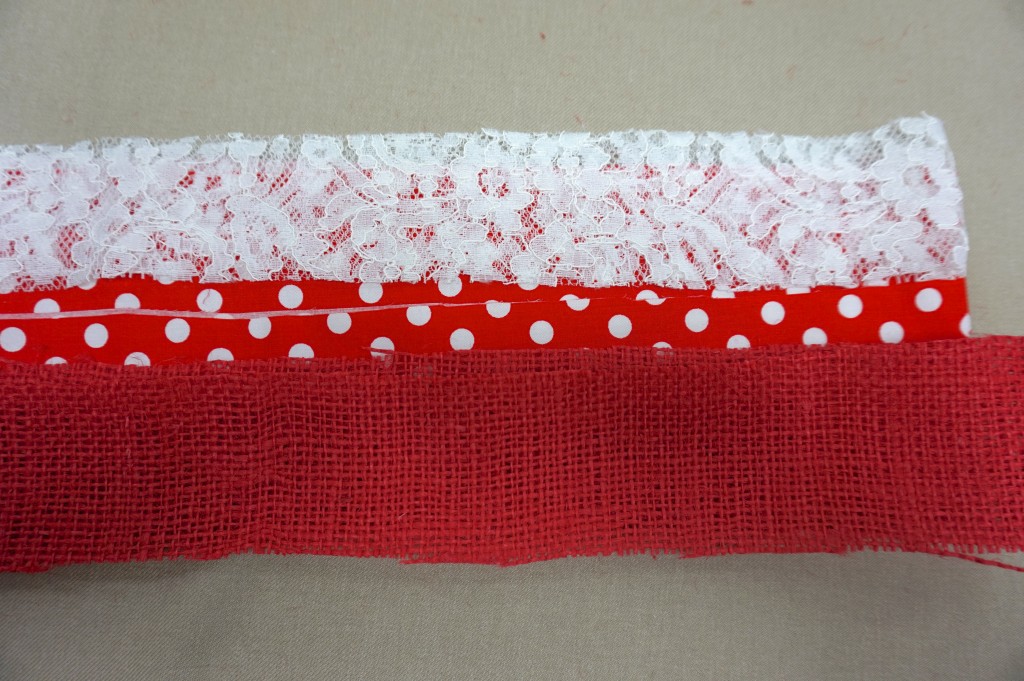
Step 1: It’s time to gather all of your materials! I chose to attach my fabrics to a yard stick to give it a craftier feel and change it up! Keep in mind you can use what I used or switch the fabrics out for other ones if you have a preference. Also, the polka dot fabric is the same one I used for my fabric pennant! That way my decor all ties in together. I know this is a long list, but it is just because all of my fabrics are listed out. In total I used eight red and white stripes to give the flag dimension.
- yard stick
- 1/3 yard of denim
- 1/2 yard of red burlap
- 1/2 yard of red polka dot fabric
- 1/2 yard embroidered lace
- 50 white 10mm buttons
- 1.5″ white grosgrain ribbon
- crochet lace trim
- white crochet trim
- red stitched grosgrain
- red polka dot ribbon
- ivory bolo cord
- white thread
- scissors
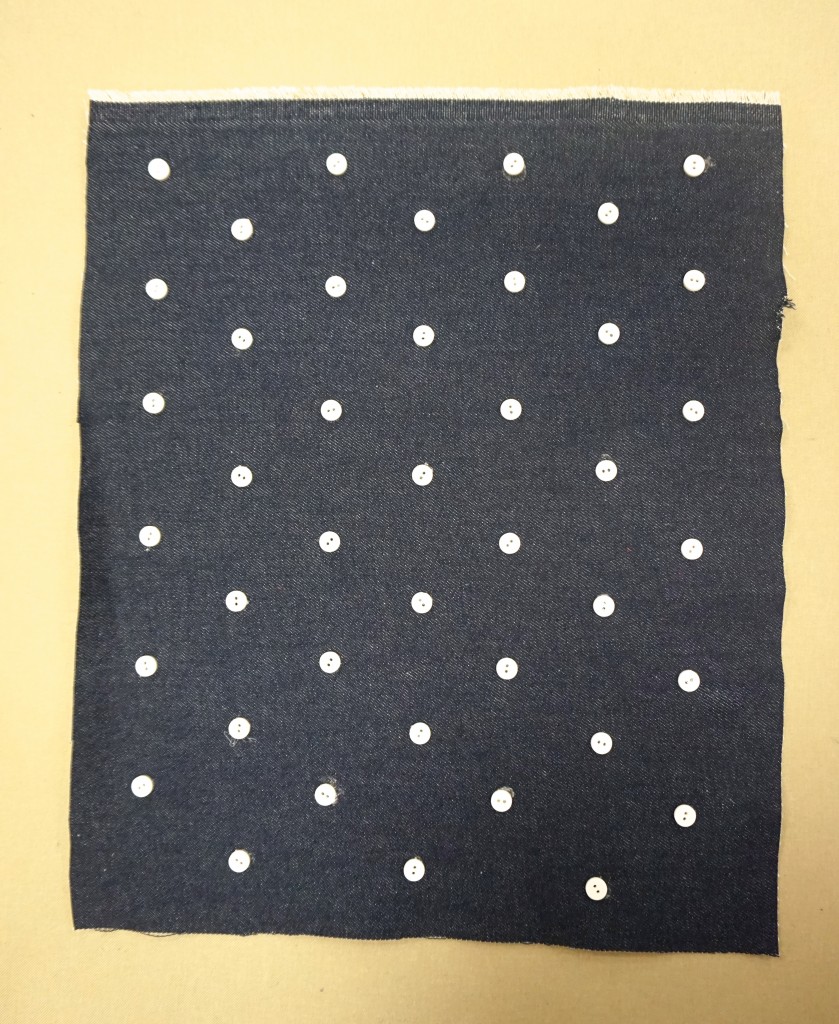
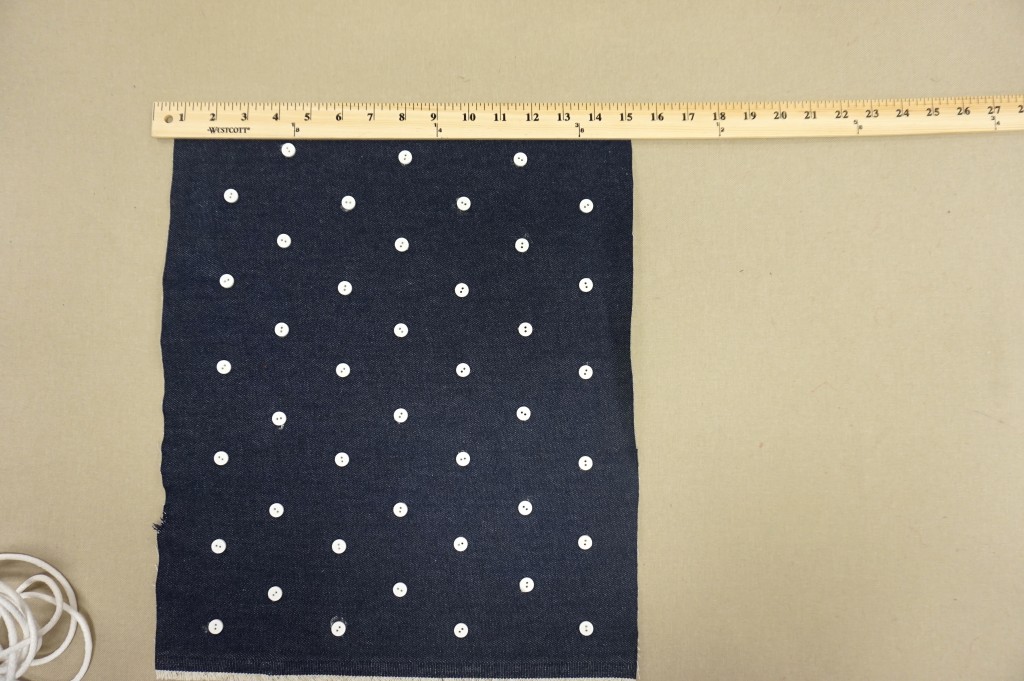
Step 2: My first step was to create my stars using the denim and 50 buttons! If you have time, sew them all on, but if not you can use a hot glue gun for faster application. I looked at a flag to make sure I attached the buttons in the same rows so that it was accurate. The denim that I used was 1/3 yard wide and about 16″ long. I left the selvage at the bottom because I liked the frayed look. I did not cut it exactly straight either, it needed a little character!
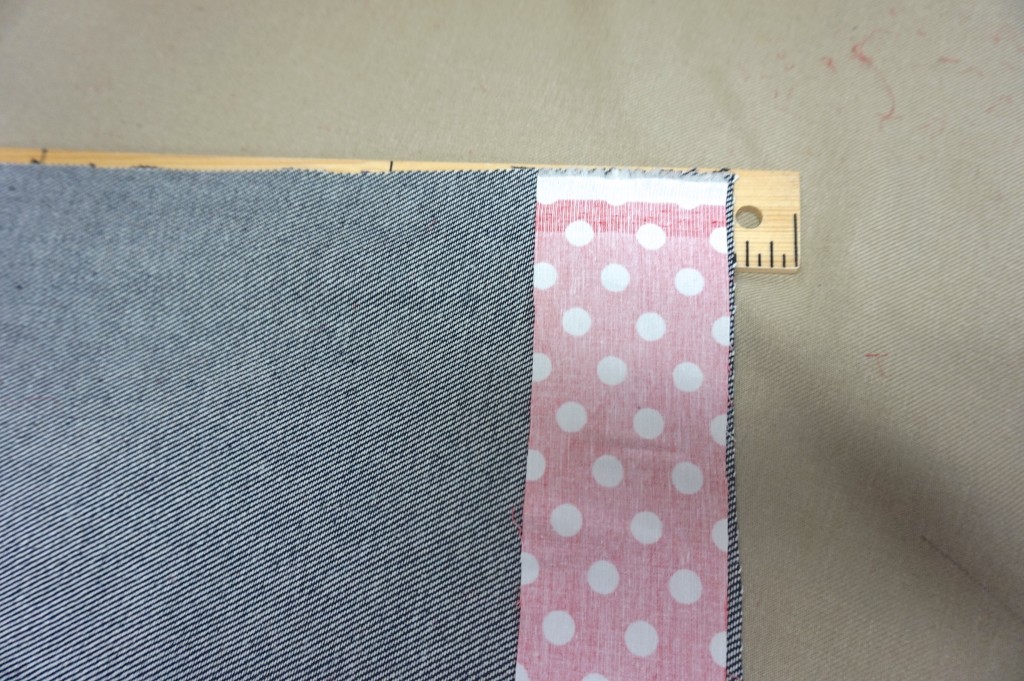
Step 3: Once all of the buttons are all sewn on, it is time to glue the denim to the yard stick. I attached it from the back to that the front of the yard stick is clean and the numbers are visible. You want to make sure that your yard stick has a .25″ hole at each end for the cord it will be hung by. When you glue the denim, do not cover the hole, as you can see my fabric starts about .5″ in.
Step 4: Now it is time to prepare your 3 other fabric pieces for gluing. I cut them in varying sizes between 1.5″ and 2.5″. The reason I chose to use some fabrics instead of all ribbon is because I needed the wider widths to add variation and I like the unfinished edges from cutting the fabric. It gave the flag a more unfinished look that matched the denim.
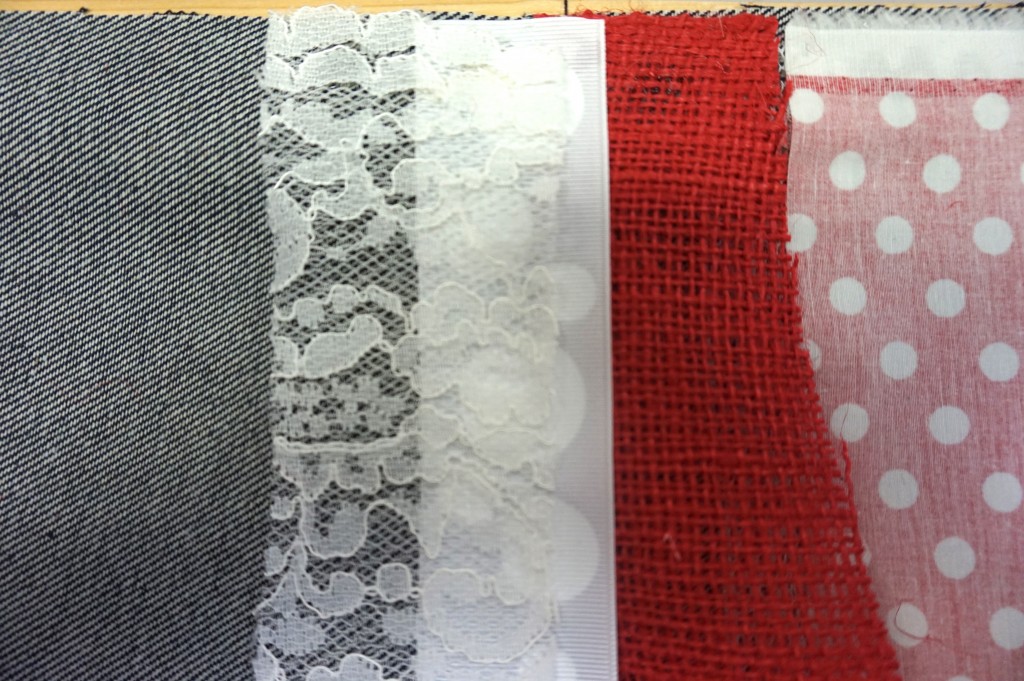
Step 5: The last step is to begin adding the fabric and ribbon to the back of the yard stick! I started at the denim and made my way down alternating between red and white and trying to put different textures together. I sometimes layered the fabrics and ribbon to make sure that the flag would be plenty thick. I also cut all of the strips into different lengths so that the bottom did not abruptly stop.
I had no rhyme or reason to it, I just had fun with it and loved the way it turned out! My last task was to tie on the cord that the flag could hang from. My project was fairly large because it was 3 feet wide and around 5 feet long. You can use something other than a yard stick if you wish that would make it not as wide, just make sure the width and length are proportional to the American flag!
The finished flag!
Happy Crafting!
Sincerely,
Sarah McConnico

