With the 4th of July quickly approaching, I wanted to get started on making easy and festive projects that can be used as decoration during cookouts and celebrations. My first craft is a fun fabric pennant that is durable and has so many end uses. Depending on the fabrics you choose, it can work for many different party themes, Memorial Day and Labor Day. If you do not have a lot of sewing experience, no worries! This was very quick and simple project that will be a huge hit with your guests this summer!
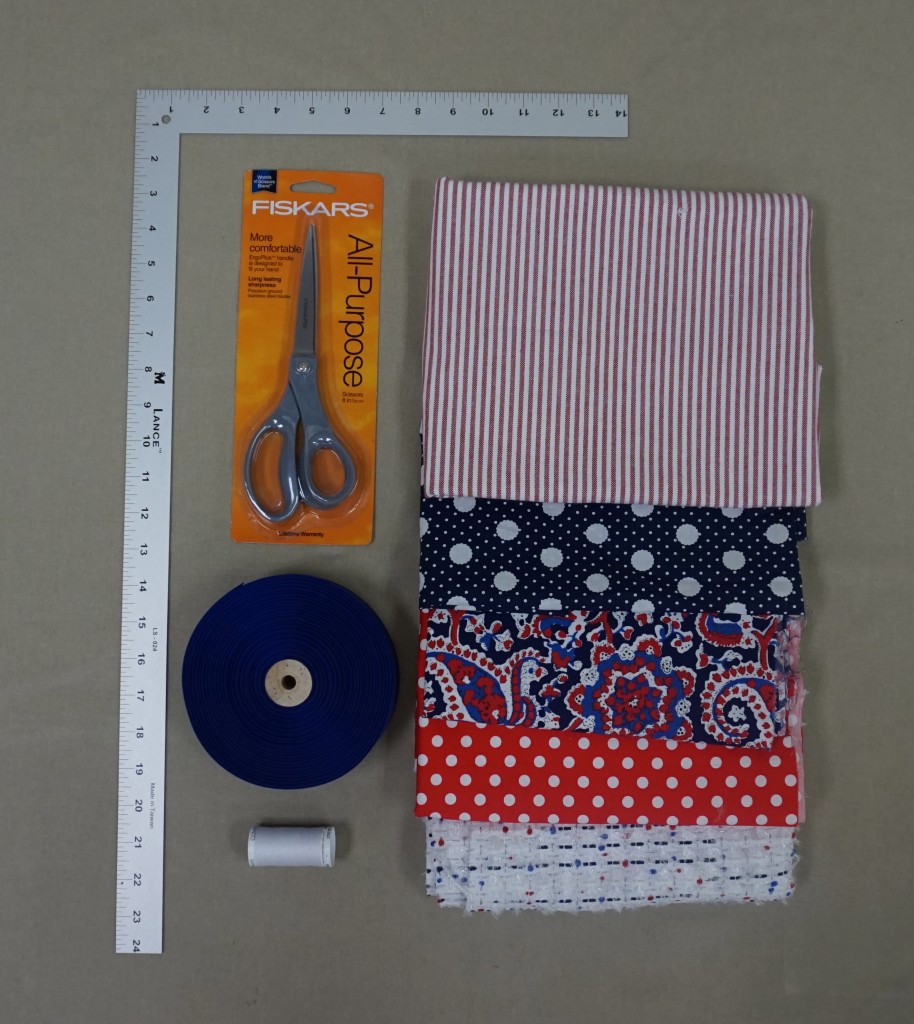
Step 1: Gather your supplies! Picking out fabrics is one of the best parts of this craft! I stuck with a red, white, and blue theme, but not holiday specific fabrics so that my pennant would be festive but versatile! You want to choose fabrics that will be visually appealing and have patterns of different scales and colors. I picked out a stripe, paisley, large scale polka dot, small scale polka dot, and an abstract fabric that all balanced each other in scale and color. Half a yard of each fabric will give you plenty to work with. I also needed an L square, white thread, 1.5″ grosgrain ribbon, and scissors.
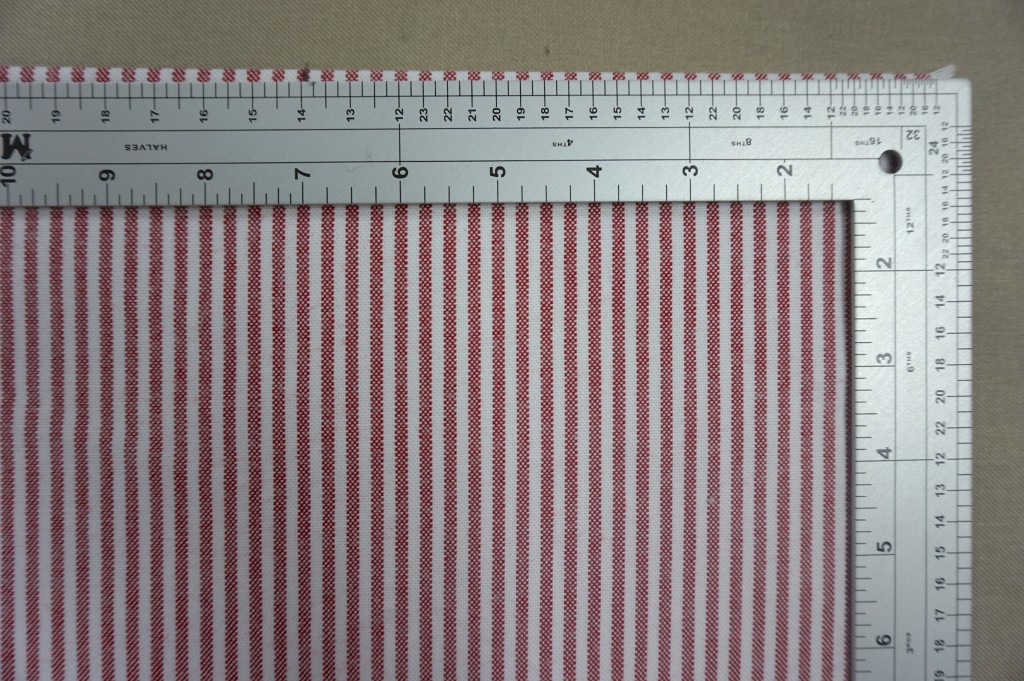
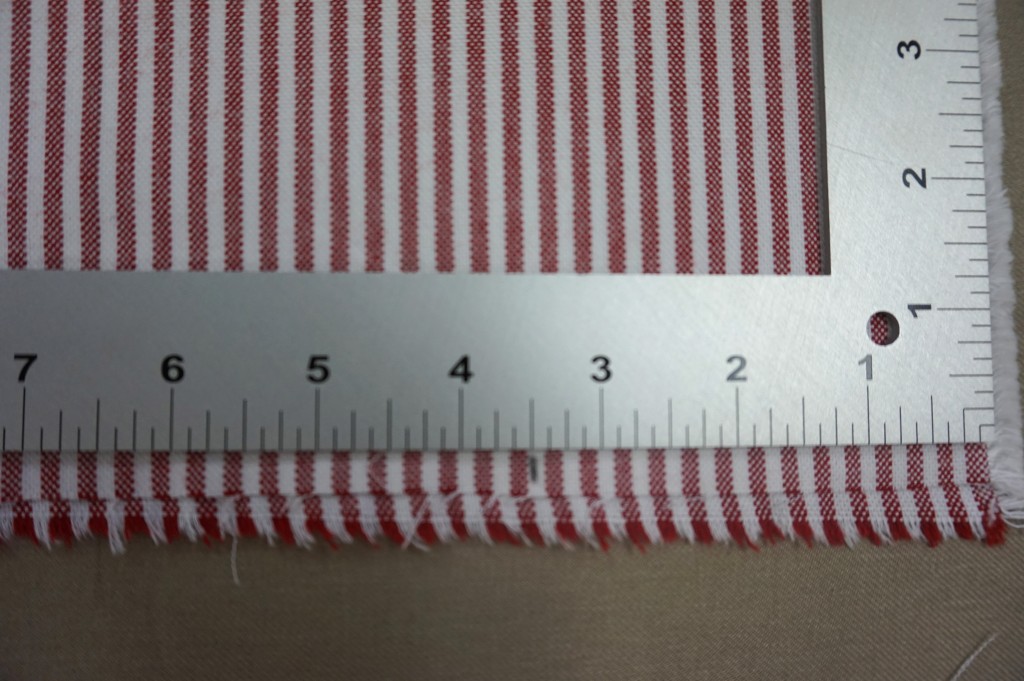
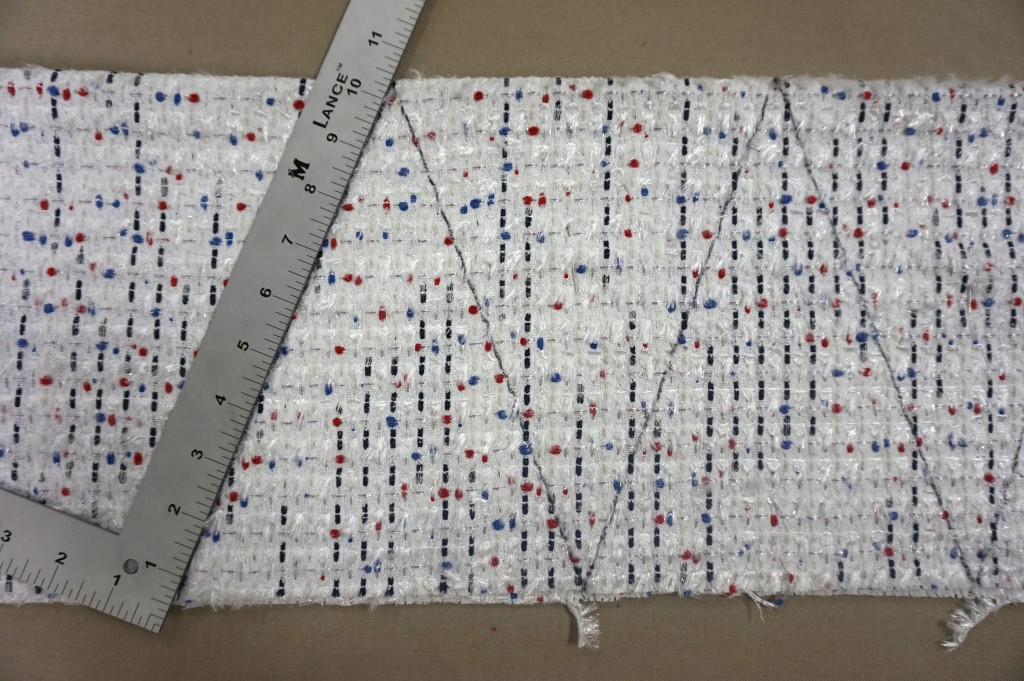
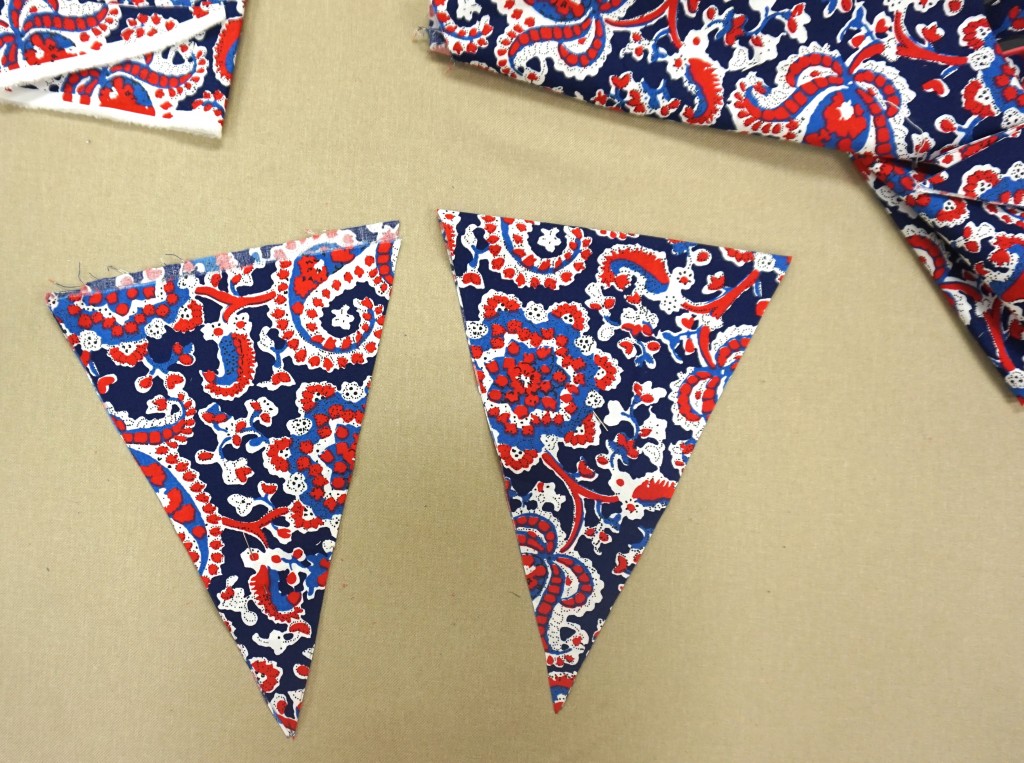
Step 2: The next step in creating your pennant banner is to measure your fabric. Fold over each half yard with the face out and iron the fabric so that any wrinkles are pressed out. Once your fabric is folded it will be 9″ in length, the exact length of the pennant. The top of the pennant will be 7″ wide so measure in 7″ from the selvedge. To create the point, measure 3.5″ in from the bottom and make a mark. Then connect the top two ends to the point and you have a perfect triangle! Once your first pennant is measured, alternate sides measuring over 7″ and they will all be the exact same size.
Continue to make all of your markings for all five fabrics. Depending on the width of the fabric, I ended up with between 10 and 13 pennants from each half yard.
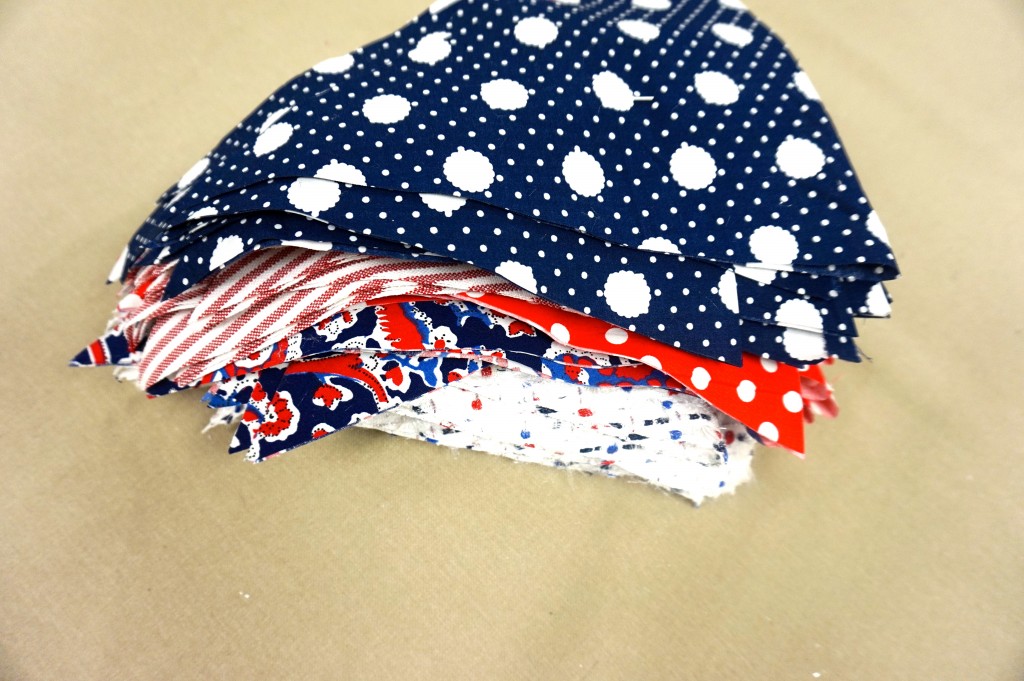
Step 3: Once all of the prep work is done you can begin to make your cuts! The should be fairly simple, just make sure you use a pencil with a dark line so that you can see it well enough. I also recommend using fabric scissors that are very sharp. The cotton fabrics are all woven so you want to prevent fraying! To keep the front and back of your pennants together after cutting, stick pens in the fabric before cutting. It will make sewing easier if they are already aligned!
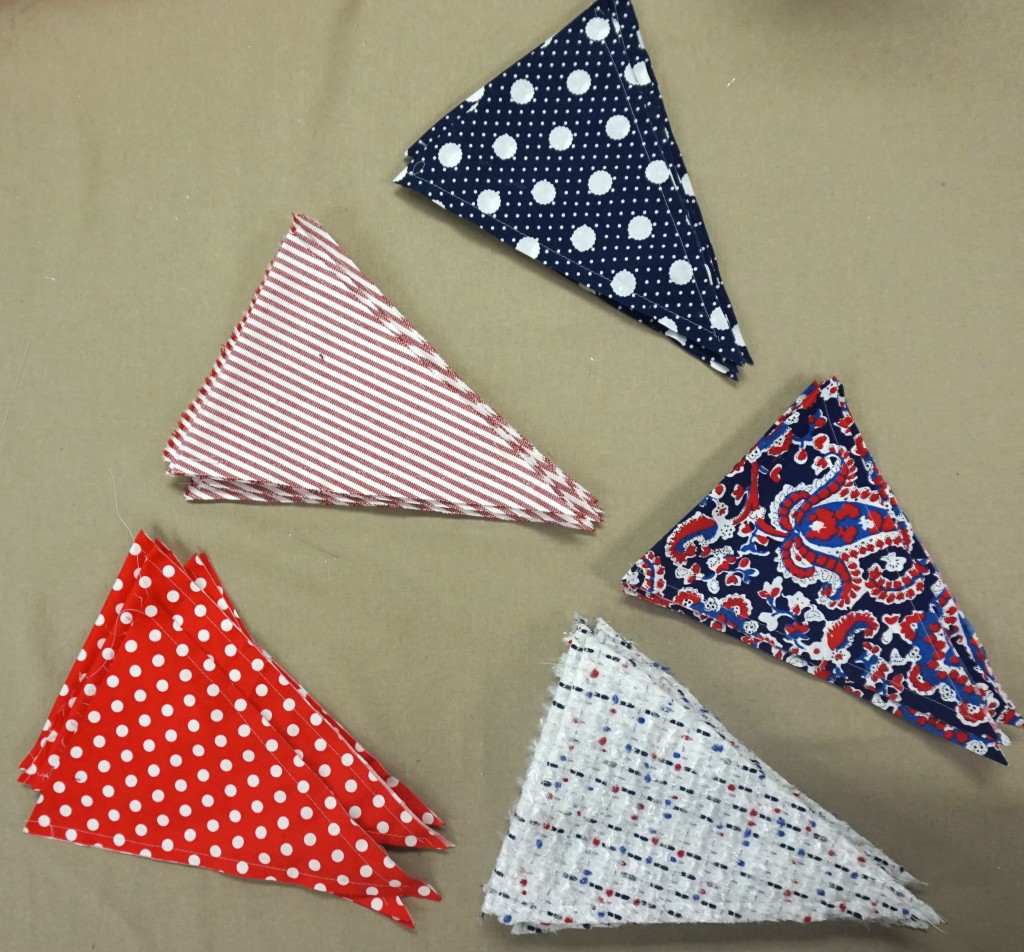
Step 4: Once the pennants are cut, two stitches must be made to sew the pieces together. The will prevent fraying and make sure that the back of the fabric is never visible. Do not worry about sewing the tops closed because they will be sewn into the ribbon!
The finished stacks!
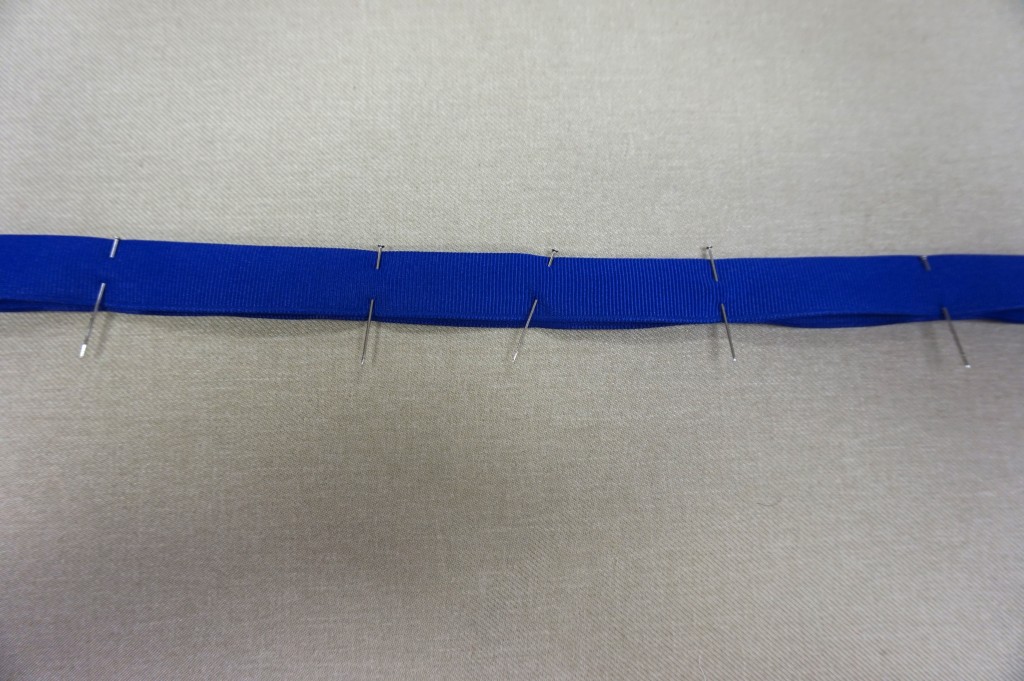
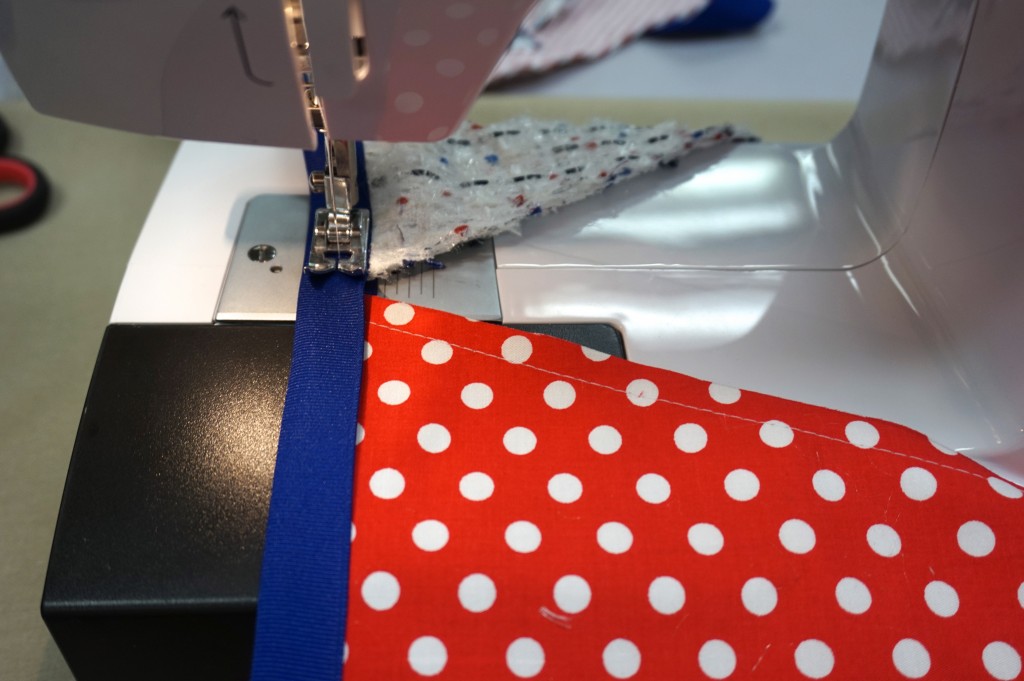
Step 5: Once your pennants are sewn, the ribbon can be assembled. I chose a 1.5″ grosgrain that would be wide enough to work with and easily hold the fabric. To make sewing easier, I ironed the ribbon first and pinned it over as it dried. I did not cut my ribbon until the end so that I could decide later how long I wanted it to be. Make sure and leave at least a foot at both ends for tying it onto a holder!
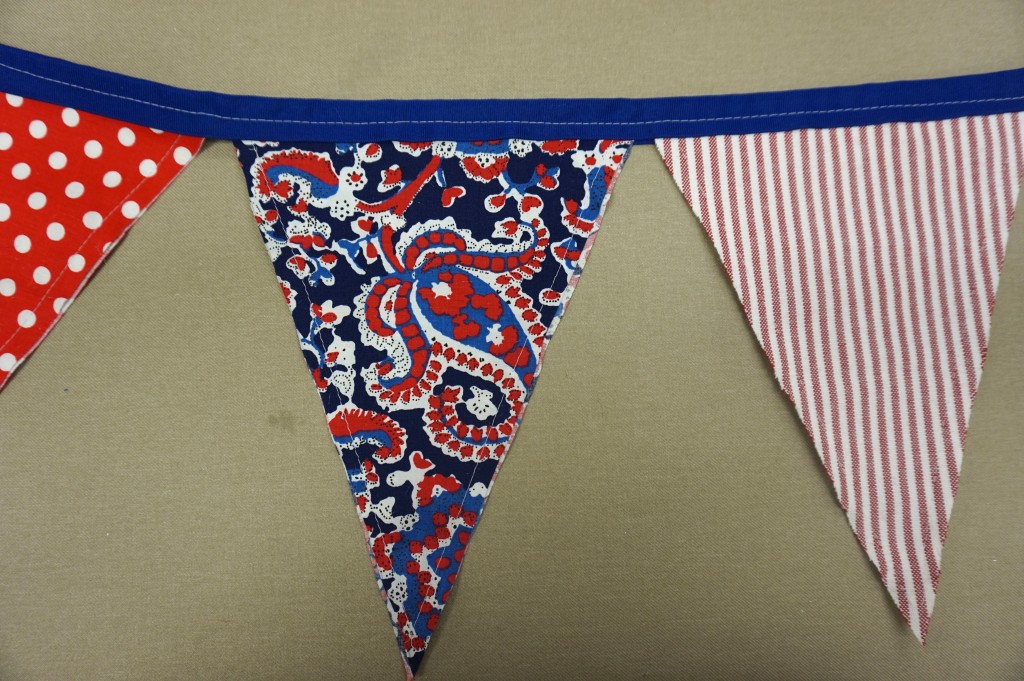
Once the ribbon is ready, place the pennants in random alternating order so that it looks balanced and sew right down the middle. You want to make sure your line is very straight as it will be visible, but small mistakes won’t be noticeable! I chose to switch up my pennants, and not keep the exact same order every time.
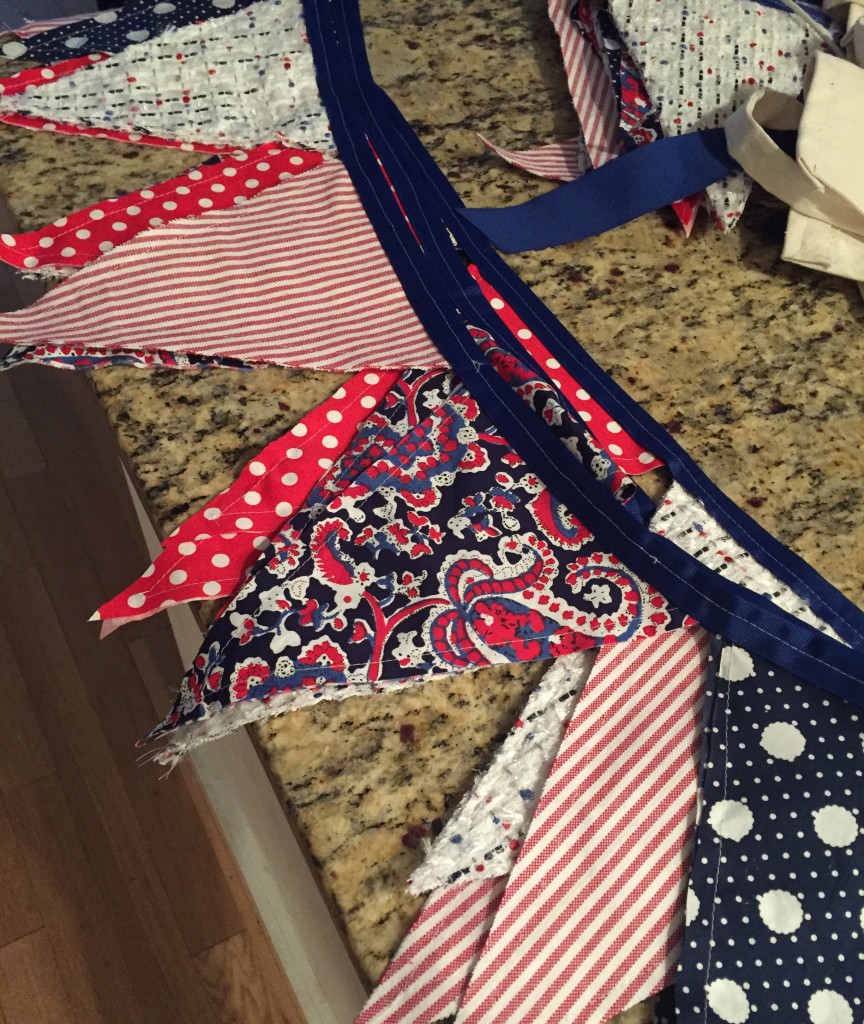
I ended up with enough pennants to make two separate banners! In the end, this was a super easy project that will have a huge impact with all of your guests this summer! Use it to decorate food tables, hang it under an awning or outside on the patio, there are so many options! Please send us pictures with your finished pennants! We would love to see them!
Sincerely,
Sarah McConnico


1 comment
I think you meant pennant instead of “pendant”. Nice job on the tutorial 🙂