This week’s blog post is all about how to make a flowy and fun circle skirt. This was my first venture into sewing fashion apparel, so I wanted to choose an item that would require relatively easy stitches, which a skirt is perfect for. I chose a bright nylon satin with a nice weight and drape that would lend well towards the flow of the skirt; plus it is in a great orchid color for the perfect pop. My necessary materials are pictured below.

- 2 yards of fabric
- L square
- 9″ navy zipper
- Fabric scissors
- Purple thread
- Tape measure
- Satin pins
- Marking pencil
Want to skip the math? Let us do it for you with our Circle Skirt Calculator!
Step 1: The first step is to get your fabric marked and cut. Being a circle skirt, the fabric can be folded four ways and requires fewer marks and cuts. To get the waistband cut, find the radius of your waist measure meant and make a semi-circle around the top of your fabric. Then, from the waist line, measure out the length you want your skirt to be and make a perfectly round mark on the fabric to cut along.

Measuring the waistband to be 27″.

Measuring the skirt length from the waistband.
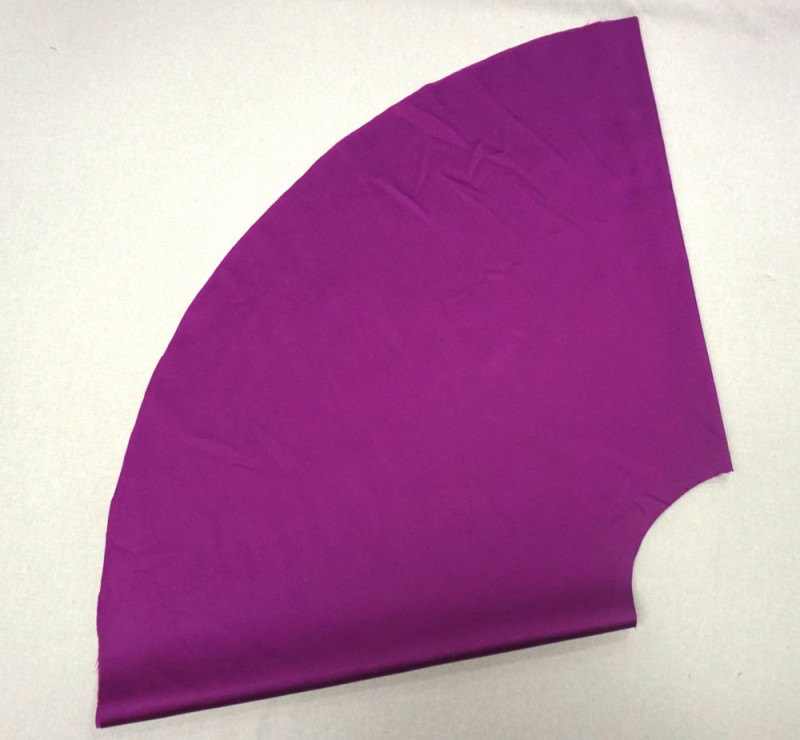
The finished cut piece still folded.
Step 2: Next, it is time to cut the fabric to create the extended waistband. I measure down the fabric 27″ and then over 3.5″. I made the width 3.5″ so that i could have an 1.5″ wide waist, and then a .25″ seam allowance on each side. The waistband is doubled over so all of the measurements are doubled.

Marking the lines for the waistband.

The finished piece.
Step 3: Now for the fun part, the zipper! This is absolutely necessary so that the skirt can be easily taken on and off. I chose a dark navy zipper because I love the combination of the colors, but you can choose any color you like! The first thing you want to do is make a straight cut down the entire length of the skirt where the zipper will be inserted.

Once the skirt is cut, place your zipper down and mark how far in from the waistband it will go. Where the zipper will end, you will sew the skirt back together with a .25″ seam so that the bottom half is back together.

Lay the zipper down on the underside of the skirt and begin pinning for sewing. I ironed down a .25″ seam on each side of the zipper and pinned the fabric to it so that sewing would be easier. You will also want to make sure your zipper is undone and that you place a zipper foot on your sewing machine. I then began to sew my zipper down the left side until I got to the bottom.
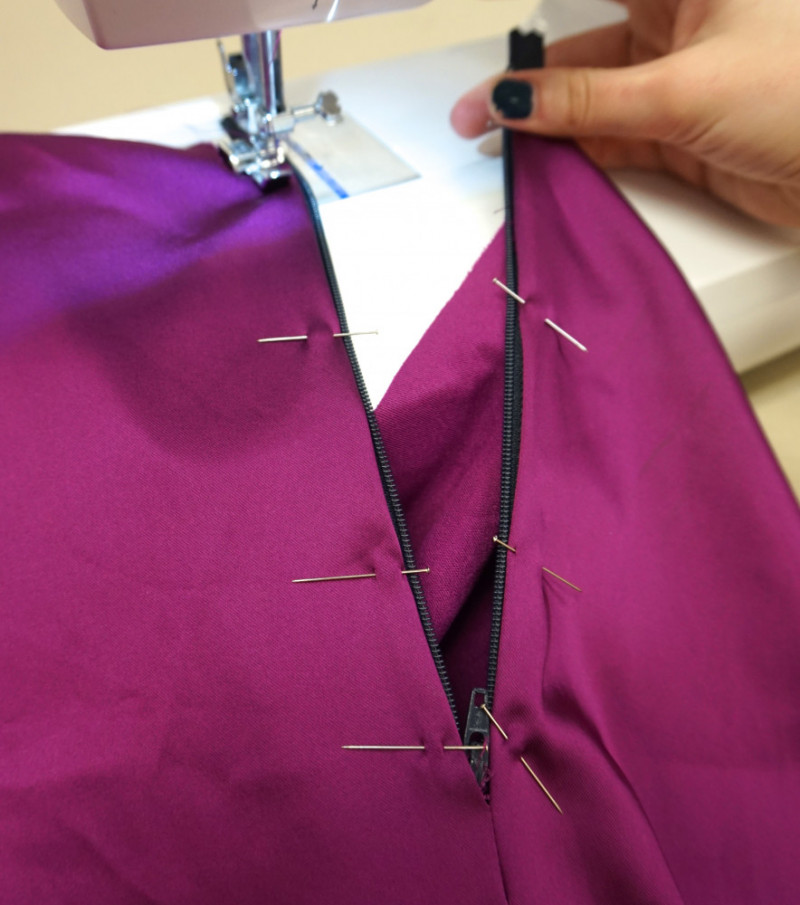
Without removing your needle, rotate the fabric so the you have a continuous seam and the go across the bottom of the zipper. Pivoting again, go back op the other side and your zipper should be completely sewn in!

The face of the zipper.

The back of the zipper.
Step 4: Now to attach the waistband! When I cut the center hole of my skirt, the fabric stretched slightly, so I knew that it would end up being larger then I wanted so I chose to do a gathering stitch and create more movement in the skirt so that I could ensure the waist would be 27″. To do this, change your machine to a 4 or 5 stitch and start one inch in from your zipper and a quarter inch down from the edge. It is very important that you leave the threads on the end very long, so pull them out before you start sewing. Then sew along the entire width of the skirt until you reach the other side of the zipper and stop an inch early, making sure to leave the threads long again. Then, repeat the same stitch a .25″ down from the first stitch.

Taking the long threads, pull them to gather the fabric evenly around the waistband until it is the proper width to fit. Without cutting your threads, place the waistband and skirt face to face and pin them together around the whole width. remember that you only have a .25″ seam allowance and to pin accordingly. Once they are together, it is time to make your stitch.

The reason you leave the gathering stitch in is to keep the fabric rouged, but once your seam is done, you can use a seam ripper and take out these threads.

Once the two stitches are completely removed, fold you waistband fabric over the the underside roll under the edge a .25″. After pinning this fabric around the entire skirt, make a ditch stitch so that the front has clean lines and there are no other visible seams. I made a a twisted waistband which was very easy to do with this fabric. It rolls naturally and adds a lot of detail, but if a flat waistband is preferred it will look great too!
Making sure it fit!
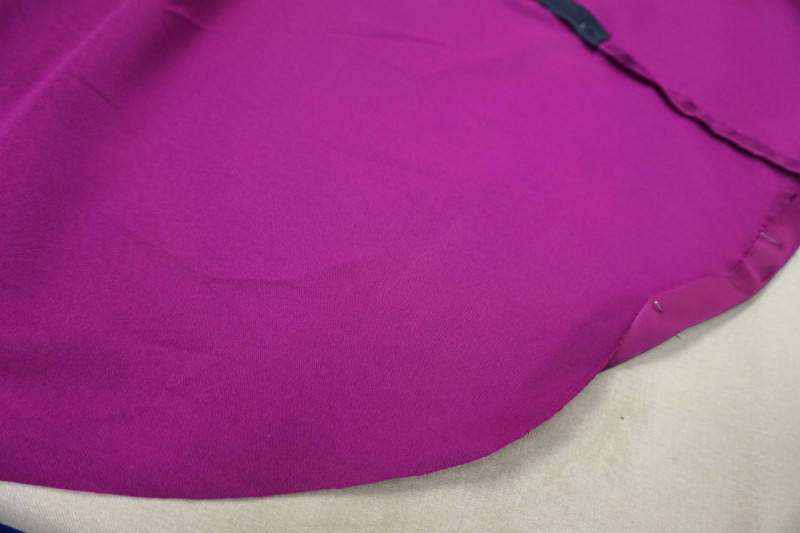
Step 5: Alas! The final step! This part will be easy for all of you experienced sewers too, only the hem is left to do! I made a rolled him so all that is required is ironing and pinning in a .25″ from the bottom of the fabric and then sewing it. Once that was done, I rolled the hem in and made another stitch. This is simply so that there are no visible seams and your skirt is nice and neatly done.
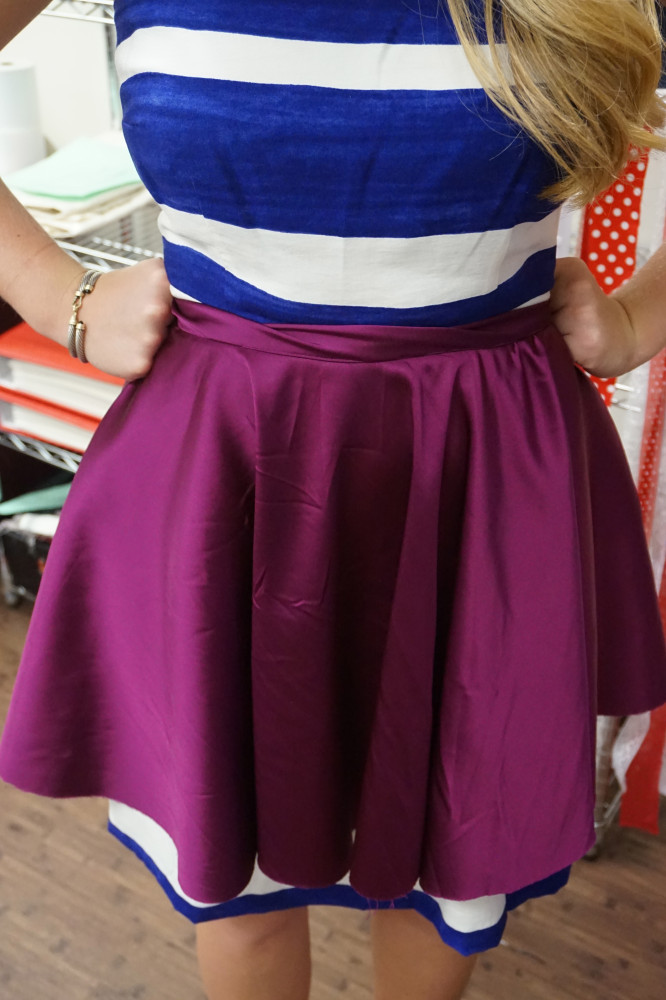
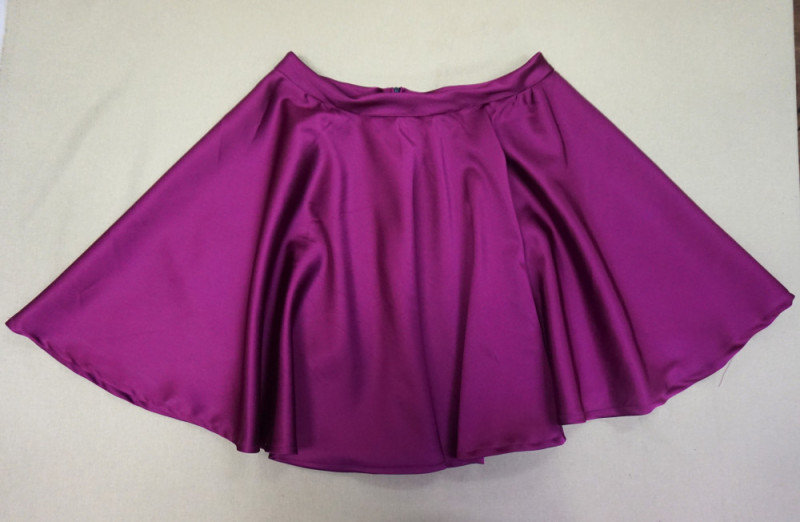
And now my finished skirt! I love the way it turned out and cannot wait for the chance to wear it! This color can be worn year around, but I already have a fall outfit picked out for it including tights, a chunky sweater, and booties. Please let me know what you think about it and comment with your own finished skirts!
Happy sewing!
Sarah McConnico
2 comments
Awesome job.
Beautiful