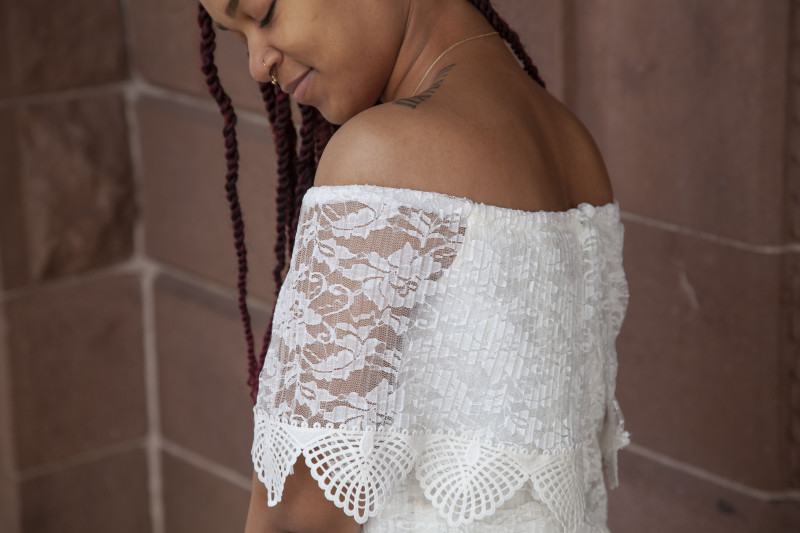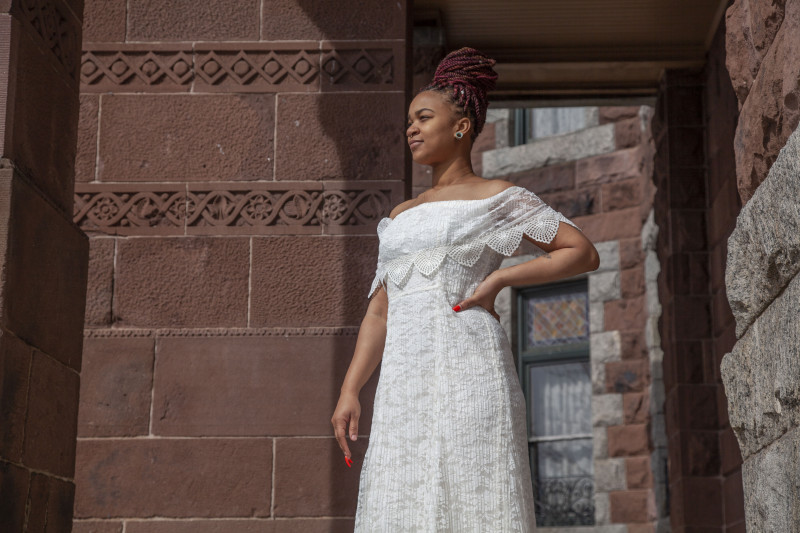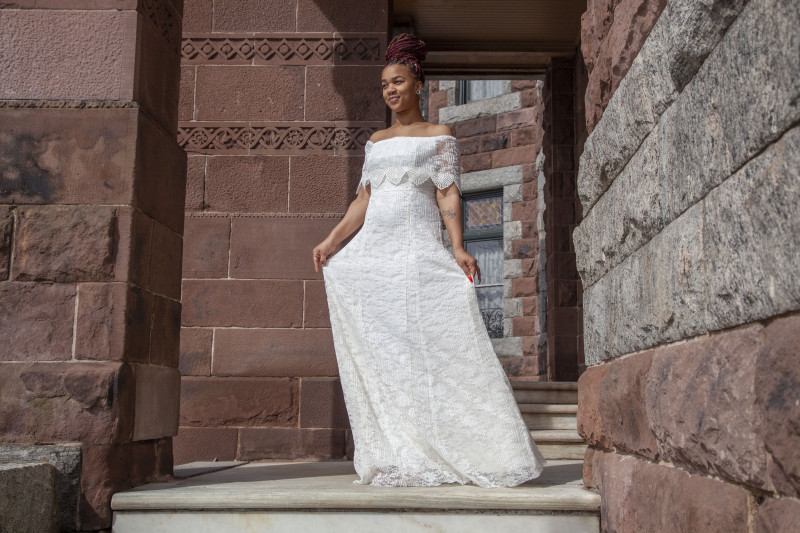
Sundress season is upon us, ladies, and we have the perfect pattern for you! The Sagittaria Dress will have you ready for all your Spring and Summer festivals. It’s long and layered, perfect in a pleated flowing lace, with a flounce that will have you feeling like a goddess. Whether you are attending a music festival or checking out a street fair, this dress will provide the perfect mix of style and comfort. Pop on a large leather belt and a crossbody bag for a great weekend look! How awesome would this dress be for a casual private Spring wedding? Try using one of Mood’s ombre silk charmeuses and beaded trim to bring this dress into a stunning evening look. Where will you wear your Sagittaria Dress? Let us know!


Purchase Materials Used Below:
- 5 yds of Italian White Floral Pleated Lace
- 5 yds of Off-White Crinkled Cotton-Poly Jersey
- 1 502 Off-White 24″ Regular Zipper
- MDF-130 – The Sagittaria Dress Sewing Pattern (free download below!)
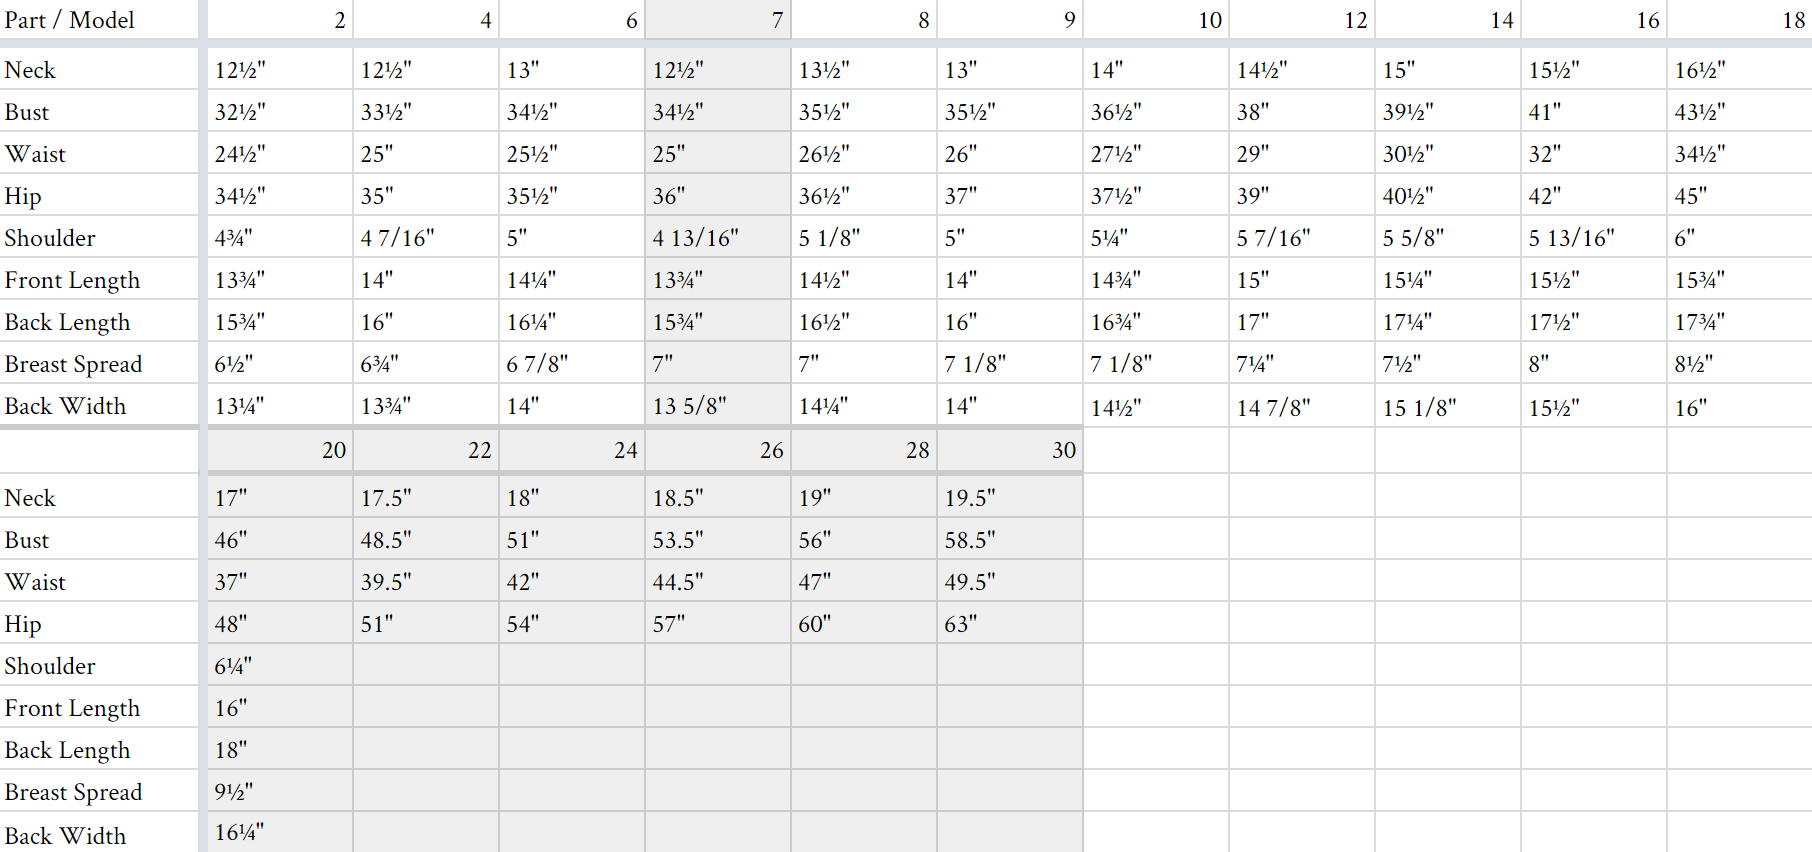
All seam allowances are 1/2″ unless otherwise stated. See chart below for sizing specifications. Note, this specific pattern is available up to a size 30.

Here’s how to sew:
The underlayer and the lace overlay will be sewn the same way.
Bodice: With right sides of the fabric together, pin and stitch the side fronts to the center front.
Next, sew the side backs to the side fronts.
Lastly, attach the center back panels of the bodice. Set the bodice aside for now so you can work on the skirt portion.
Skirt:
Attach the side panels to your front. Then attach the side backs to the center back.
Lastly, with the right sides of the fabric together, sew the front of your skirt to the back at the side seams.

Pin your bodice to the skirt at the waist and stitch in place.

Once you’ve finished assembling the lace overlay, you can attach both layers together.
Line up the top layer of the dress with the underlayer. Using a rolled hem stitch, sew the layers together at the underarm curve. Next, pin the flounce to the top of the bodice and stitch in place.
Fold over the top edge of the flounce twice creating the casing for the elastic. Using a safety pin, guide the elastic through the casing. Stitch the elastic in place at each end.


Pin the dress together at the zipper notch and sew down the back seam.
Your zipper length can be easily adjusted if needed. Pin your zipper in place and stitch.
Make sure not to catch the opening of the flounce at back when installing your zipper.


Complete by adding the hook and eye closure.
Try adding a cute trim to the bottom of your flounce to make it flirty and fun!


8 comments
So simple in lines, but so stunning in realization. Thanks for this, Shavonne
Thank you, Bekah! I’m so happy that you like this pattern! I hope you give it a try!
I gasped seeing the thumbnail for this on bloglovin’. This is just a spectacular dress!
Gracias esta reehermoso
Such a gorgeous dress !
Thanks
Beautiful!!! Any tips for how to make it more fitted in the waist? I plan on using Ankara with no lining.
Hi there! This pattern has princess seams, so all you need to do is curve the seams in where you need to and sew. No additions needed! 🙂
Thank you!!!!