The only thing better than looking good is feeling good, and in my opinion, there’s nothing more comfortable (and flattering!) than a knit dress. With our new crepe and ITY knit collections, we knew we wanted to make something chic and versatile enough for going to work and going out. Enter The Tulip Dress, with tied-shoulder detailing and of course, an uber-stylish tulip wrap skirt! For an LBD or trendy Barbiecore moment, the Tulip Dress is sure to make you feel like a superstar this fall.


Purchase Materials Used Below:
- 3 yards of Isadora Fuchsia Stretch Polyester ITY Single Jersey
- 1 spool of 318 Fuchsia 100m Gutermann Sew All Thread
- MDF332 – The Tulip Dress Free Sewing Pattern (free download below!)
Alternative Recommended Fabrics:

Seam & hem allowance is ⅜”.
A few things before getting started:
When sewing with stretch fabric I strongly recommend using a walking foot attachment to help prevent wavy seams. In addition, fusible tape at the hem (particularly the curved areas) gives the garment a nice finished look.
I used a lighting bolt stitch (sometimes called a stretch stitch).
I hemmed this dress with a single fold. You can use an overlocking foot or serger to finish the edges before folding. As this fabric doesn’t fray, I chose to omit that step.
How to sew the pleats and darts:
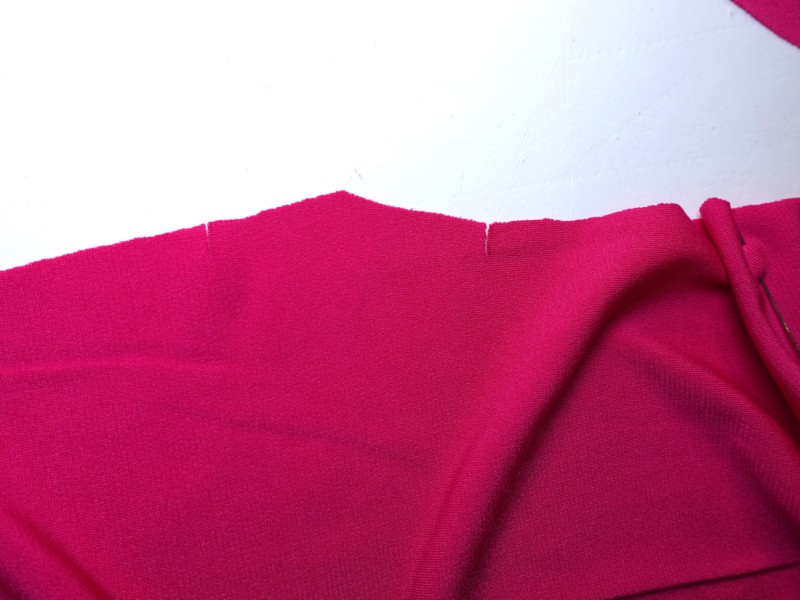
1. Sew the darts on the back skirt & front bodice following the pattern markings as a guide.


2. With the left front skirt facing right side up, match the notches and fold the pleats on each side. The folds should face up. Pin and sew a basting stitch to secure them.
3. On the left & right front skirt, press the hem.
Note: I went ahead and partially hemmed these pieces before attaching everything together, starting at the short side and stopping a few inches away from the long side seams. I did this for the sake of ease, as hemming the short ends after they’ve been sewn into a seam would be difficult with this stretch fabric. This is entirely optional.
How to sew the skirt:

1. Right sides together, sew the long side of the left front skirt to the back skirt, then sew the short side – its hem should line up with the notch on the back skirt.


2. Place the right front skirt on top, right side down. Sew each side.
3. Hem the skirt. If you need to stabilize the hem before sewing, use Soft Stretch fusible tape and press.
How to sew the top:

1. Pin and sew the front bodice to the back bodice, right sides together. Sew up the sides, then the shoulders.


2. Use the fusible tape to fold and press the neckline and arm edges inside. Hem both sleeves and the neckline.
How to complete the dress:
1. Place the bodice inside the skirt, right sides together. Align the raw edges at the waistline, pin, then sew.

2. Press the tie, then hem the edges. Use the fusible tape if needed.

7 comments
Gorgeous
Lovely! I have a purple floral rayon jersey from y’all that I couldn’t figure out what I wanted to do– I think I’ll do this!
Have you guys considered making layered PDFs? Many online pattern creators do this, so that each size can be turned on and off by layer. Less daunting to try to keep track of which line you’re cutting, and ink is so expensive its nice to save where we can. More work, I understand, but it’d be really helpful!
Thank you!
THIS! It’s overwhelming putting so many pages together, finding the line in the middle I need, and tossing all that extra paper and ink.
I love thid
K love this
I love it! I have sewing machine only for three months but the dress looks amazing! Pattern is matching perfectly and with this description/instructions it’s very easy to follow. Dress looks perfect, THANK YOU!
I just finished making this dress and it’s gorgeous and so comfortable. The way it drapes on the body is super flattering and it was easy to make