This may sound weird being a girl, but I have always wanted to know how to sew bow ties. They are easily customizable and relatively simple to make, so I had to learn how for this week’s post! Plus, with a dad and two brothers, I knew they would love this project…they’re already fighting over who gets them!
The necessary supplies are:

- 1/4 yard of fabric (I chose a cotton sateen & poplin)
- white thread
- scissors
- satin pins
- pattern (print here)
- 1/4 yard 0f interfacing
- loop turner
Once you have gathered your supplies it is time to trace and cut your fabric. I cut out my pattern to the size I needed, 16.5, and taped the two ends together so that I had one long piece. Place it on the back of your fabric and use chalk or a fabric pencil to trace the sake on the fabric. I would recommend doubling the fabric over so that you get two pieces out of one cut! Pin the paper through both pieces of fabric to ensure that they do not move.

After this is done twice and you have four pieces of fabric, cut a piece of interfacing roughly into a rectangle long enough to cover the bow tie. I placed tracing paper over the fabric and ironed it on pressing firmly to make sure it was stuck well. I only added interfacing to two pieces, but depending on how thick yours is, you can do all four sides. NOTE: Make sure the glue side of the interfacing to stuck to the back of the fabric and this is the side you place paper over. The glue can ruin your iron if there is direct contact.

Once the interfacing is ironed on both sides trim away the edges so that you have a nice clean piece that is now slightly thicker.

Next, it is time to begin sewing. Place the ends of the like pieces together and sew them using a quarter inch seam. You should have two long pieces now, one having interfacing and one without.

All pieces should be sewn with the faces together because they will be turned right side after sewing. Place the two long pieces together and pin them to make sewing easier. Continue with the quarter inch seam and begin to attach the two pieces going around the entire edge. It is best to not remove your needle and keep a continuous thread. When you are sewing down the second side, leave a three inch gap so that the fabric can be turned inside out.
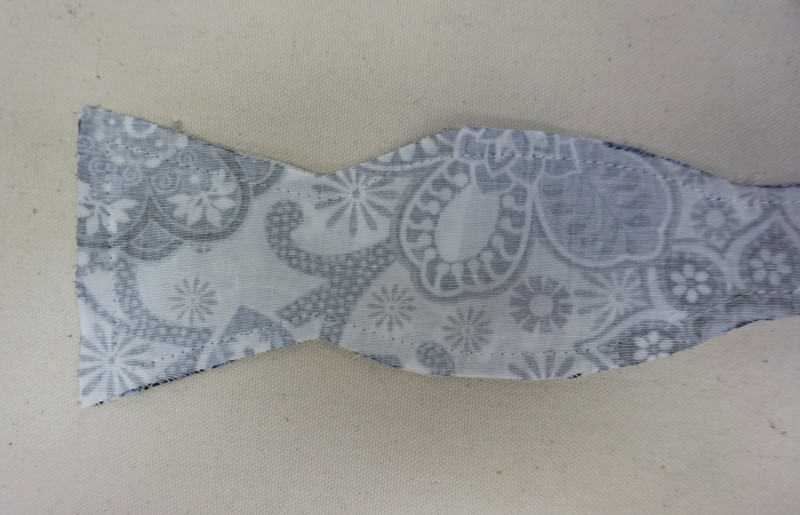

Using a loop turner, turn the bow tie inside out. The pattern is now on the outside and you have a hole in the center. I used the loop turner again the push out the top corners of the bow tie before ironing it. You want to make sure it is completely turned before ironing it so that it has the correct shape. Where the gap is, fold under both side a quarter inch and iron and pin them down.

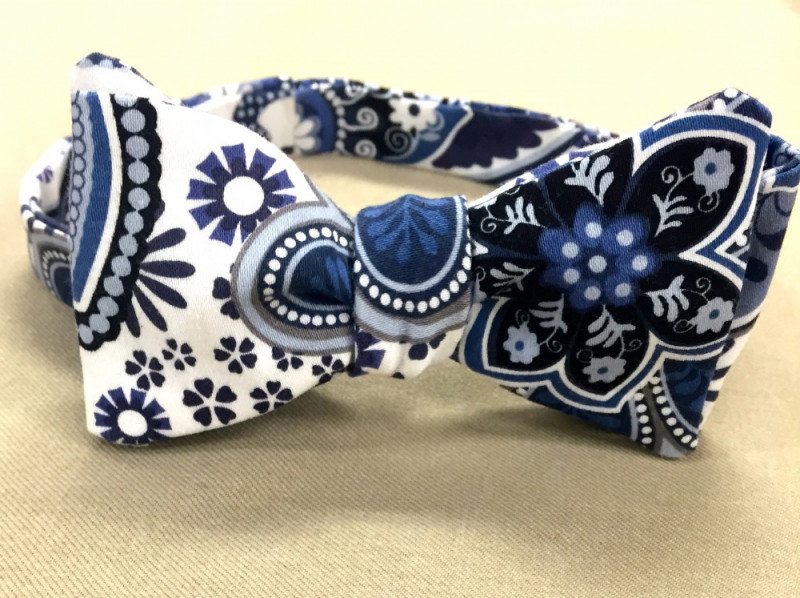
Thread a needle with the white thread and do a ladder stitch to close the bow tie and ensure that no thread is showing. After a final run over with the iron, your bow tie is finished! This project was so fast and easy that I made two (the second fabric is #306483). Cotton fabrics are great for bow ties when combined with interfacing because the are easily ironed and hold their shape, but if you’re feeling adventurous try out a silk fabric!


Don’t forget to send us your finished bow ties, we’d love to see them!
Sarah McConnico
3 comments
If I’m using a cotton fabric what weight should the interfacing be?
Hi Michelle,
It depends on what type of cotton. I used a light weight interfacing on both bow ties, but for the sateen I only lined one side, and with the poplin I did both. If you do an interfacing that is too thick, it will be very hard to turn your bow tie right side out.
Hope this helps!
Thanks Sarah for sharing and for the pattern, I too always wanted to learn to make bow ties. I think they make wonderful gifts. I’ll send you pictures