As the weather begins to turn and our creativity begins to thaw, The Beaufort Peplum Ensemble free sewing pattern comes to us like a dream, taking its name from a charming town on the Atlantic coast where pearls are a go-to and oysters are perpetually shucked. From Easter mornings to summer nights, linen delivers a style synonymous with ease to your upcoming warm-weather events.
At the heart of this two-piece set lies a linen peplum top, designed to accentuate the feminine form by cinching at the waist before gently flaring out. Complementing this silhouette is a pair of straight-leg pants, lined with Bemberg for comfort and versatility, that epitomize understated elegance and elongate legs for a flattering look.
At Mood, we’re about more than just the trends. While the recent rise of peplum primes this ensemble for the limelight, we foresee it establishing roots in the quickly changing landscape of today’s fashion; classy and versatile, it’s obvious that the Beaufort Peplum Ensemble is on the path towards timelessness. Pair the top with a flowing maxi skirt for a free-spirited look, or team the pants with a crisp white shirt for a sophisticated office outfit. With endless styling possibilities, this free sewing pattern allows you to express your unique sense of style with ease. May it bring joy and sophistication to your wardrobe.
Purchase Products Used Below:
- 4 yards of Minerva Heathered Xenon Blue Lightweight Linen Chambray
- 4 yards of Lucidum White Bemberg Lining
- 2 spools of 202 Soft Blue 100m Gutermann Sew All Thread
- 1 each of 350 Pastel Blue 9″ Invisible Zipper
- 1 each of 350 Pastel Blue 24″ Invisible Zipper
- MDF370 – The Beaufort Peplum Ensemble sewing pattern (Free download below!)
Alternative Recommended Fabrics:
How to sew the The Beaufort Peplum Ensemble:
1 – Sew the darts at the top front for the self fabric and the lining fabric.
2 – Sew front to back at the shoulder seams on self and lining.
3 – Sew the side seams on both self fabric and lining fabric.
4 – Attach the lining to the self, right sides together, and sew along the neckline.
5 – Under stitch the lining along the neckline and finish the armscyes.
6 – Create the pleats on the front and back of the peplum, then baste stitch 1/4″.
7 – Sew the back pieces to both sides of the front piece.
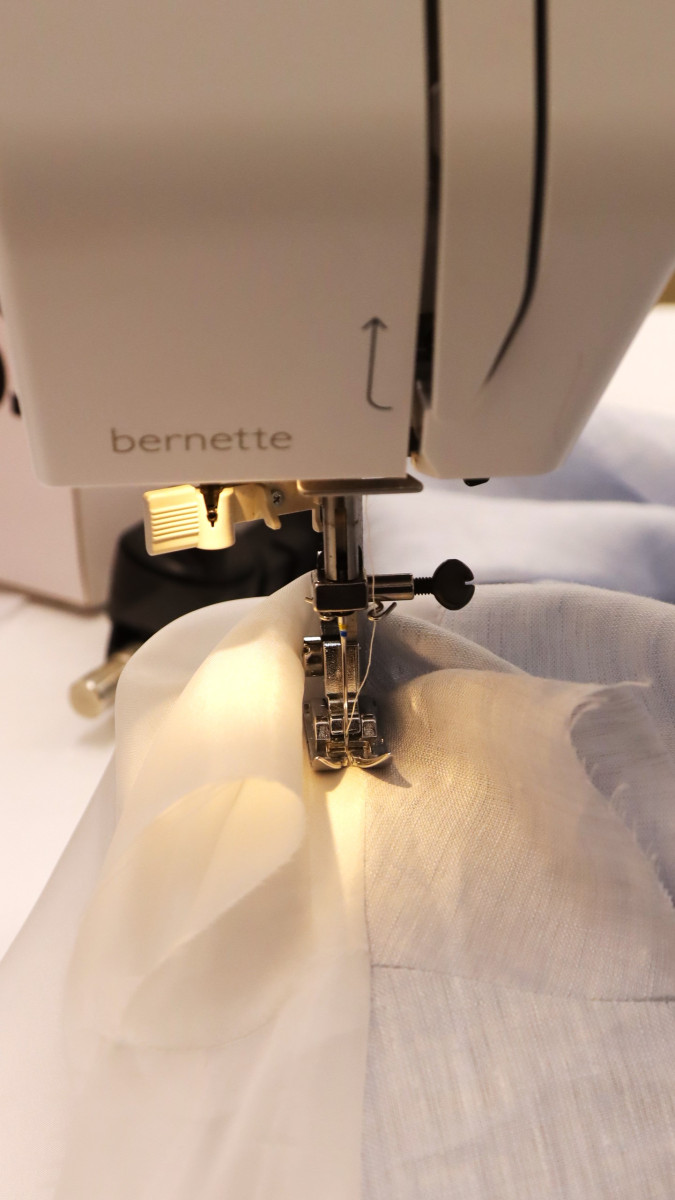
8 – Attach the full peplum onto the bottom of the top and install the zipper to center back.
How to sew the pants:
1 – Sew the pleats at the back of the self fabric and the lining fabric.
2- Sew the two back pieces together at center back.
3 – Sew the two front pieces at center front.
4 – Sew the front and back side seams together for the self and lining.
5 – Sew the inseam of the pant for the self fabric and lining fabric.
6 – Pin and sew the lining onto the fabric, right sides together, and sew 1/2″ along the waist.
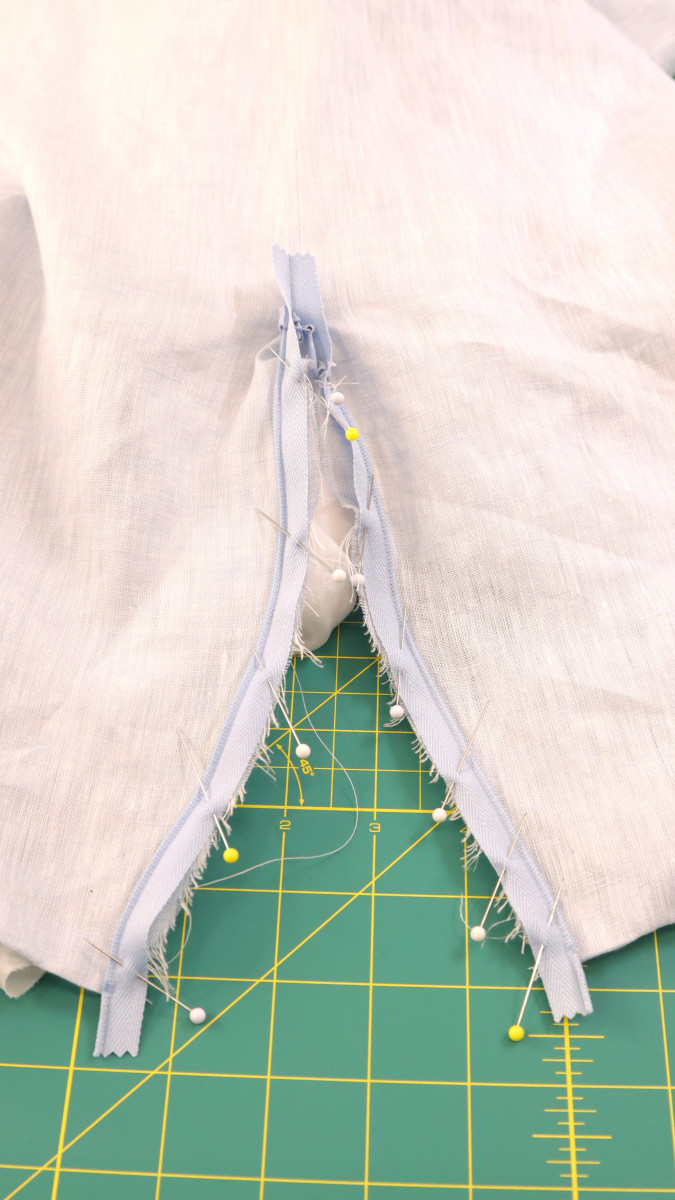
7 – Add the invisible zipper to the top of the side seam.
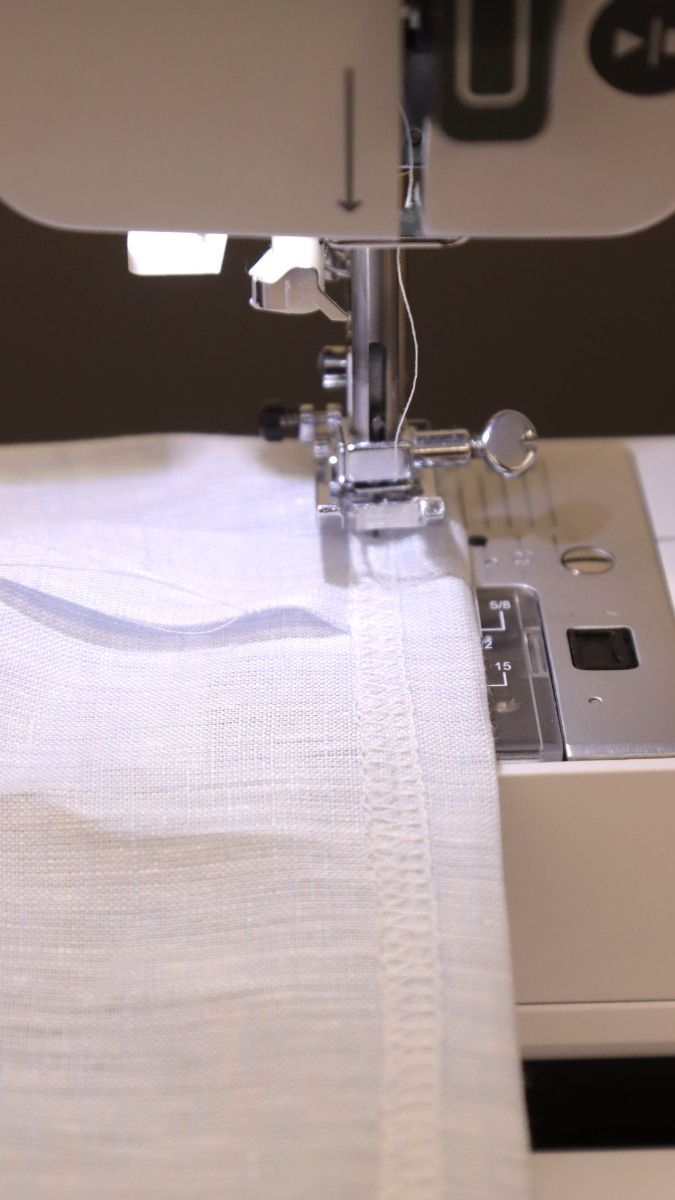
8 – Serge the bottom of the pant legs.
9 – Sew 1/2″ hem.
Sewing can be challenging at times, especially for beginners. Practice patience and persistence as you learn new techniques and tackle more complex projects. Remember that every mistake is an opportunity to learn and improve!


14 comments
I love this style. I think I will add a ruffle to the top of the strap — I’m 80 years old!
Looks adorable. I may make this into a long formal dress – love the idea of adding a ruffle to the sleeves!!
How do you “finish the armseye”? We need a little more detail!
Sew right sides together of self and lining bodices at armholes, understitch both seam allowances and lining, trim down seam allowances or clip to release the curve before flipping right sides out. Iron the armholes afterward from right sides.
Quisiera el patron pero no consigo como descargarlo
Hello, you can contact patterns@moodfabrics.com for any issues
Hi, I’m a beginner and would like some more info regarding the peplum. Is it lined and how does it get connected to the top part? And how is the hem finished on the top?
Thank you!
Hello Simone, the peplum is the only pattern piece that is not lined. You can sew a basting stitch to the top of the peplum, 1/4″ SA, once the pleats are in place. Pin the top of the peplum to the bottom of the top, right sides together, and sew with 1/2″ SA. Finish the bottom of the peplum by creating a rolled hem 1/4″.
I would like to take the opportunity to say THANK YOU to all the persons who have make these magnificent designs and a wonderful website available to a poor island girl like me, who can sew but can not draft a pattern to save my life!!!!!! Big up and Nuff respect.
Lovely, but can you explain how to finish the armscyes (step #5)?
Sew right sides together of self and lining bodices at armholes, understitch both seam allowances and lining, trim down seam allowances or clip to release the curve before flipping right sides out. Iron the armholes afterward from right sides.
This is an adorable outfit, and it’s silly to argue with FREE. But the instructions are sparse and confusing. In attaching the lining to the top, I suggest leaving the side seams open, then sewing the armholes before carefully aligning seams to sew the sides.. If you sew the sides first, then it’s a struggle to align right sides together to sew the armholes. In my opinion.
Hello,
Would this be a good pattern for a beginner?
Hello, since this pattern is sewn with a lining, we recommend it for intermediate sewers. If you omit the lining it will be much easier to sew.