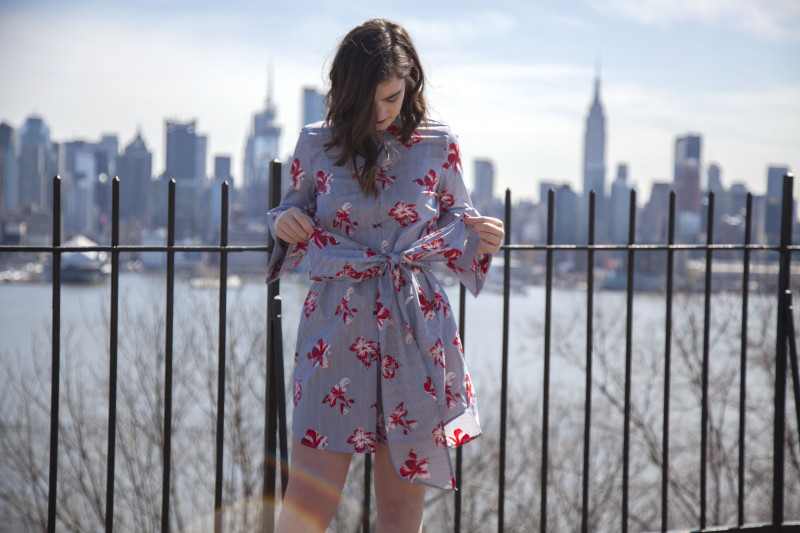
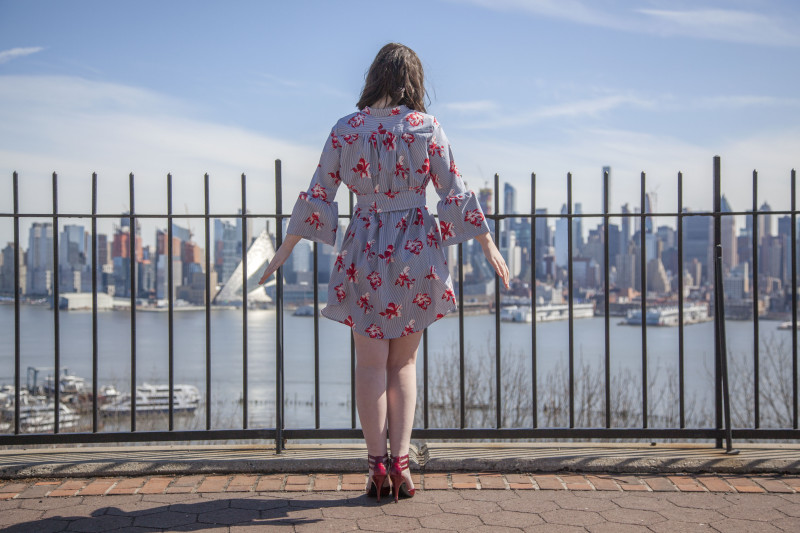
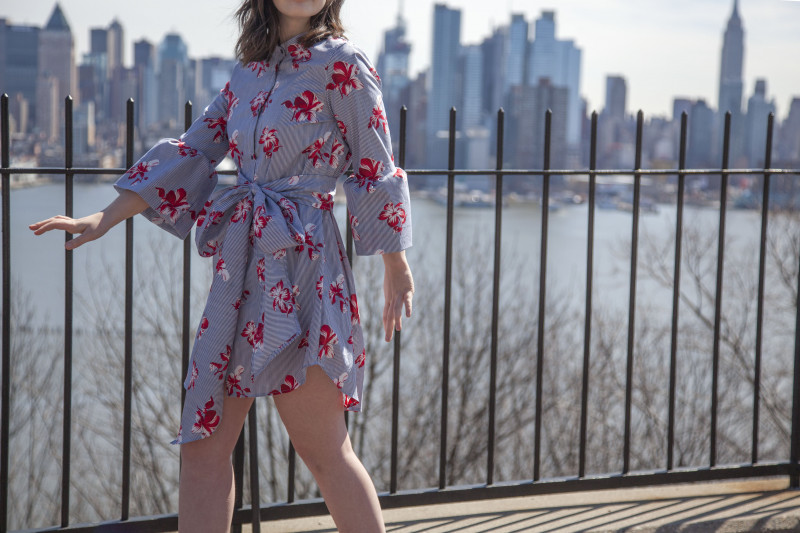
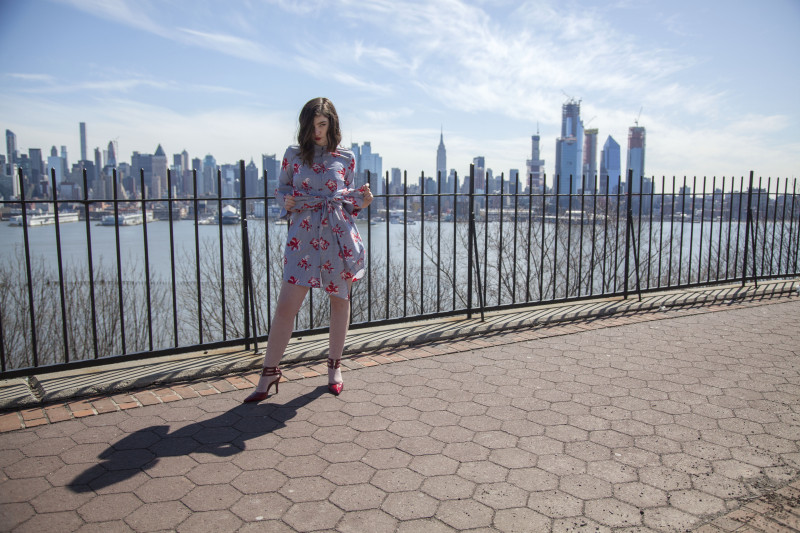
As we get closer to spring, I find myself thinking more about sipping tea and attending garden parties or walking through botanical gardens, smelling the daffodils as butterflies lazily float over a medley of hyacinth and tulips. To match this hypothetical perfect spring day, I figured people would need the perfect spring outfit, and the Lunaria Dress is terrific for any occasion this season. Create it with a stunning floral fabric for those fancy Sunday brunches, or in a solid color for a more minimalist look while exploring SoHo with some heels and shades to match. Featuring a tie to cinch the waist, and flounce sleeves to add a little bounce, this shirt dress can be dressed down or spruced up for any occasion.
 Fabric & materials used:
- 3 yards Red and Blue Floral Striped Cotton
- 1/2 yard Black Single-Faced Fusible Interfacing
- 8 Italian Navy Glossy Shank Back Buttons – 16L
- White Gutermann Thread
- MDF038 – The Lunaria Dress Sewing Pattern (free download below!)
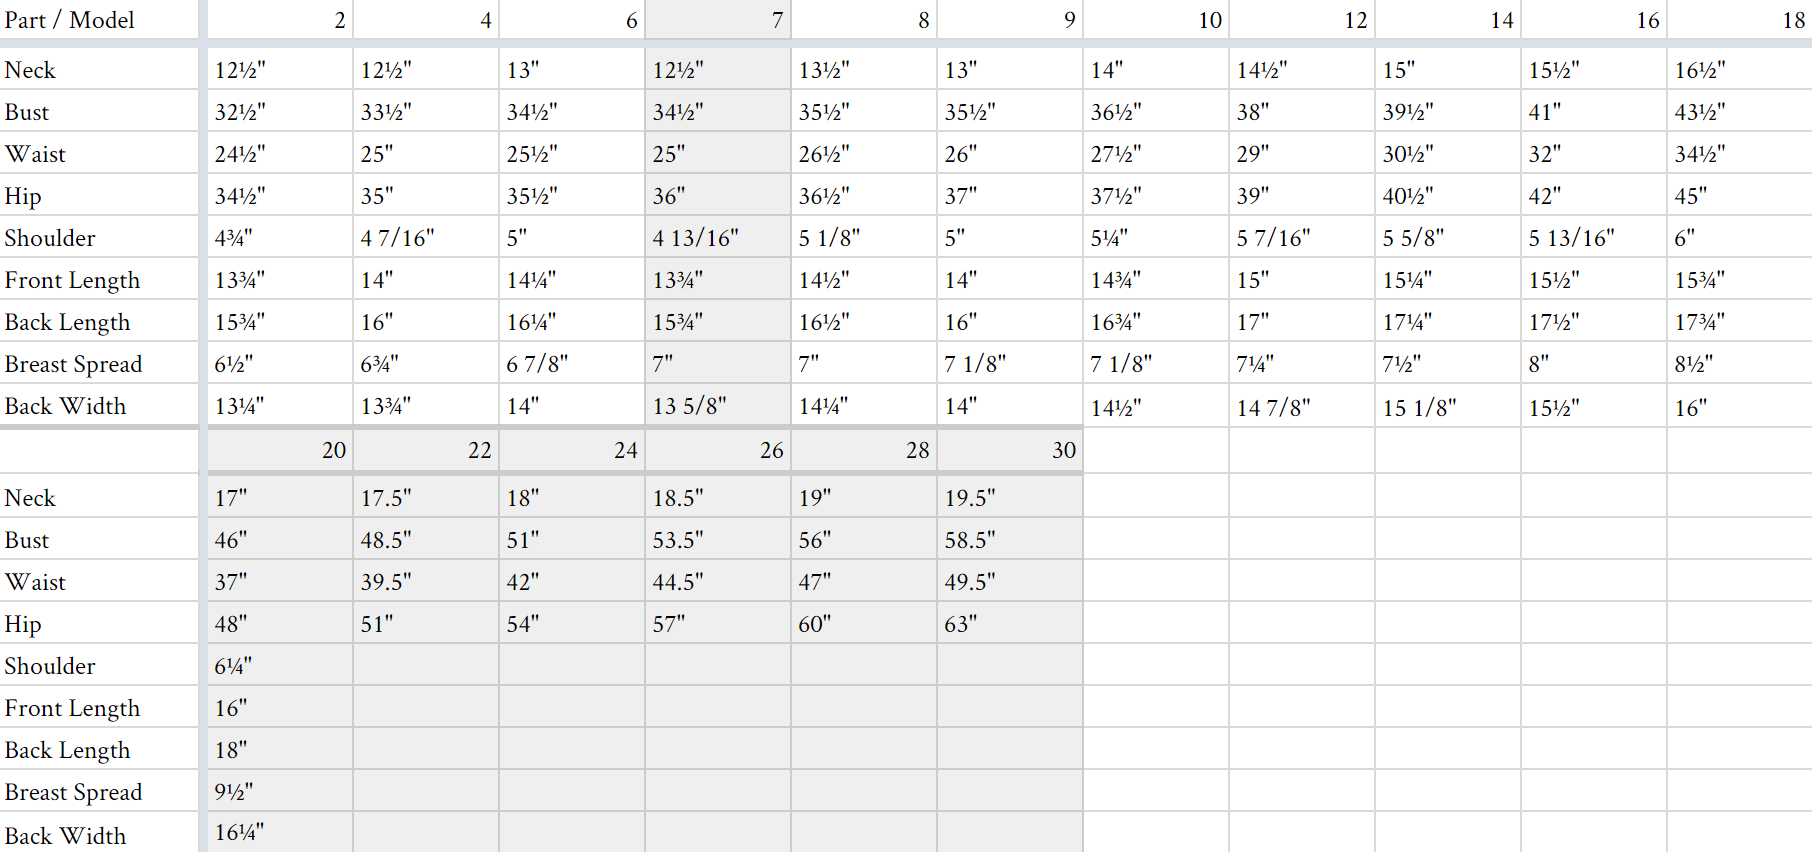
All seam allowances are 1/2″ unless otherwise stated. See chart below for sizing specifications. Note, this specific pattern is available up to a size 22.
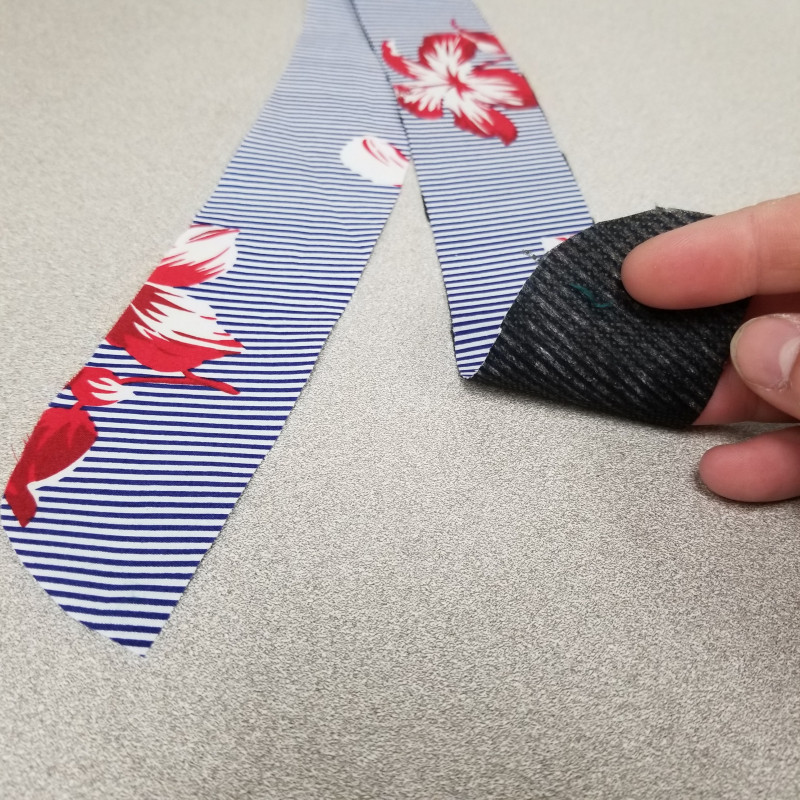
I always like to start with interfacing any fabric pieces that need to be stabilized. This way, when it comes time to sew them, I can go right ahead and do it without having to slow down.
For this dress, I recommend interfacing one of the collar stands, as well as 1.5″ along the center front of the dress, which will become the button plackets.
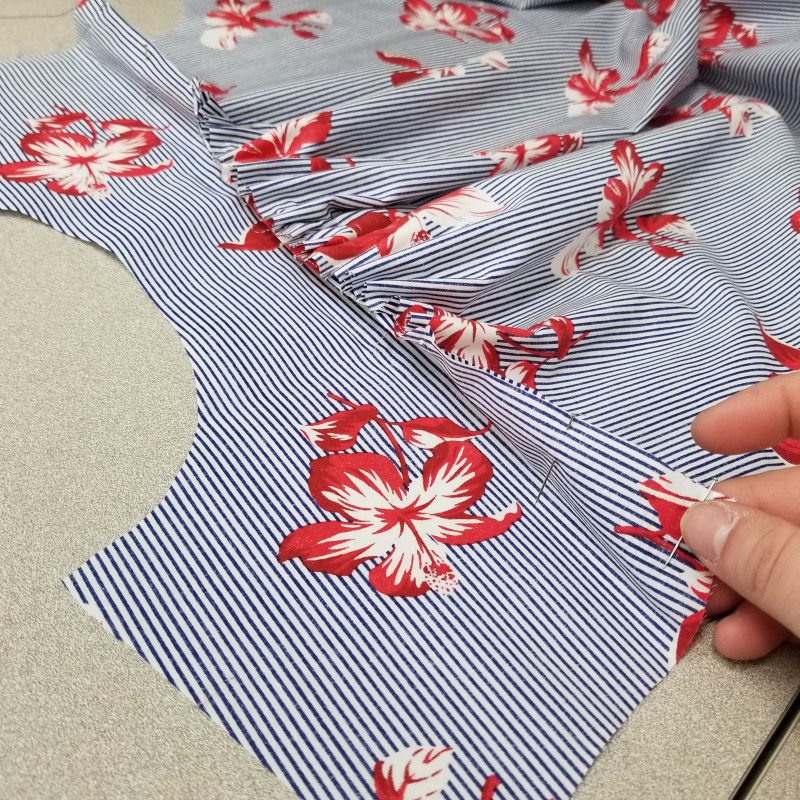
Once you’re done with the interfacing, you can set those pieces aside and start on the back of the dress. There should be two notches toward either end of the lower back panel; with the fabric faces together, pin the back flat to the back panel up until these notch points. In between the points, evenly gather the remainder of your lower back fabric, like you can see below. Stay-stitch into place.
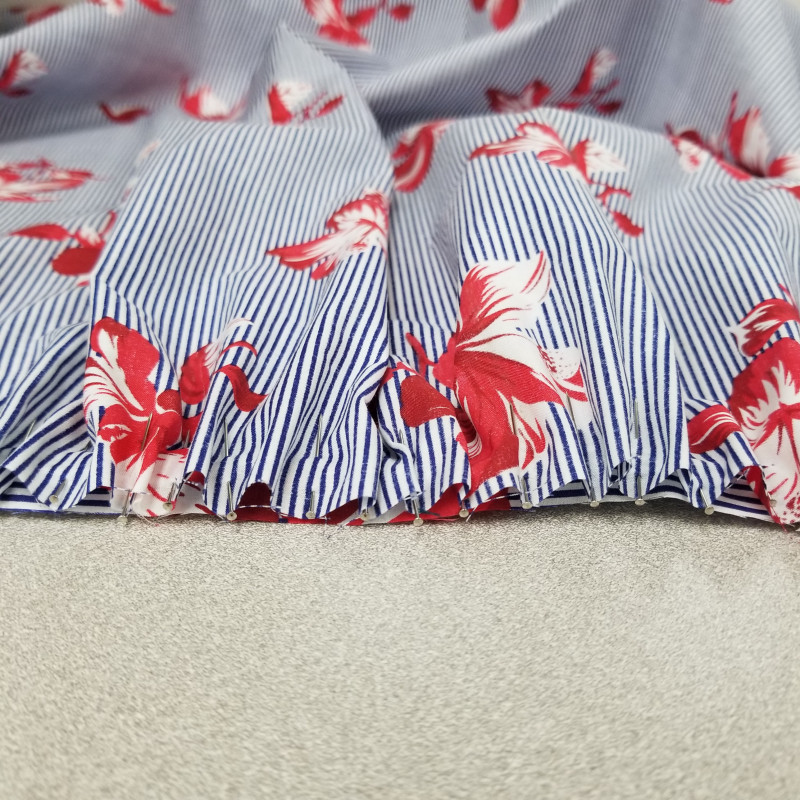
Take your second yoke panel and sew it to the wrong side of your garment. The lower back panel should then be sandwiched between both yokes.
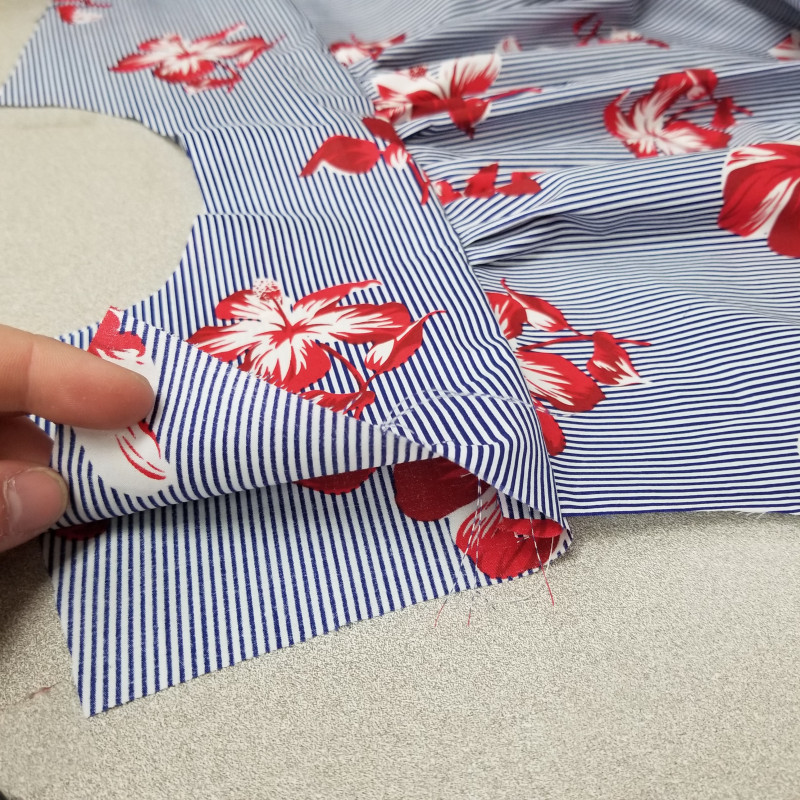 The back of your dress is complete! Set it aside for the moment and grab your front dress panels.
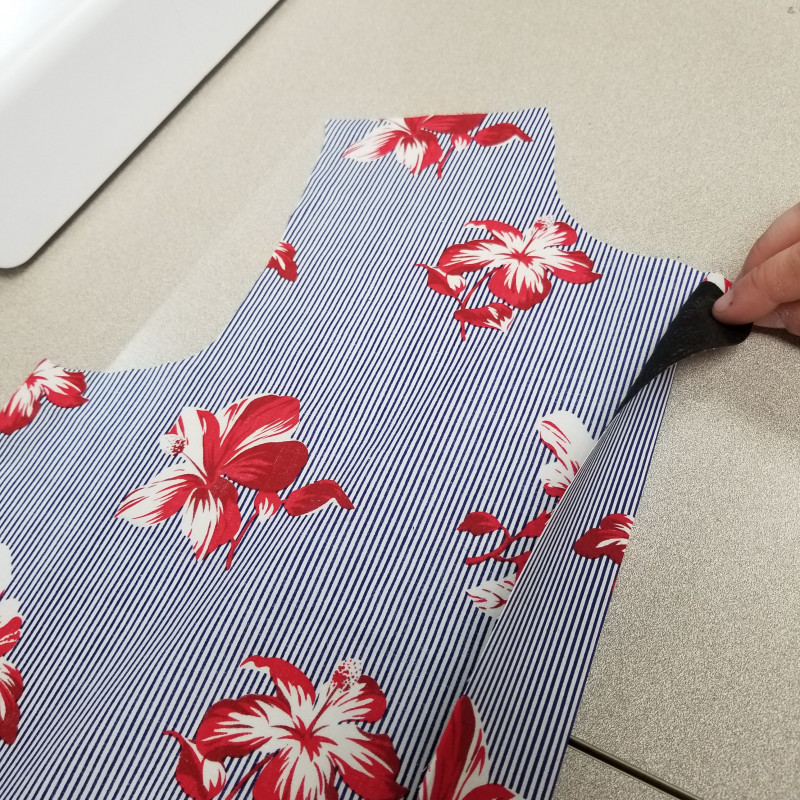
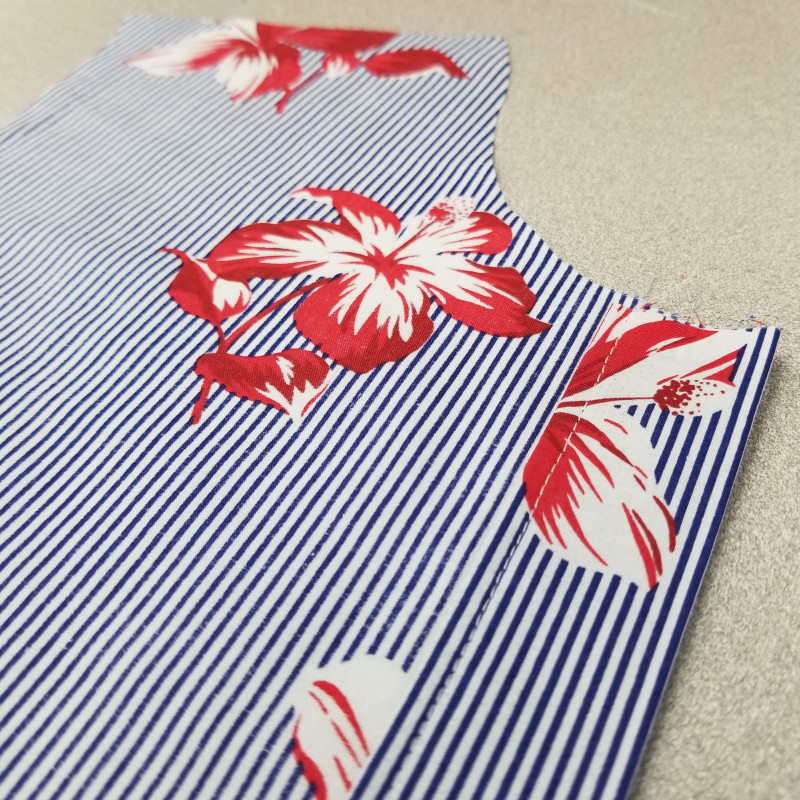
Fold the center front edges 1.5″ inward toward the wrong side of the fabric, like above. Fold the raw edge under another 1/2″ and stitch it down like in the photo below.
Attach the front panels to the back yoke at the shoulders and sides using French seams, and then sew on the interfaced collar along the neckline.
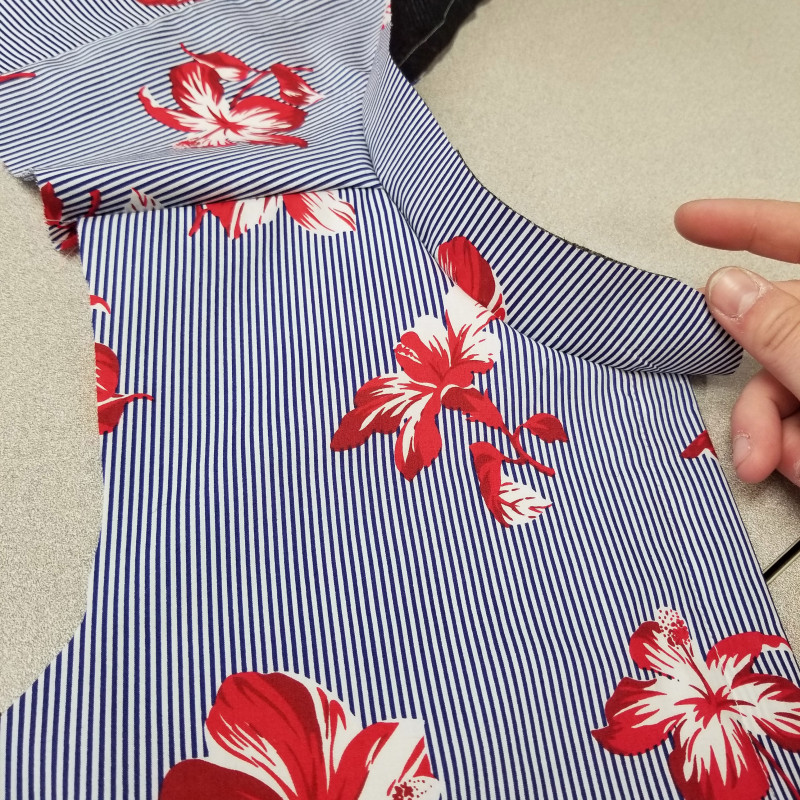
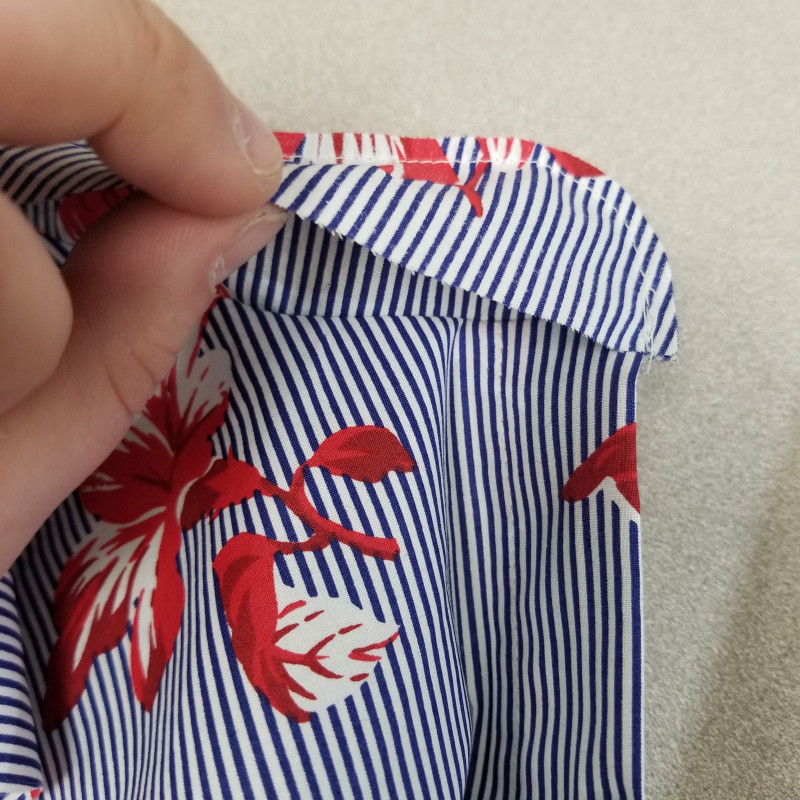
Face the collar with the second panel, trim the seam allowance and then turn it right-side out and press. Fold the raw edge inward and slip-stitch along the bottom of the collar.
Add the top portion of your sleeves to the armholes of your dress. Again, French seams are recommended here to avoid any raw threads pulling apart inside your garment.
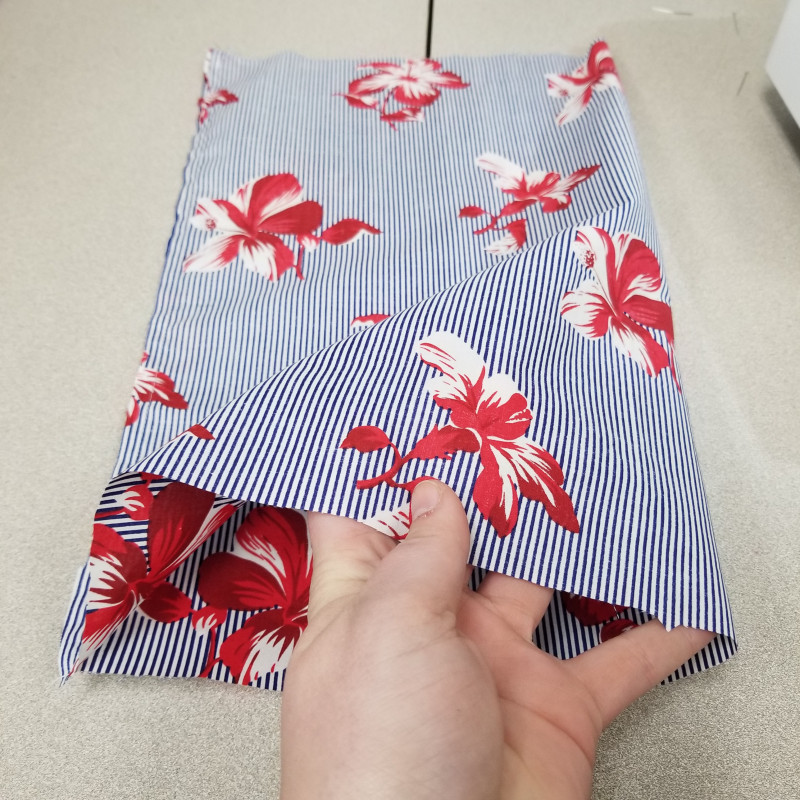
Next, take your sleeve flounces and found each in half along the two notches, fabric faces together. Sew along the edge opposite the notches, like you can see above.
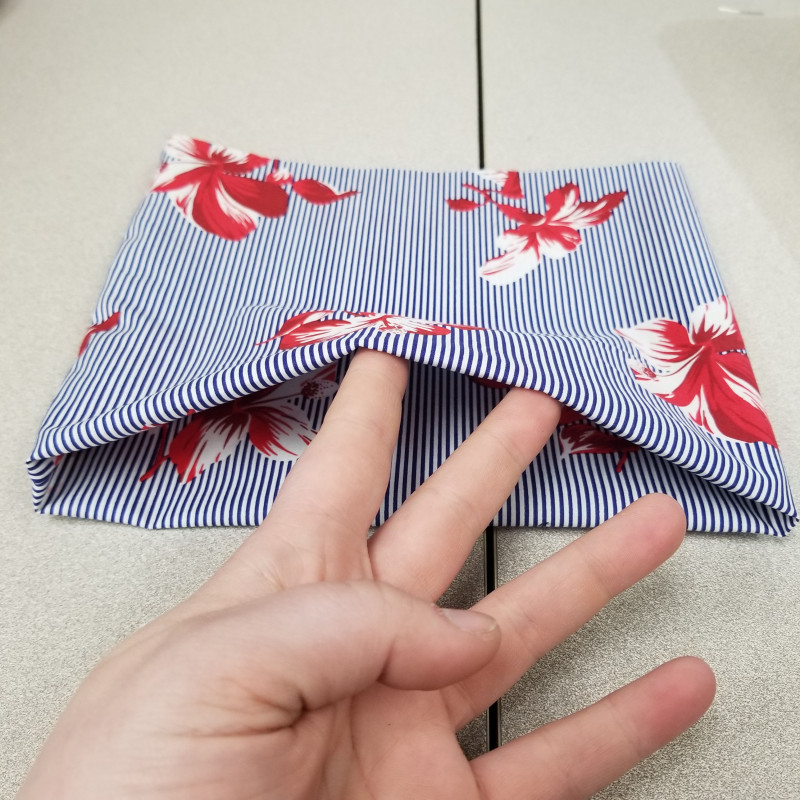
Fold each flounce in half again, this time matching up the notches. Evenly gather the flounce onto the bottom of each sleeve and sew.
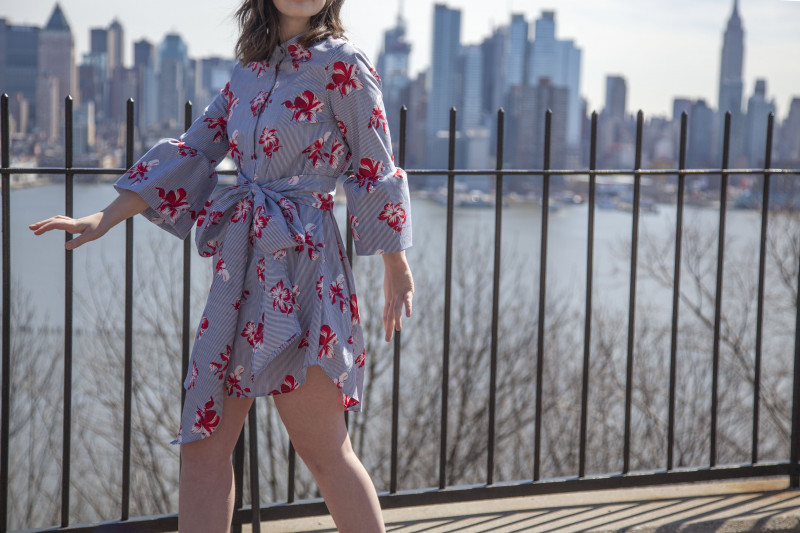
The last thing you’ll need to add is your buttons and buttonholes, following the guide on your pattern, and then the dress itself is complete!

The belt is made up of two long strips, sew together along the shorter flat side to create a center back seam. The raw edges can be finished with a simple rolled hem.

I absolutely adore this dress, especially with this pinstripe floral fabric. I can see it lasting far past spring and through summer. Can you say perfect end-of-summer bash outfit? What fabric might you be using to make your own?



31 comments
Vaooov Thanks
I’m just in love with this dress
I own a lot of quilting cotton ; would it work in this pattern? I am a rather new sewer brand new to garment sewing! I love this dress on you and the fact it covers my always chilly arms.
Hello! Yes, a lot of of quilting fabric is similar to cotton poplin and shirting, so a lot of your stash should work well for this. Be sure to hold them against your skin or other fabric to check the translucency – you don’t want to make a whole dress and then realize it’s semi-sheer!
Adore the curved hemline!! And aren’t you a sweetie for sharing. I have so much respect for yall talented pattern drafters. NOW if I can just figure out how to download, upload, print, and USE, it. I am not tech savvy. Would trade sewing lessons for technical help. Thank you.
Thank you
Just sitting down to sewing again and LOVE this dress! Especially great to find a pattern for a shorter girl 🙂
I’m relatively new at sewing and made this in a few hours. I definitely had to watch a tutorial or 2 on French seams and do a few practice runs making button holes, but all in all it was easy.! As a tall girl this works perfectly with leggings and shorts. Thank you!
Hi, love this!
Are the measurements finished garment or body measurement?
Thanks! Those are body measurements. 🙂
I love this dress and have It downloaded, have the fabric I ordered, and ready to cut it out. Now I have a question about the seam allowances. Is the half inch already added to the pattern or do I add the half inch? Thanks so much! I love your fabric, pattens, and inspiration!
Hi there! A 1/2″ seam allowance is already included. 🙂
This dress looks so cute!
Is it a pattern with a seam allowance?
Yes, a 1/2″ seam allowance is already included! 🙂
love love the dress. Looks so beautiful on you.
am so excited to have found this site…am really looking forward to trying these really luxurious fashion
Thank you so much for your wonderful pattern. I have 4 daughters and a daughter-in-law and it took some time to find the right material for the right daughter. My eldest daughter snatched up the fabric I ordered so I’m going to make this for her. She’s short and I’m going to just add a few inches to make her a dress
This is an awesome pattern!!! The sizing was on point, the silhouette is flattering, and the flounce adds great personality without much difficulty. For my next make I think I’ll do two adjustments: adding a couple inches to the hem so I can wear it to the office, and trimming the curve of the sleeve where it meets the shoulder — I had some trouble getting the arm hole aligned, but I’m a beginner sewer so that might just be me!
Ok I’m feeling so lost here with this pattern. I’ve only been sewing for about a year and so far everything I’ve learned has been from various online sources. And i’ve printed out and completed 2 other garments from this site, but I’m struggling to understand the first step after adding the interfacing. Could you possibly help me to understand what I’m supposed to be doing? I absolutely love this dress and have already cut out the pieces in a beautiful navy brushed faille fabric I just got and I’m so bummed to not even be able to get past the first stop.
Hi there! We all have those moments sometimes :). Hopefully this will help! First, take a look at this How to Sew Gathers Tutorial as it pertains to the instructions below.
1. Sew two rows of basting stitches at the top of the back, between the two notches.
2. Pin the top of the back to the bottom of one yoke, right sides together. Match and pin at the notches, leaving the space between them free. You will have an excess of fabric on the back piece between the notches.
3. Gather the excess fabric on the back between the notches, and pin in place. Stay stitch the two pieces together.
4. Take the remaining yoke and place its right side against the back’s wrong side, aligning the edges and sandwiching the back. Match the notches and pin. Then sew.
5. Bring both yokes upwards so that their wrong sides are facing each other. Press the seam. The back should now be complete!
Oh my gosh thank you so miuch!!!! That makes so much more sense now! Thank you so much for taking the time to ecosystem it in a bit more detail because I’m pretty sure I’ve got it now!
Yay! I’m so happy it helped! I love detailed instructions 🙂 Good luck and happy sewing!
Will broadcloth work for this pattern? I fear that it may be too stiff, but I was planning to recycle it from some old huge button ups that I got from someone, thank you, I love your design so much <3
Hi Sarah, cotton broadcloth would work just fine for this type of dress.
Is there a chart for finished garment measurements?
Hi there! We’re sorry for the delay in responding to your question! We get dozens of comments and questions each day, and so many questions get buried and, unfortunately, unanswered. We are now focusing user support on patterns 2 years and newer. We hope this will prevent questions on our more current patterns from going unanswered. Although this is late, we wanted to respond in case anyone else has the same question: Our older patterns unfortunately don’t have finished garment measurements. But use our size chart to find your size, and then take a few quick measurements of the pattern to determine your desired ease. 🙂
Hi
W
Would linen work for this pattern?
ty!
Hi, This project would come out really nice in linen!
I cannot figure out which direction to put the sleeves. Do the double notch which is on the sleeves go on the back or the front of the dress. I don’t want to put the sleeves on backwards. Do I sew these on before I sew the side seams together?
I am a little confused, the instructions are not clear.
Really cute dress though and I am excited to finish it.
Thank you,
Chris
Hello Christine, the side with the 2 notches indicates to sew at the front of the dress. Before attaching onto the dress, sew a basting stitch along the top of the sleeve cap from one side to the other with 1/4″. Pull the loose threads to lightly gather the top of the sleeve sleeve cap. Sew the inseam of the sleeve together and make sure the sides seams of the dress are sewn also. set the sleeve in to the armscye and sew with 1/2″ SA.