
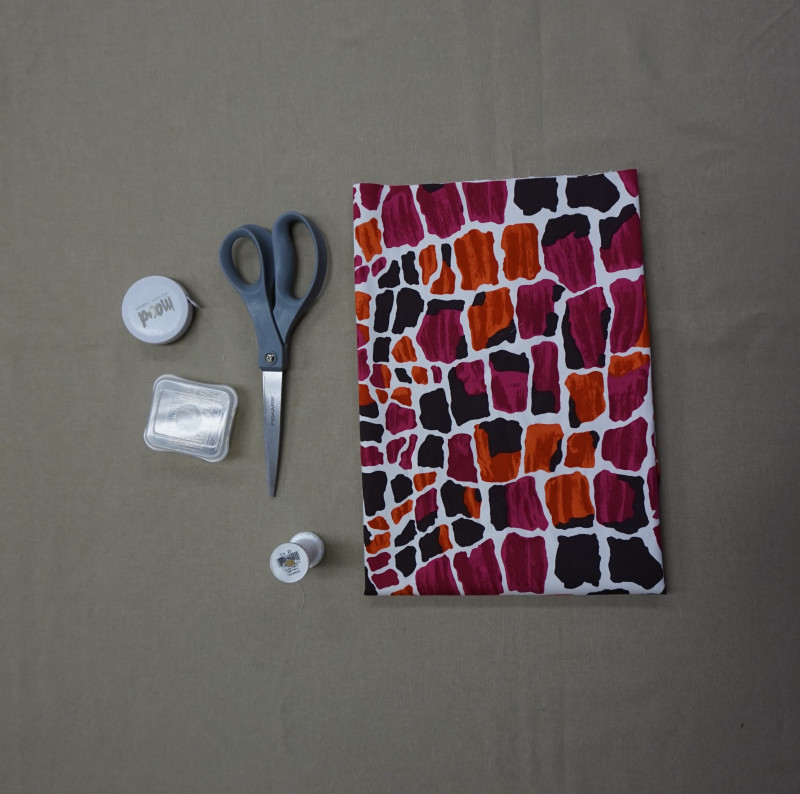
Do you need dorm room inspiration to dress up your dorm room? These tutorials are simple and easy to follow, making your dorm room very unique! Save money on dorm room decorations with these at home DIY projects. Mood fabrics is home to an expansive amount of fabrications and colorations making it simple for you to collect the fabric needed for these projects. Make your dorm feel like home with these simplistic yet fun ideas!
Dorm room Tutorials:

1) Bulletin Board Decor
2) Pillow
3) Curtains
4) Poof Ottoman
5) Tapestry
6) Seat Cover
________________________________________________________________________________________________________________
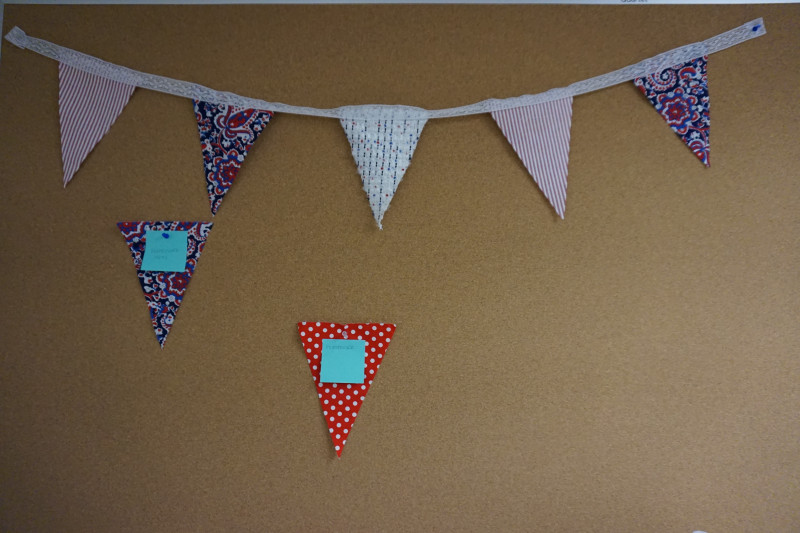
Decorate Bulletin Board
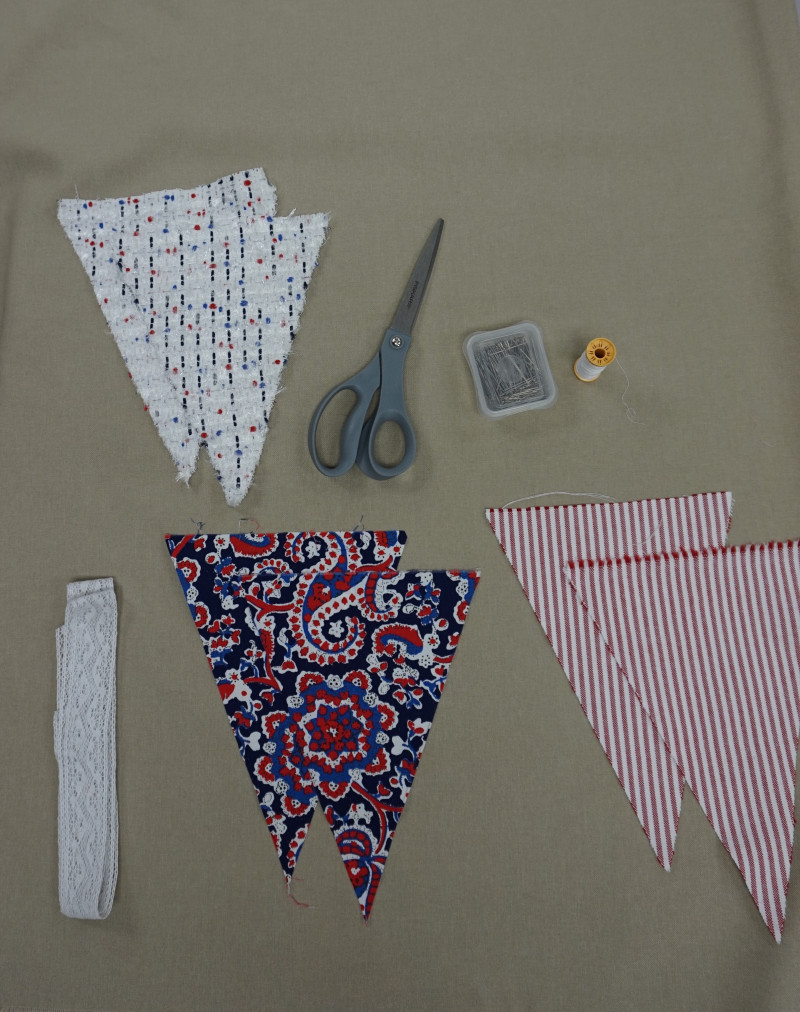
Items needed
½ fabric – can be same or different fabric
Striped Fabric, Paisley Fabric, Abstract Fabric, Polkadot Fabric
Step 1:
Fold over each half-yard with the face out and iron the fabric so that any wrinkles are pressed out. Once your fabric is folded it will be 9″ in length, the exact length of the pennant. The top of the pennant will be 7″ wide so measure in 7″ from the selvedge. To create the point, measure 3.5″ in from the bottom and make a mark. Then connect the top two ends to the point and you have a perfect triangle! Once your first pennant is measured, alternate sides measuring over 7″ and they will all be the exact same size.


Step 2:
Once all of the prep work is done you can begin to make your cuts! They should be fairly simple, just make sure you use a pencil with a dark line so that you can see it well enough. I also recommend using fabric scissors that are very sharp. The cotton fabrics are all woven so you want to prevent fraying!


Step 3:
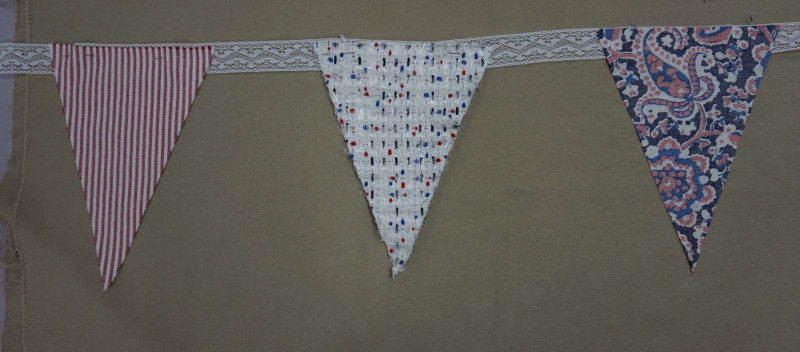
After all of your fabric is cut, begin to pin your pennants on your trim. You can use all different types of trim, I would recommend measuring your bulletin board to figure out how long you’d like to make yours. Leave 5 1/2” on each side for hanging purposes. Begin to place the pennants neatly; I placed mine 4” apart from each other. Make sure you place them with the right side facing down, you will be sewing the trim overtop of the pennants.

Step 4:
Begin to sew each pennant onto the trim, sew on the upper edge back tacking, and do this for all pennants. Sew the bottom edge as well so the pennants lay flat on the trim.


Step 5:
Fold each edge of trim on the ends over about an inch; sew this down to have a neat edge on each side.

Hang up your newly decorated banner to add color and life to your bulletin board. You can also use a few on the pennants you cut out to decorate your notes and to keep you reminded of what’s going on throughout the semester.

________________________________________________________________________________________________________________
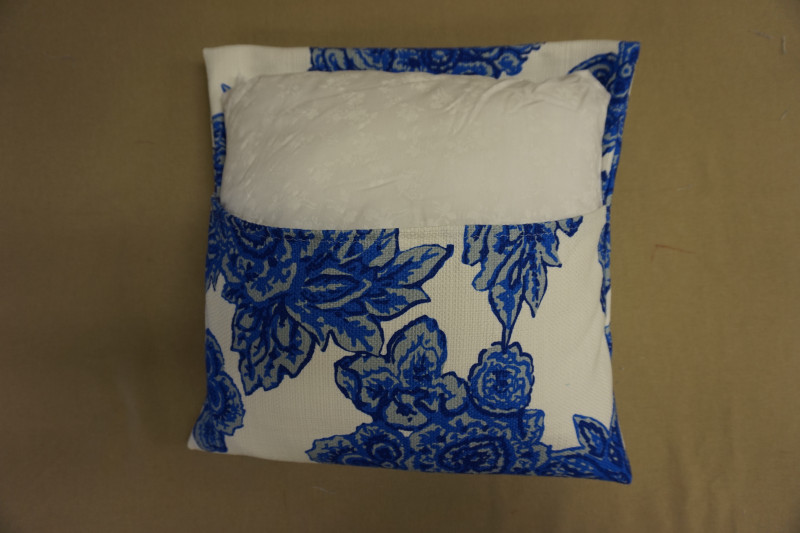
DIY pillow

Items needed

This pillowcase tutorial is very easy to make, this is a great beginner’s project. Make a few and they will make for a great dorm room decor idea! Not to mention a very comfy bed or lounging area! ZzZzZ
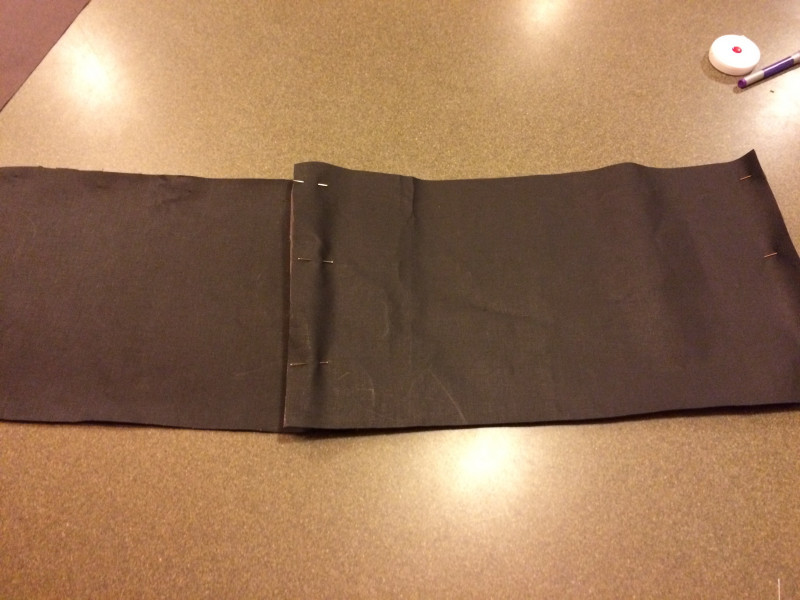
Step 1: I started out with a 14″ X 14″ pillow form. Add 1″ to the width of you measurements for seam allowance. For the length double it and add 6″. This will allow for the overlapping of the sham and seam allowance. The final measurements I cut on my pillow were 34″ X 15″.
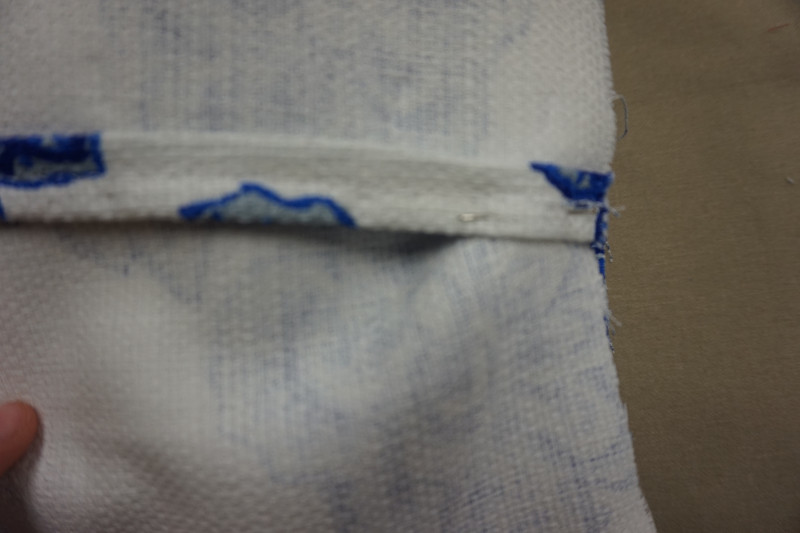
Step 2: Next, on the short sides,chalk in a .5″ seam allowance turn your edge over .5” , pin and iron. Then, chalk another .5″, turn it over on the .5″ , pin and iron. Then, sew the seam along the edge. Do the same thing to the other short side. For the long sides, only chalk a .5″ seam allowance on both long sides.


Step 3: Once your short sides are hemmed, lay your fabric on the table right side up. Take your pillow form, place it in the middle of your fabric, and fold your fabric over your pillow.


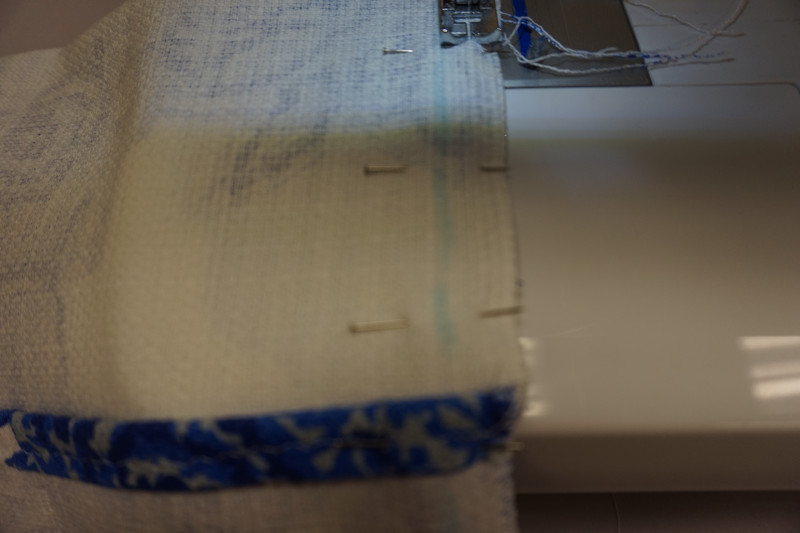
Step 4: Make sure the fabric is lined up on either side and fits snug around the pillow. Then, pin the two flaps of fabric together on either side.
Now, slide the pillow out of the fabric and pin both sides of the fabric together along the sides.

Step 5: Now, sew a straight line along the .5″ seam allowance you previously chalked along the edges you have pinned. After you’ve sewn both sides, turn your pillowcase right side out through the open flap you have in the middle.
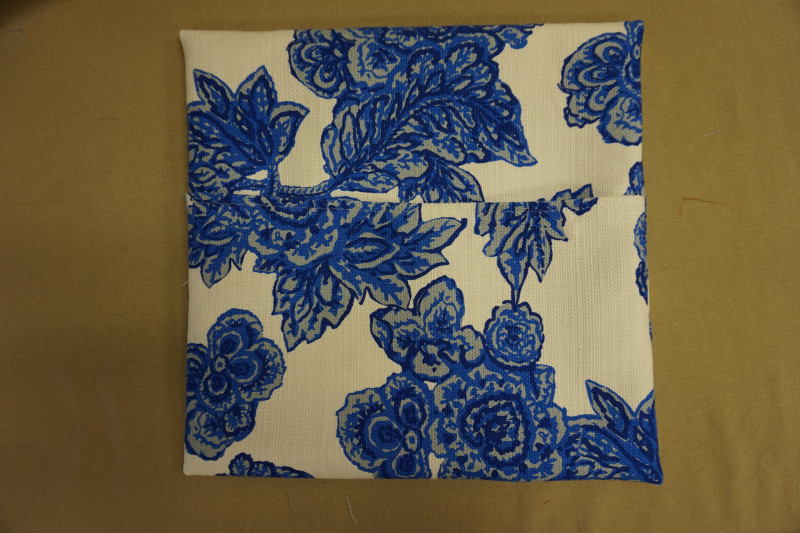
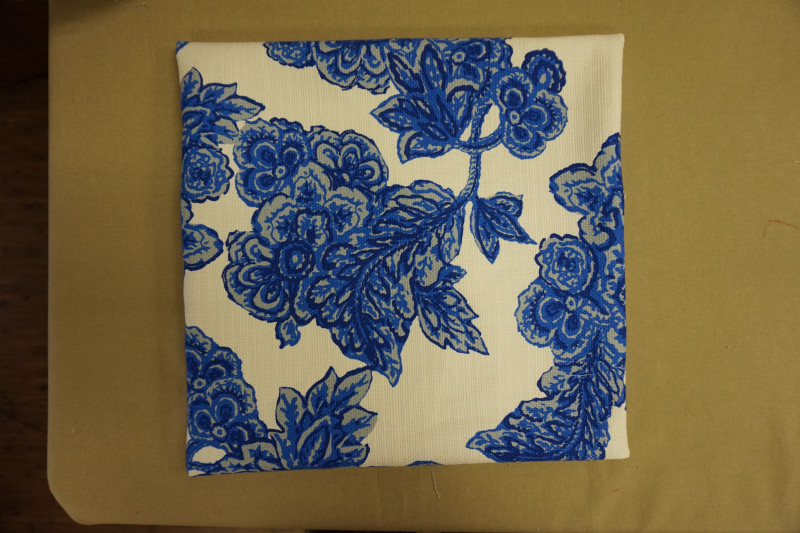
Insert the pillow into the case through the open flap and you’re all done!

________________________________________________________________________________________________________________
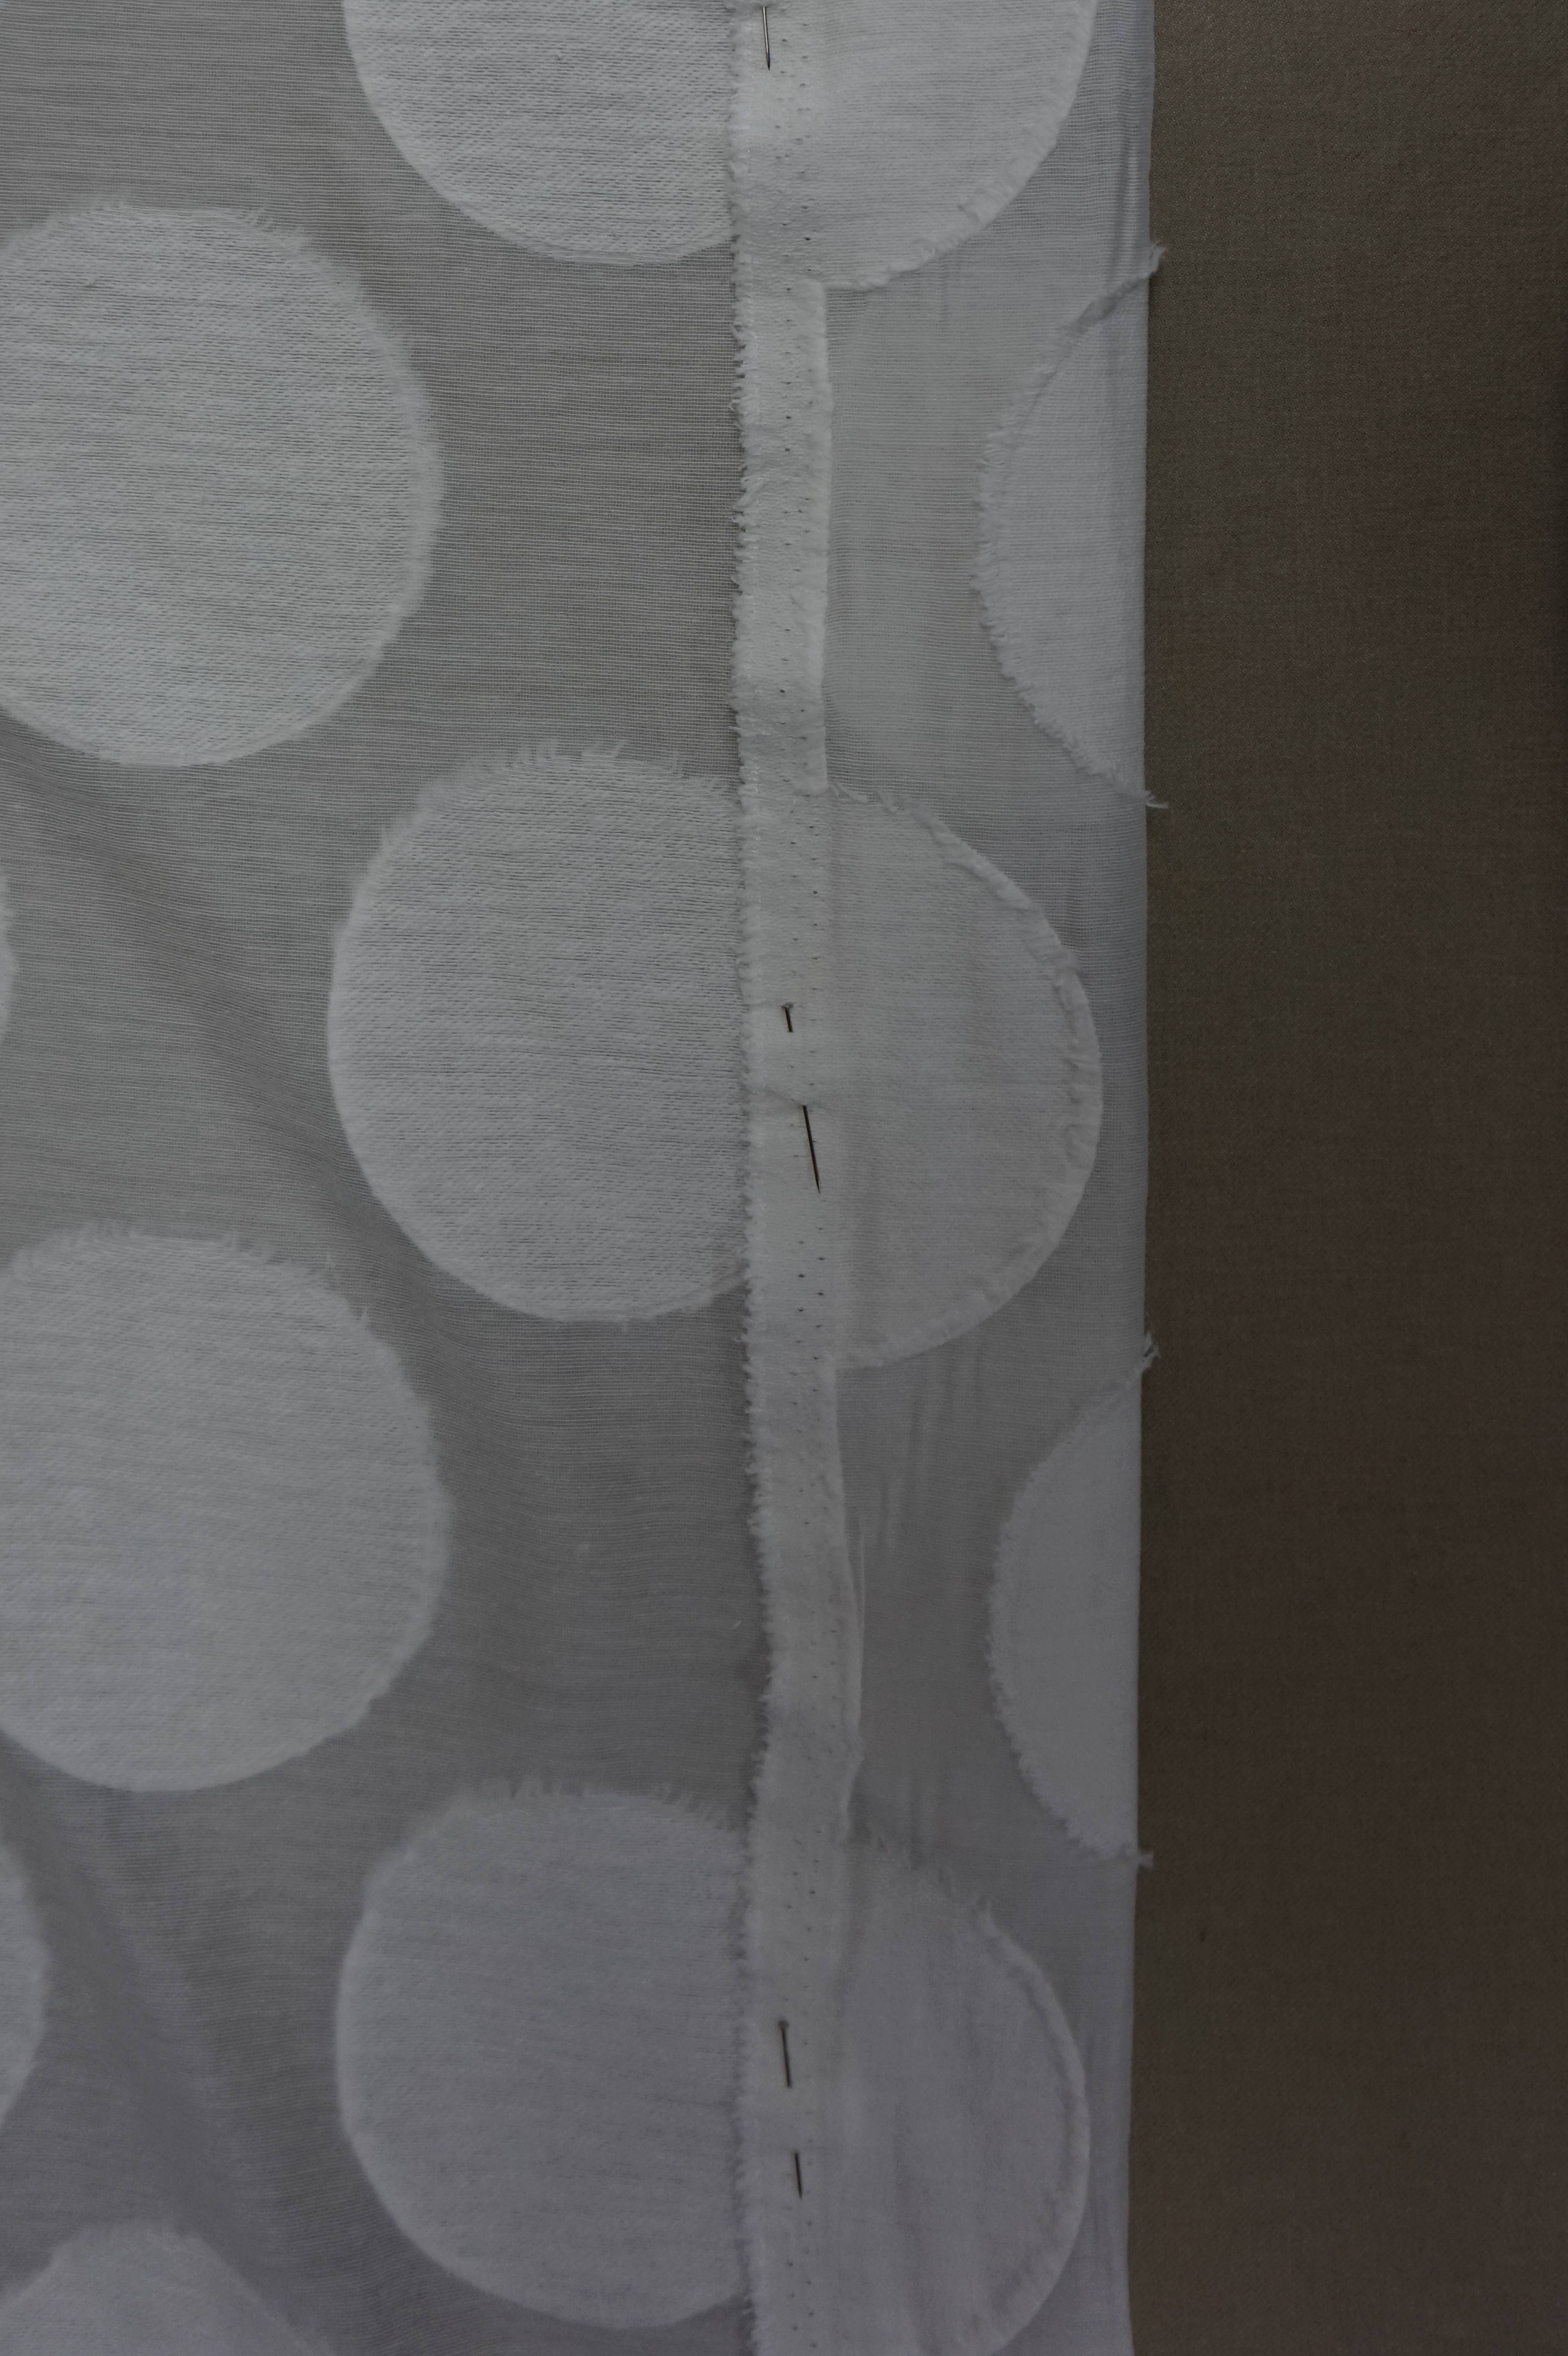
DIY Curtains
Items needed

For tutorial purposes I am going to create curtains but on a smaller scale. You can use this tutorial to make ones to fit your windows but be sure to measure your windows and cut your fabric relating to your measurements.
Step 1: First, Iron your fabric; sew a half-inch seam allowance around all sides, excluding the bottom.

Step 2: After you have completed your hem, fold the top of your fabric down about 3”. This is for the rod to be entered through when hanging. Sew where the end of the fabric meets when folded over.
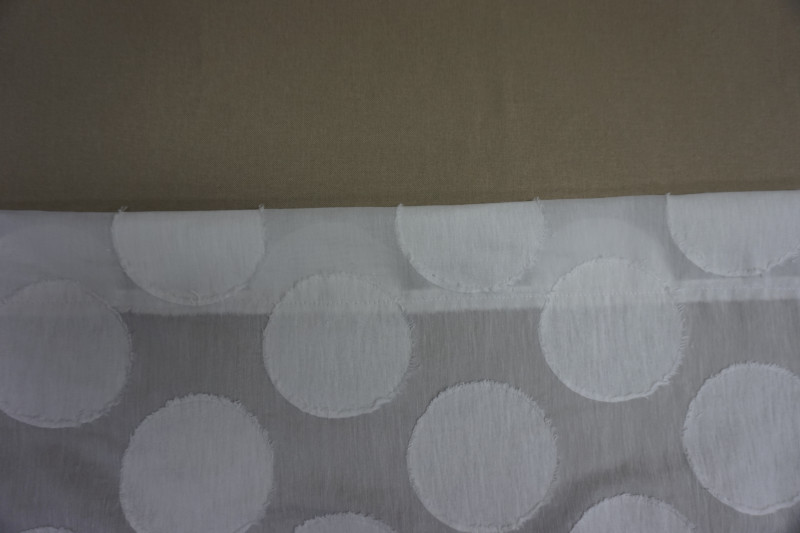
Hang out your curtains, if they are to long you can always hem the bottom to your liking. If they fit to size, be sure to hem them atlas 1/2″ to complete a finished look.

________________________________________________________________________________________________________________
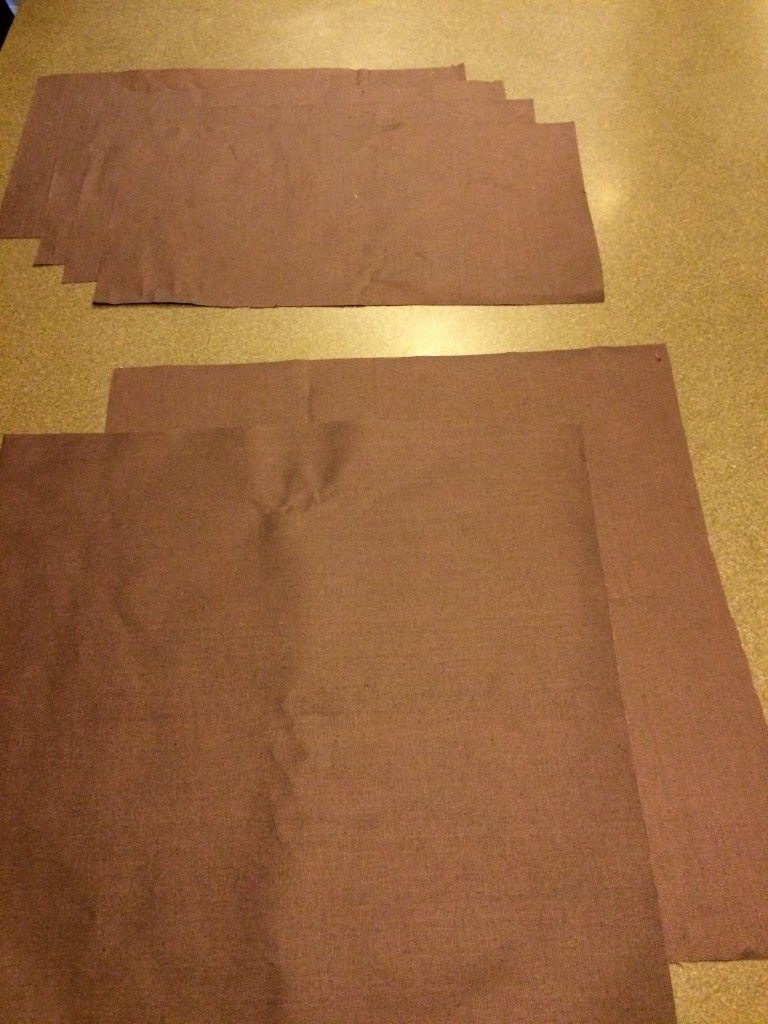
DIY Poof Ottoman

Items Needed
I suggest making a larger one then I am here, but to save time and materials I am going to make a smaller scale one.
Step 1: Measure out a square size that you want, this will be the top and bottom of your ottoman. I used a 18″ X 18″ square. Cut 2 of these pieces out.
Measure out the rectangle side panels now, you will need four. You must use the same length as your square, I made mine a bit thinner. My measurements were 18″ X 10″. cut out four.
Note: If you are making your own sizes be sure to incorporate seam allowance, I incorporated a .5″ seam allowance in all of my measurements.
Step 2: Connecting the side panels, with right sides together begin to pin the side panels all together, one after another. Sew these together with a .5″ seam allowance.
Step 3: Connecting the top, Right sides together begin to pin each side panel to the four edges of the top panel. You may have to move things around to be sure the four corners match up. Sew a .5″ seam allowance around the four sides of the top panel.

Step 4: Connecting the bottom, do the exact same thing for the bottom as you did for the top, except when sewing you are going to leave a large opening on one of the side panels. After you’ve sewn a .5″ seam allowance around all bottom edges( with the exception of the opening) turn your ottoman right side out.


Step 5: You may have to use a pencil to point out all of the corners to insure it is completely right side out. Begin to stuff your ottoman, stuff it as much as you can.


Step 6: it is easiest to hand sew the opening closed, after you have done this you are all done!

Enjoy !!
________________________________________________________________________________________________________________
DIY tapestry
Items Needed

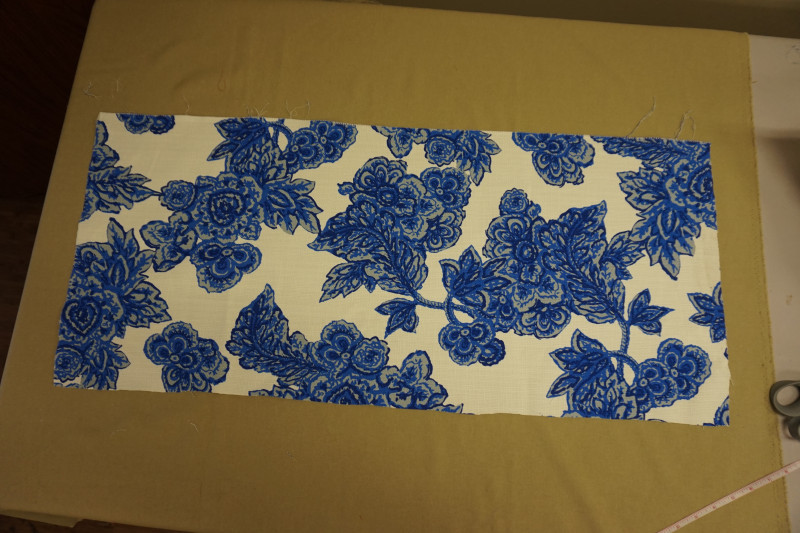
Step 1: Get a panel fabric to have a large print tapestry. If you’d like you can keep the edges unfinished, but for a more neat look hem the edges about ½ “ or 1”.


________________________________________________________________________________________________________________
DIY Seat Cover

Items needed:
1 Yd fabric
Step 1: Measure the hight and width of your chair that you’d like to cover. Add 1″ seam allowance to both the length and width. Add about 2 inches to the length of the fabric to make room for the draping over the top of the chair.

Step 2: Pin & Sew 1/2″ hem to both ends of the fabric, so the bottom has a finished look.

Step 3: Fold right sides together and sew a 1/2″ seam to both sides. This is to close the seat cover.

Turn your seat cover right side out and slip over your chair!

Your dorm room will be extremely unique with all of your hand made creations! Follow these tutorials or use it as inspiration to make your dorm room feel like home.