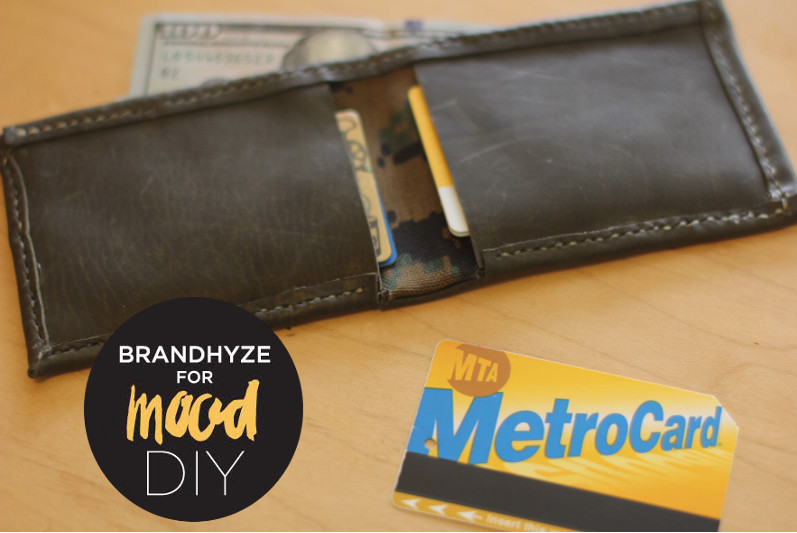
Over the holidays I was looking for a stocking stuff as a man’s gift….and wanted to try my hand at a simple wallet. So, I grabbed some thin leather and digitally printed vinyl canvas that I came across at Mood Fabrics, for a edgy option. As with anything I create…I get better and learn something new with each project that I embark on. This didn’t take much time at all…not bad for my first time.
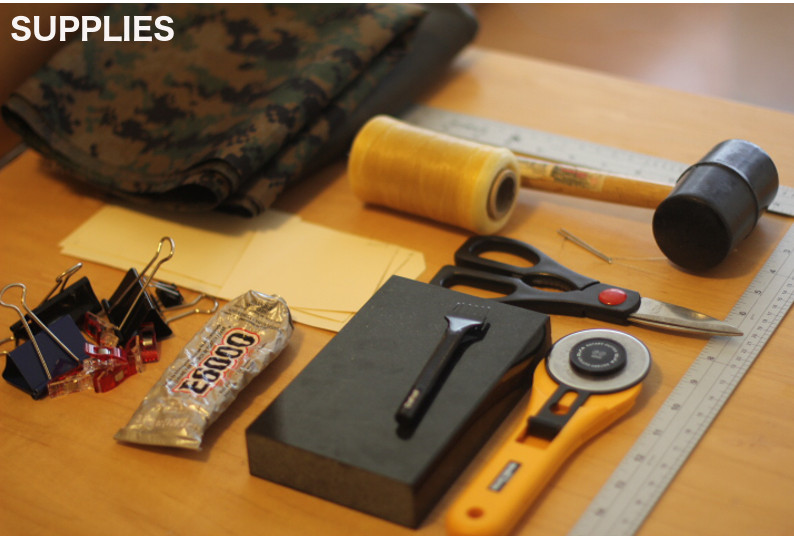 SUPPLIES: 1 oz leather, digital print vinyl canvas, mallet, sinew, needles, scissors, straight edge, pattern, binder clips, e6000 glue, chisel, block and a rotary cutter.
HOW-TO:
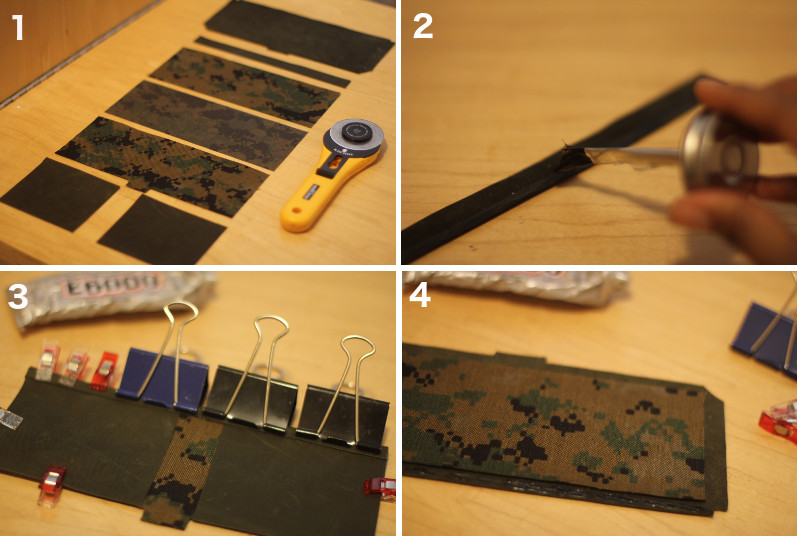
After completing this project, I may recommend creating your holes before gluing the edges down. It can totally be done as pictured, but you have to be extra careful to punch the chisel directly down versus at an angle.
1. I’ve laid the pieces out in their general order to be assembled. Cut out all your pieces from the pattern (including a strip not included that is 8.5 x 7/8 in)
2. Place glue on thin strip mentioned above (Note: I initially tried rubber cement, but found that I liked the e6000 better).
3. Take Pattern C (face up) and Pocket Pattern (face up) on top of each as pictured. Then use binder clips for about 30 mins to hold your glued strip in place. Sit this aside.
4. Next take leather piece Pattern A and place it wrong side up. Then take camo Pattern B and place it right side up. After that….apply glue to the 1/4 in and fold it down. Let it dry with binder clips again.
HOW-TO CONT’D:
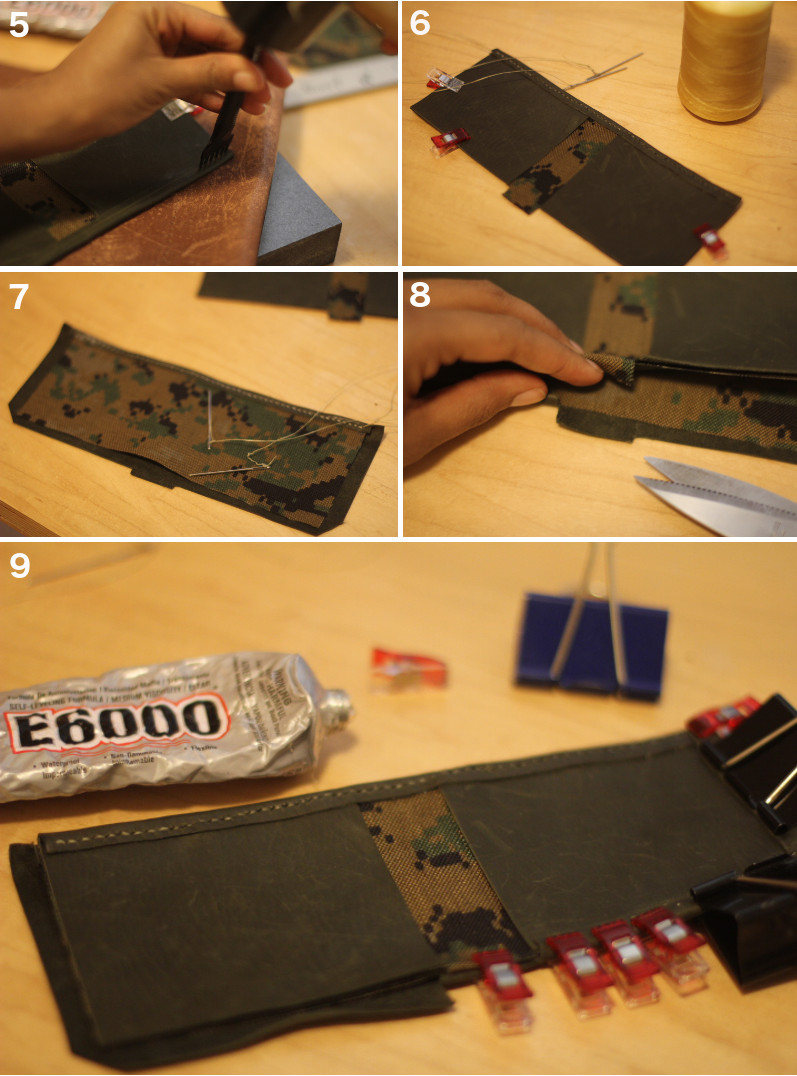
5. Pick back up the pieces you worked on in Step #3; and use your chisel, mallet, and block to create your row of holes. I even use a double up piece of leather to punch into versus ruining the teeth on my chisel.
6. Stitch the piece you just punched in Step #5. Check out this post to see a link to learn how to Saddle Stitch.
7. Take the piece you created in Step #4, and repeat Steps #5 and #6.
8. Lay both pieces on top of each other. Tuck in the tabs pictured with a little glue on them. The piece you created in Step #3 should go on the bottom, and you will need to take your scissors and make two tiny snips on either side of the tabs (as shown).
9. Finally apply glue around remaining three edges, and then use the binder clips to hold it in place. Again, use the chisel to create the holes and stitch like in Steps #5 & 6 again.
Brandhyze Stanley is the chief voice of the award winning blog, Frugal-nomics.com; a platform designed to share with women how to live and look fabulous on a dime. A DIY girl at heart—Brandhyze has been featured on Dr. Oz, The View, The Today Show, InStyle Magazine, Essence Magazine, and MTVStyle. A Wilhelmina Model for over a decade, with a Business Degree from Loyola University Chicago, Brandhyze provides DIY content to the popular How-To Site, eHow; and has been a contributor for the Huffington Post, Yahoo Finance, Super Money, Good Housekeeping, and Newsday Westchester, to name a few. Brandhyze is a huge thrifter and a lover of all good deals, follow her on Twitter @MyFrugalnomics and on Facebook at Facebook.com/Frugalnomics.