
Early spring is such a weird time when it comes to figuring out what to wear. It’s 30 degrees right now, but will it be 50 by lunch time? Is it going to rain? Who knows! Luckily, I’ve remembered that parkas are a thing, and they can be pretty customizable! In this pattern, the sleeves are fairly straight-cut so you can easily roll them up and snap them into place for those warmer afternoons this season. With such a cute design feature, I wanted to choose a truly awesome lining and decided to go in a more unconventional direction with one of Mood’s new crochet laces, which are incredibly soft and comfortable. The outer layer is an insanely smooth, water-resistant poly twill that I’ve absolutely fallen in love with. And it comes in 16 colors!
Fabrics & materials used:
- 4 yards Silver Pink Water-Resistant Polyester Twill
- 3 yards White Rosy Re-Embroidered Stretch Crochet Lace
- 2 pkgs Brass/Black Heavy Duty Snaps
- Dritz Snap Fastener Plier Kit
- White with Black Teeth Open End Separating Metal Zipper
- 4 yards White Spaghetti Cord
- 4 White Plastic Stoppers
- 1 pkg Nickel Grommets
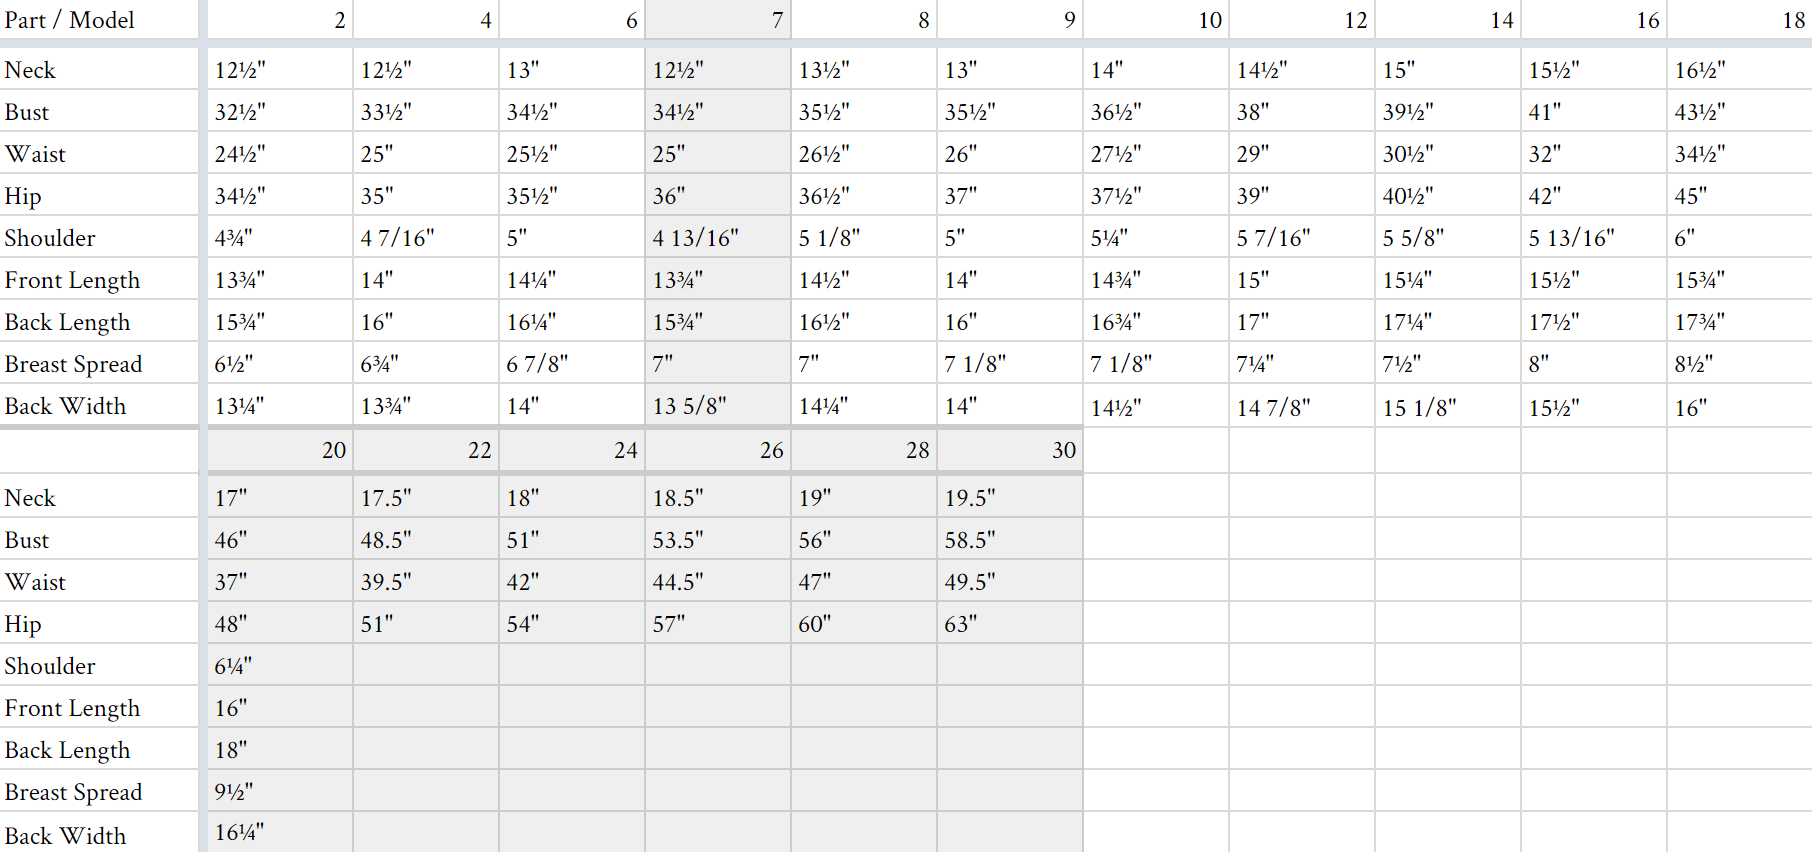
- MDF035 – The Kerria Anorak Sewing Pattern (free download below!)
All seam allowances are 1/2″ unless otherwise stated.
There are a few things that go onto this jacket that you’ll want to prepare before you start constructing the actual garment. Mainly, the rain guard and front plackets.
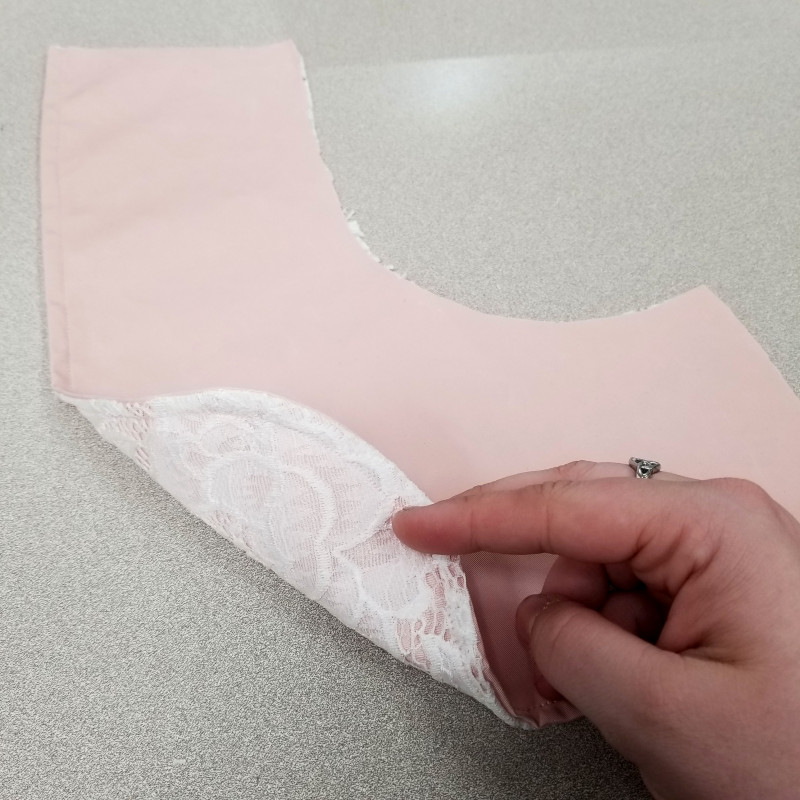
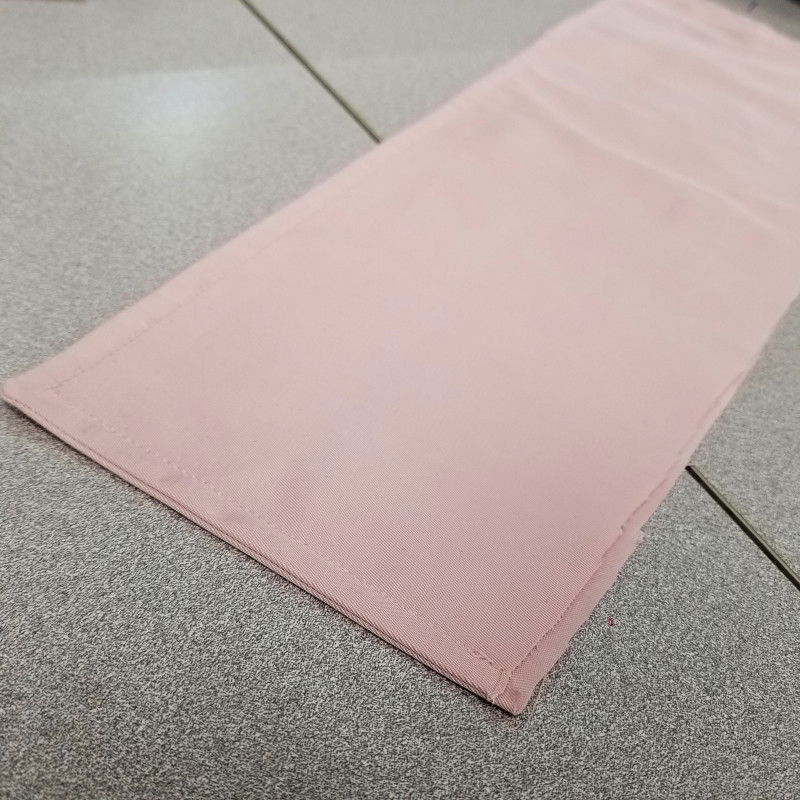
The rain guard is easy; place the main fabric and lining with the faces together, sew along the bigger curve, flip it right side out, and then edges-stitch along the same seam you just sewed. Set this piece aside for later.
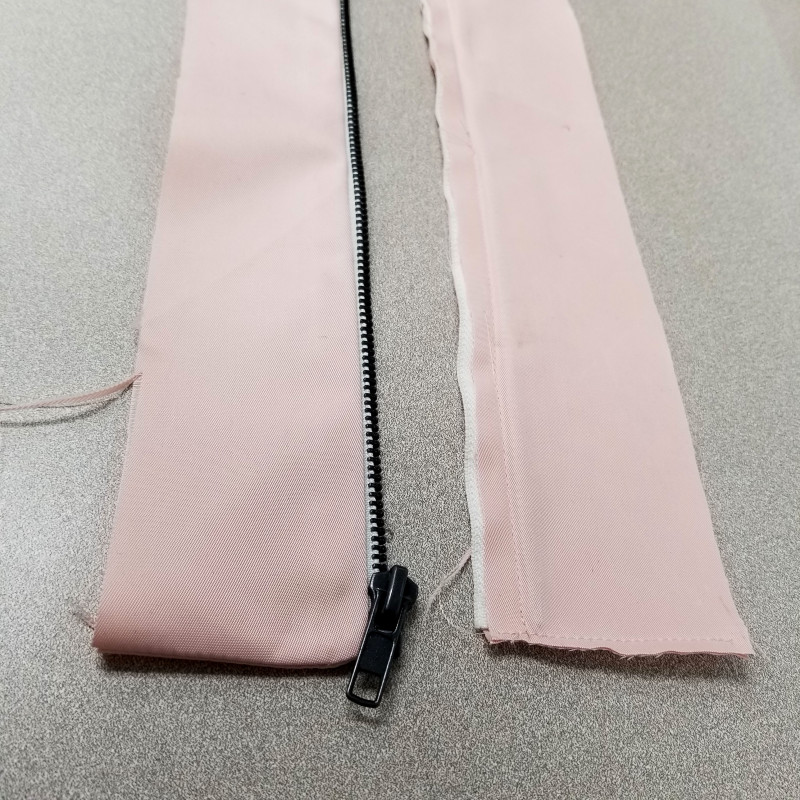
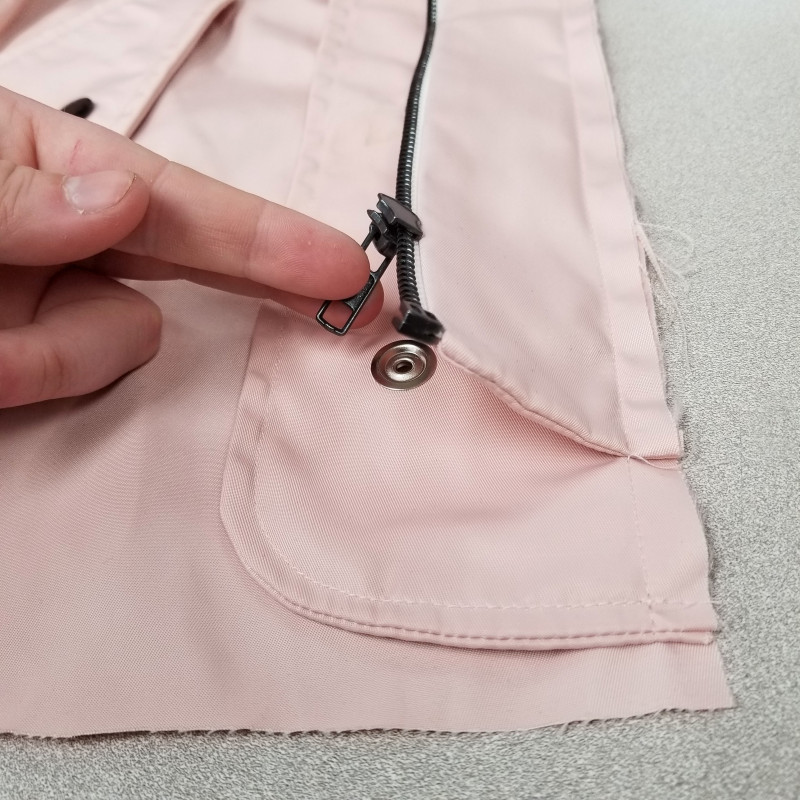
You should have four zipper placket panels. These will be pair together to make two plackets, like you see above. You’ll sew them, faces together, along the bottom edge and the shorter of the two long sides. Along that side, you’ll insert your separating zipper 1/2″ from the bottom of the placket panels to account for seam allowance.
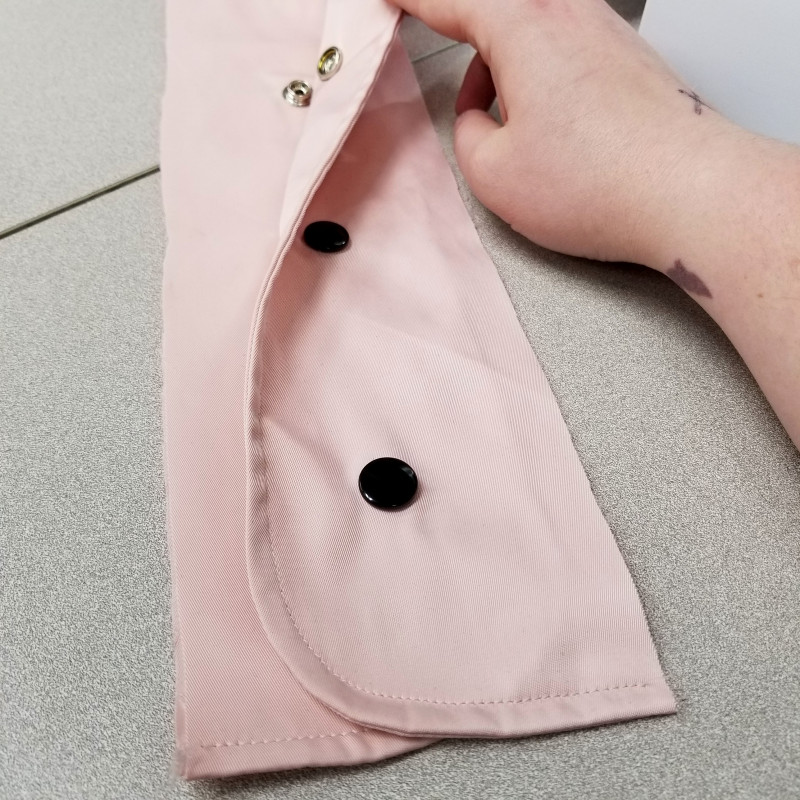
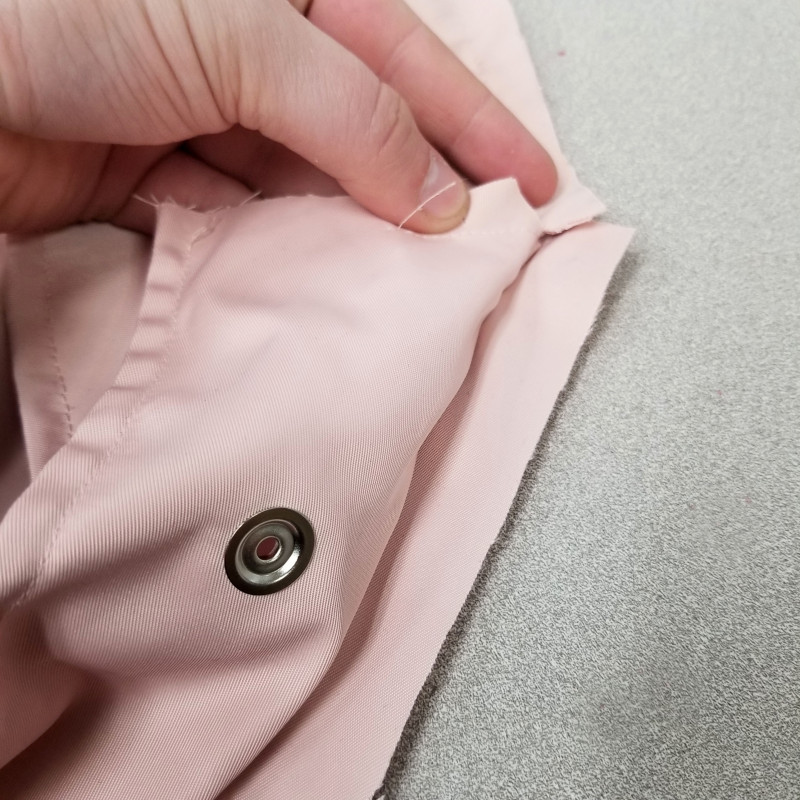
Next, take your longer placket panels. These will have snaps added to them, but first pair them off to create two plackets. Sew them faces together, leaving the top and flat side open, and then flip them right side out and edge-stitch. Use the Dritz plier kit to insert 7 snaps evenly along the placket.
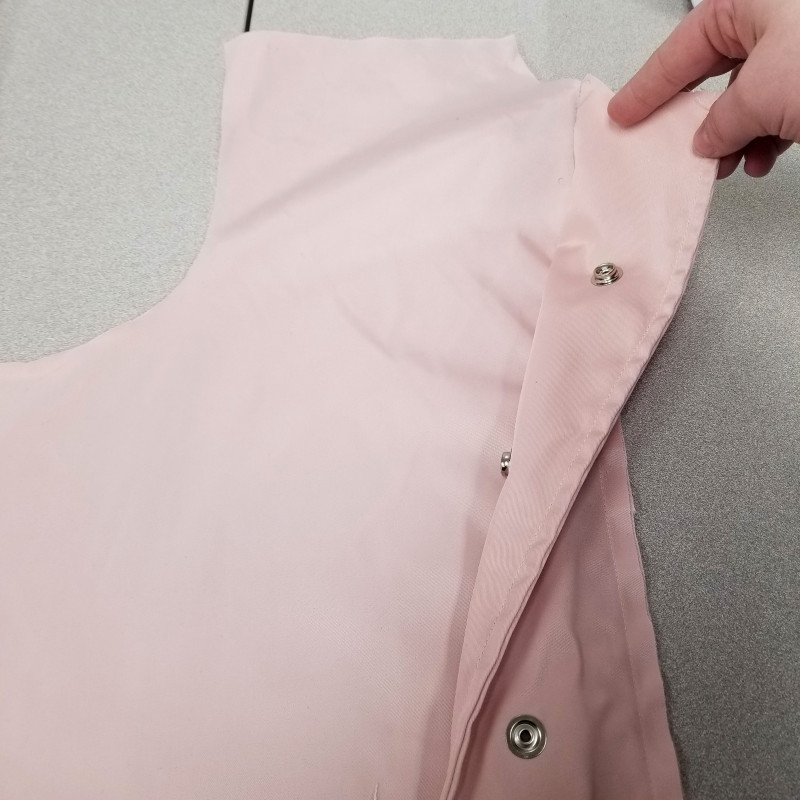
Faces together, sew the snap plackets onto their respective front jacket panels, like you see above.
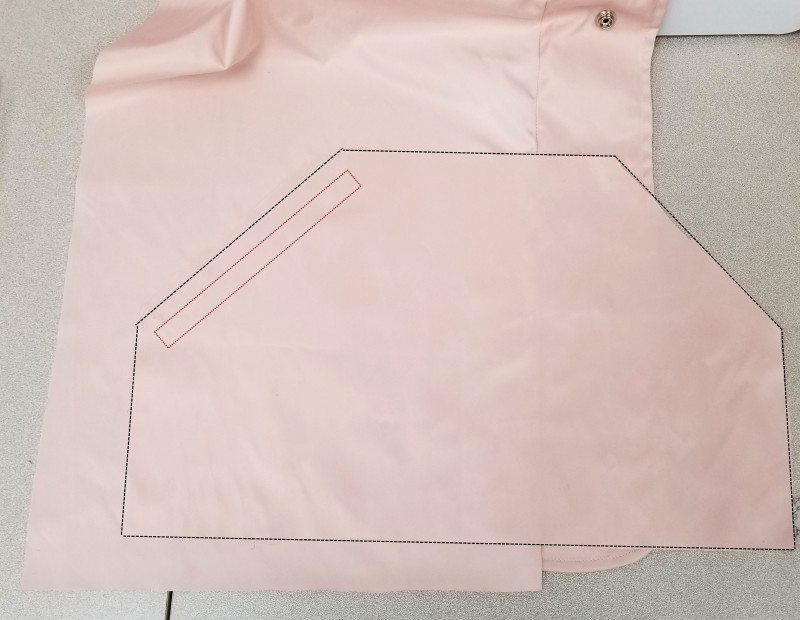
Next, take your pockets and pin each to a front jacket panel like in the above photo. The fabric faces should be together and the majority of the pocket should be toward what will become the center front of the garment. Once pinned into place, sew along the rectangle corresponding to the one on your pattern piece. Cut a slit down the center of the rectangle, cutting through both layers of fabric, and then out towards the 4 corners. Pull the pocket through the hole to the inside of the jacket and press.
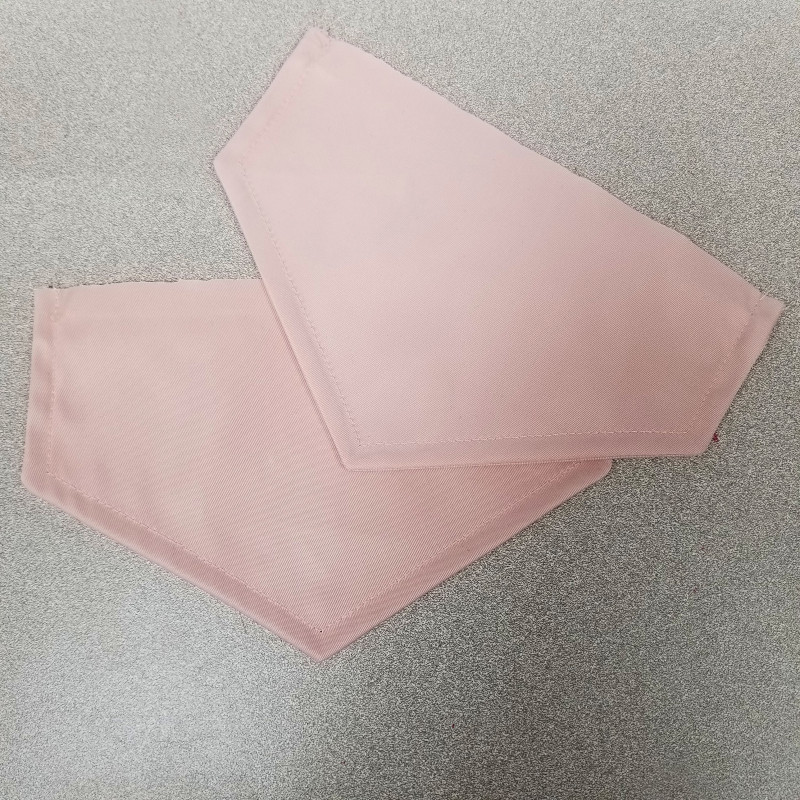
You should also have 4 pocket flap panels, which go together much like everything else so far. Pair them off and sew them with the faces against each other, turn them right side out and edge-stitch so you’re left with two finished flaps.
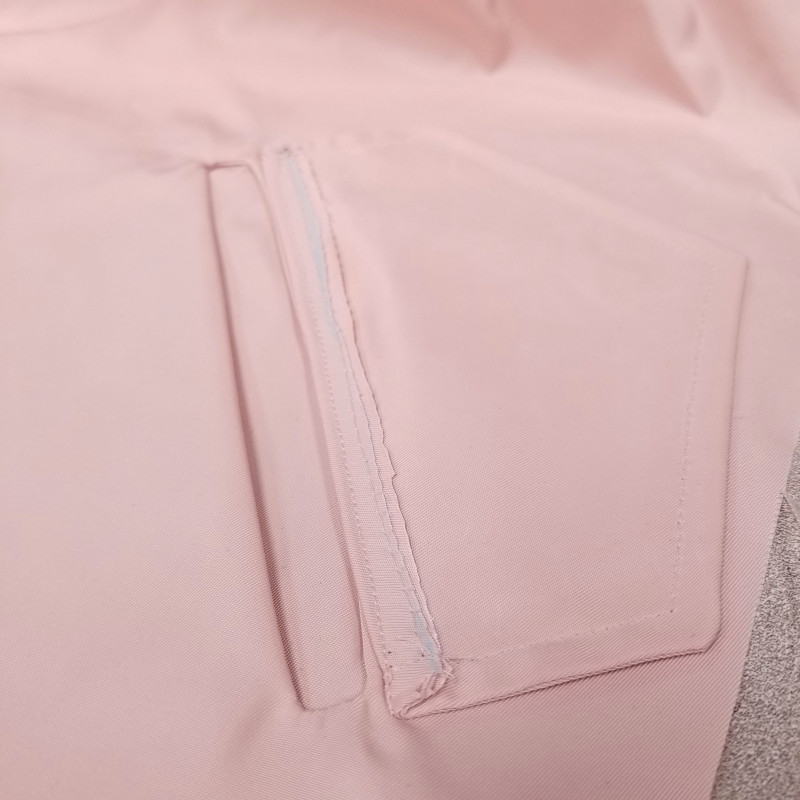
Only catching the pocket fabric and not your main jacket, fold your pocket in half and sew along the three open sides. Lay flat and place one of the flaps along the top edge of the pocket opening on the outside of the jacket. Fold the raw edges of the pocket flap up and sew through all layers of fabric to hold the flap in place.
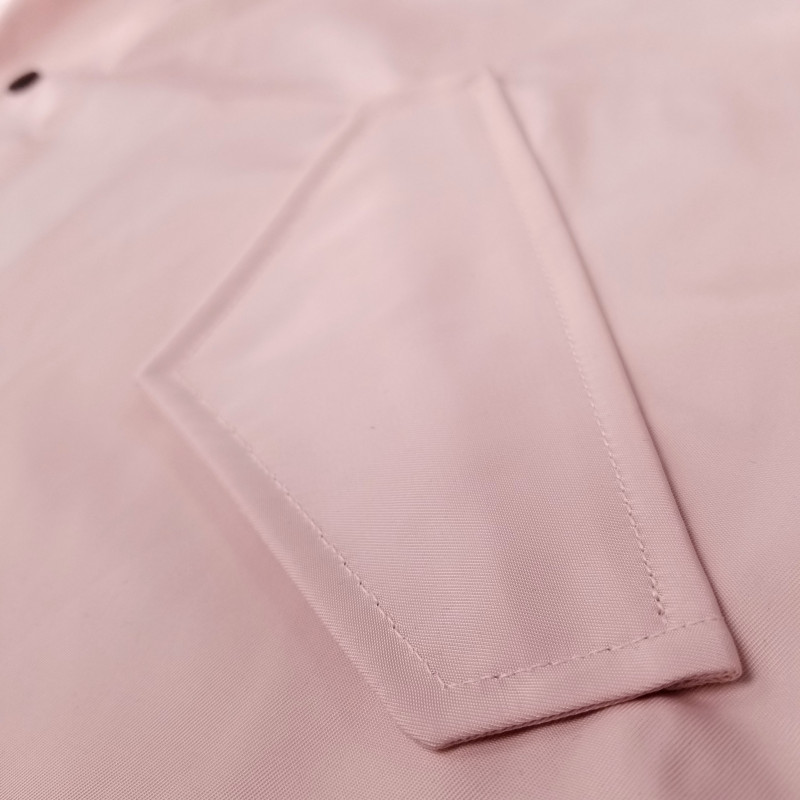
Fold the flap over and stitch along the top edge.
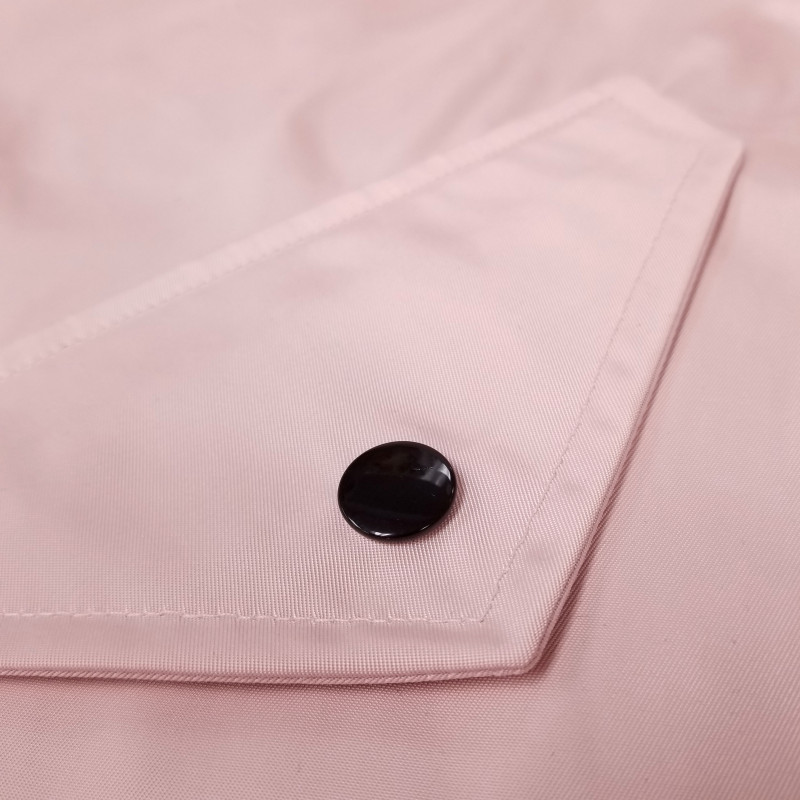
Use the snap pliers to insert a snap toward the point of the flap. When inserting the bottom portion of the snap, be sure you don’t put it through both layers of your pocket!


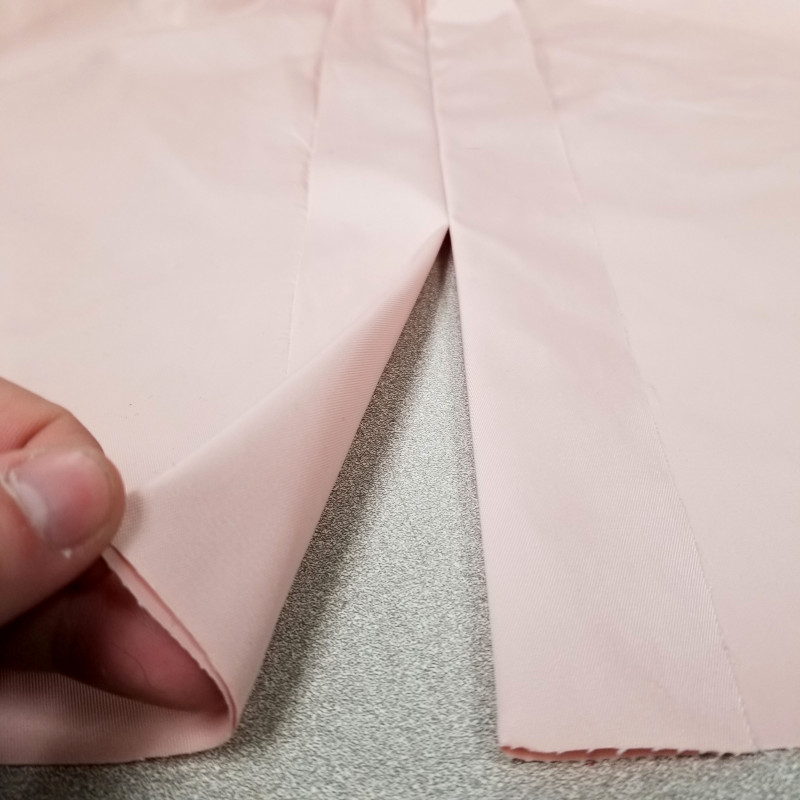
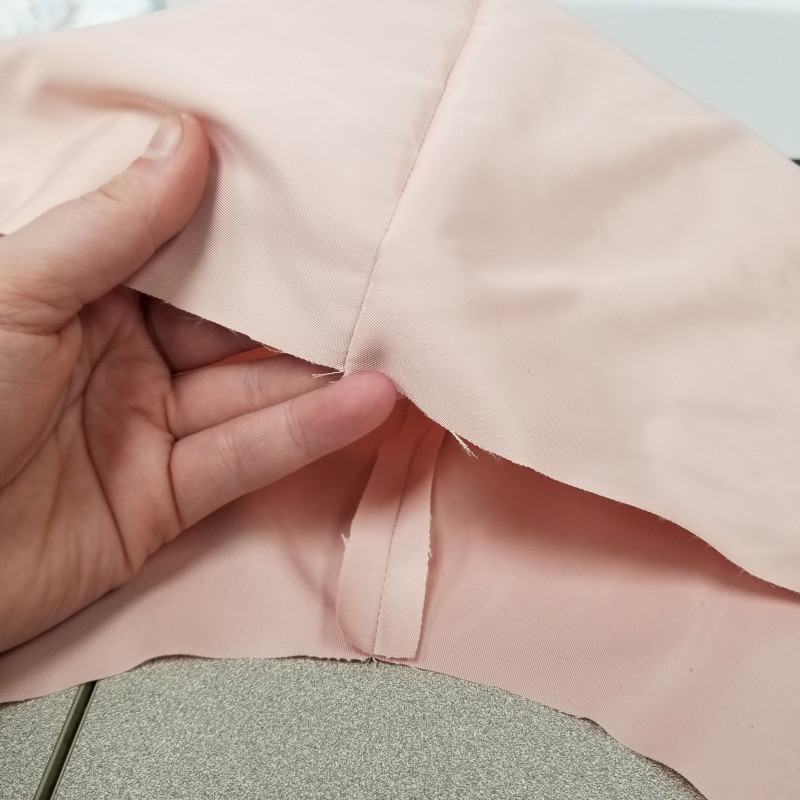
Now, we start assembling the jacket so it begins to look like a jacket! Place your back panels together and sew along the center back seam, stopping at the notch toward the bottom which will stay open as the hem flap in the back.
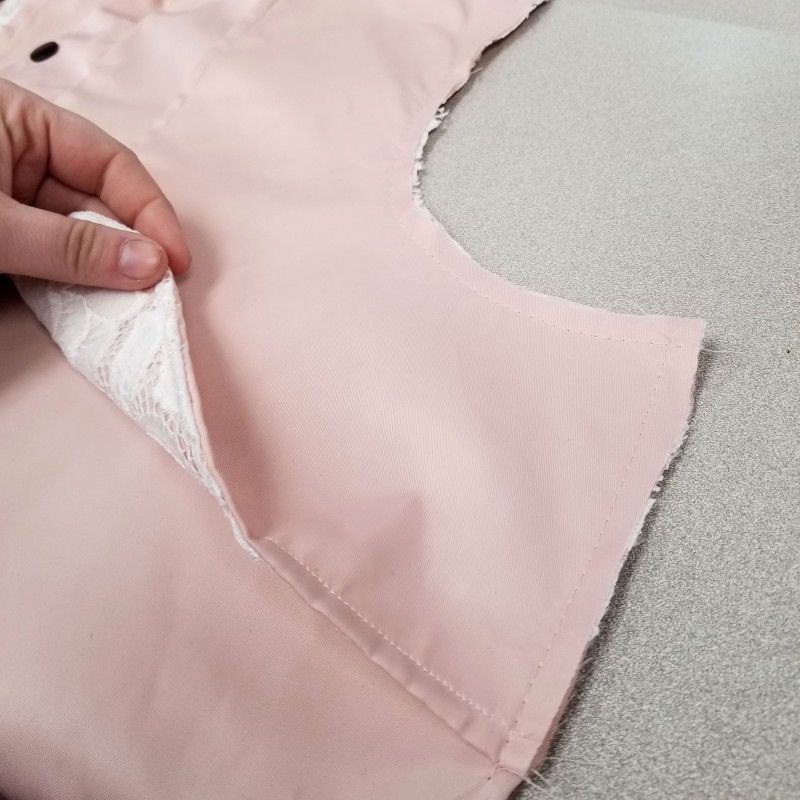
Place your rain guard on its respective front jacket panel and stay-stitch into place along the shoulder, armhole, and side.
Attach the front and back panels at the shoulders and sides and then prepare the collar, sewing the two panels with the faces together before turning it right side out and edge-stitching.
Attach the collar to the jacket along the neckline. Where the collar meets the snap placket, notch your seam allowance like in the photo above. Finish the top edge of the placket with a small rolled hem.
Now attach the zipper placket, lining up the top part with the neckline and sewing it so it’s beneath the snap placket when the jacket is being worn.
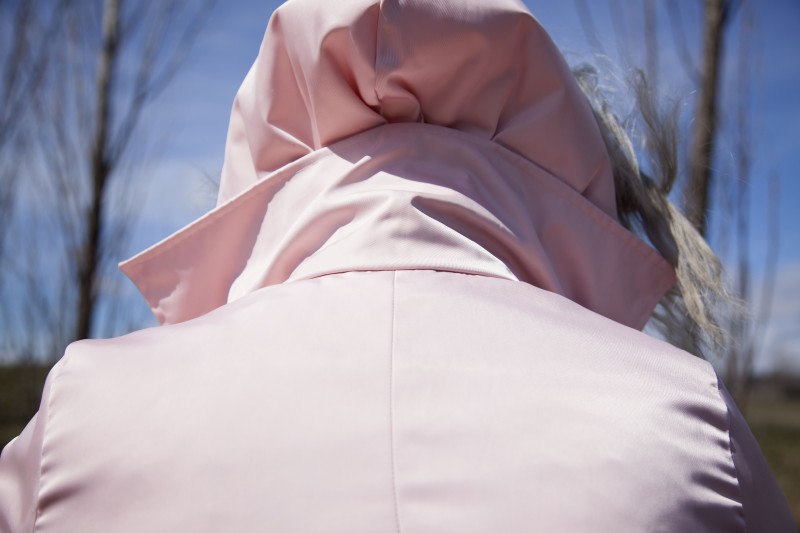
Sew your hood panels together and then attach it to your neckline. It should go on top of the collar and reach down to the zipper.

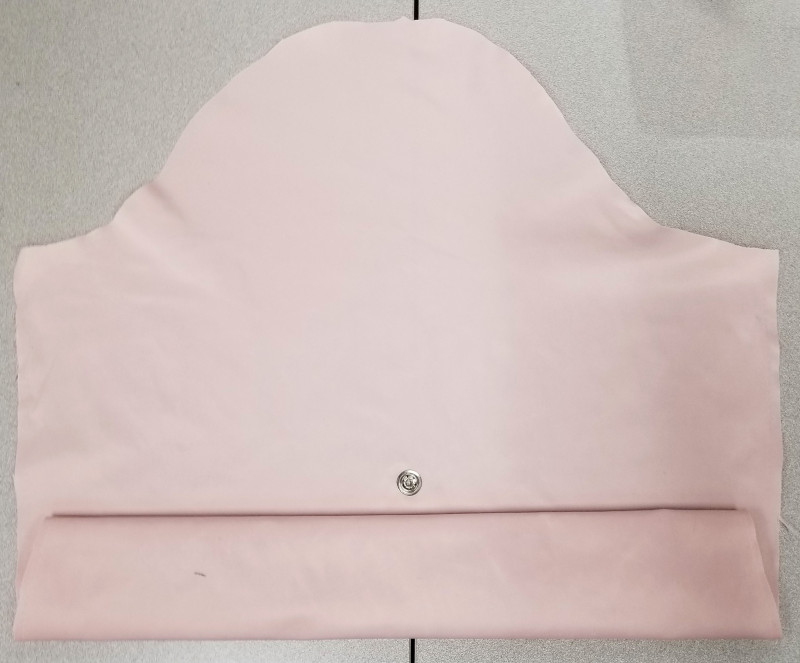 Now, sleeves! Corresponding with the guide on your pattern, insert the bottom part of a snap in the center of your sleeves. Sew the inseam closed to form the actual sleeve and attach each to their armhole on the jacket.
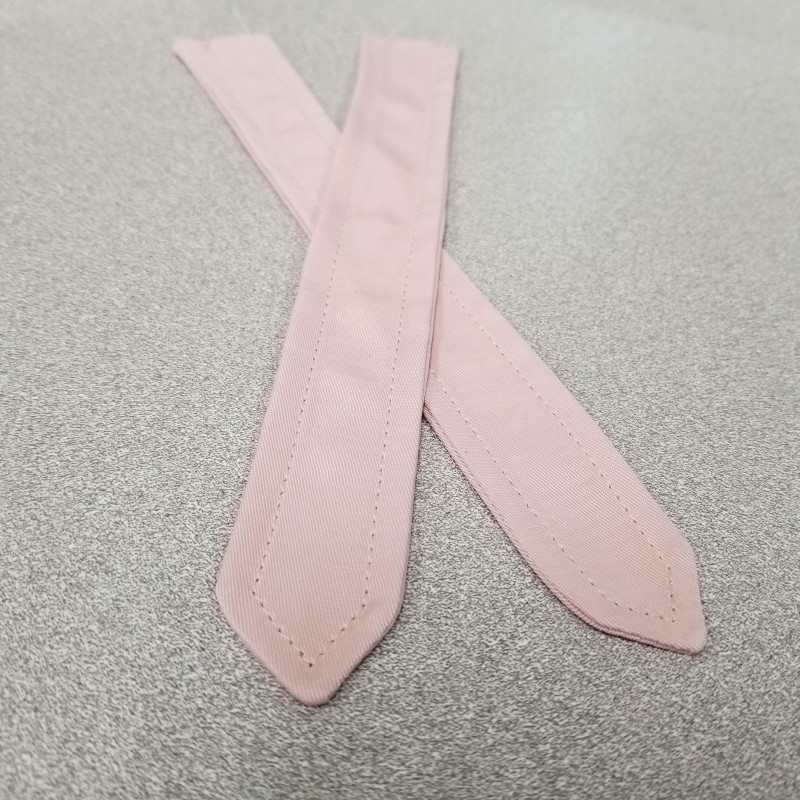
Create your two sleeve tabs like most other things: right sides together, stitch, turn right side out, edge-stitch. Insert the other half of your sleeve snaps and then set aside momentarily.
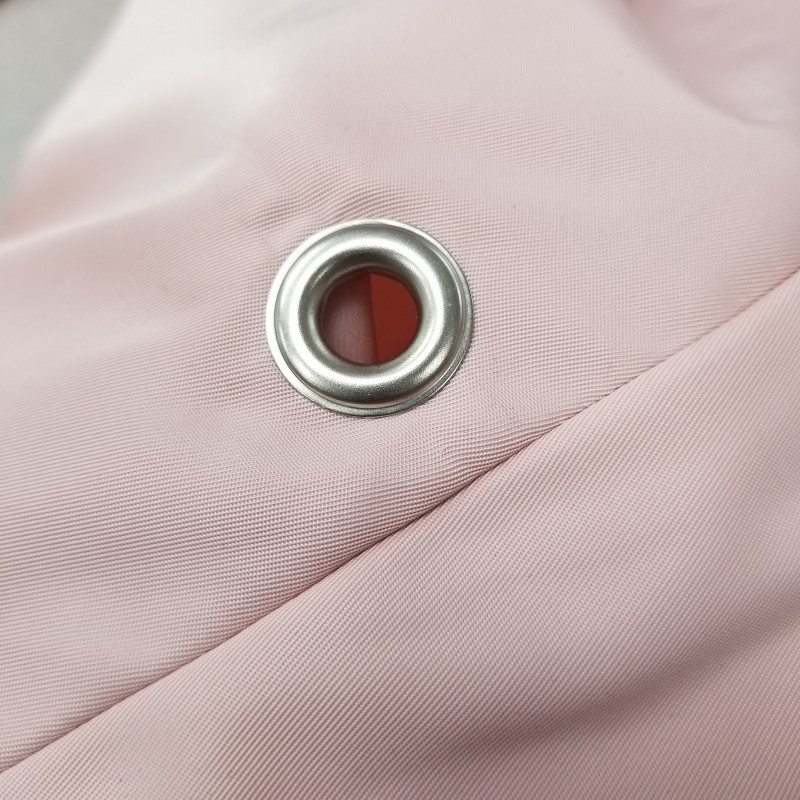
Following the guide on your pattern, insert two grommets on the jacket front toward the end of what will become the waistband drawstring casing.
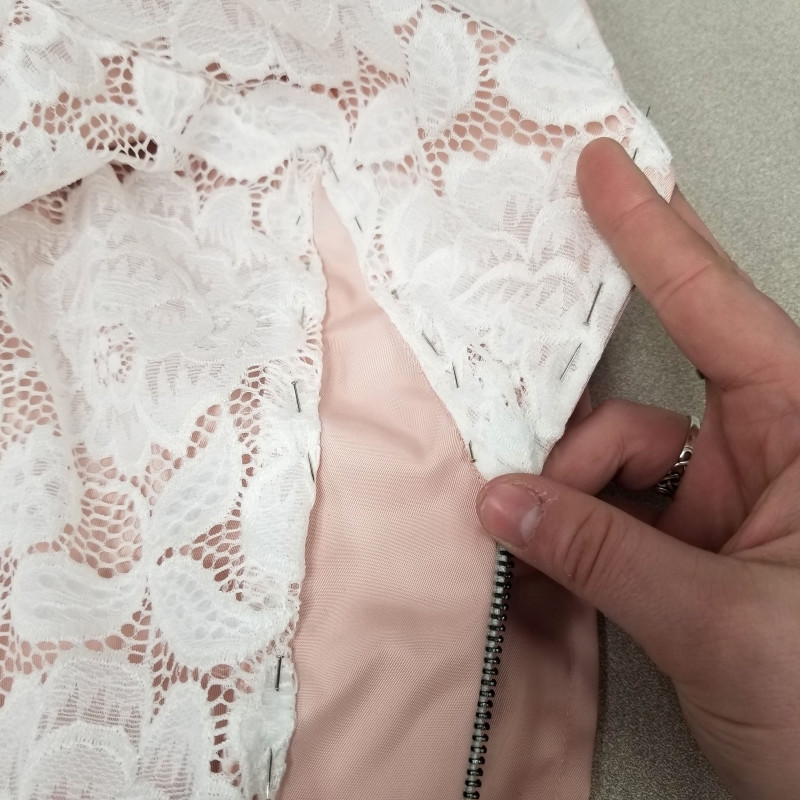
Your lining goes together incredibly easy by comparison: sew the back panels together, attach the front panels to the back and the shoulders and sides, add your sleeves and hood. (The hood will extend a bit past the jacket front to attach to the already existing placket facings, like you see above.)
Start inserting the lining into the main jacket by sewing the faces together along the edge of the hood. Turn it right side out and pin along the edge of the hood and plackets, folding any raw edges inward. Edge-stitching along the lining, leaving the bottom hem open.
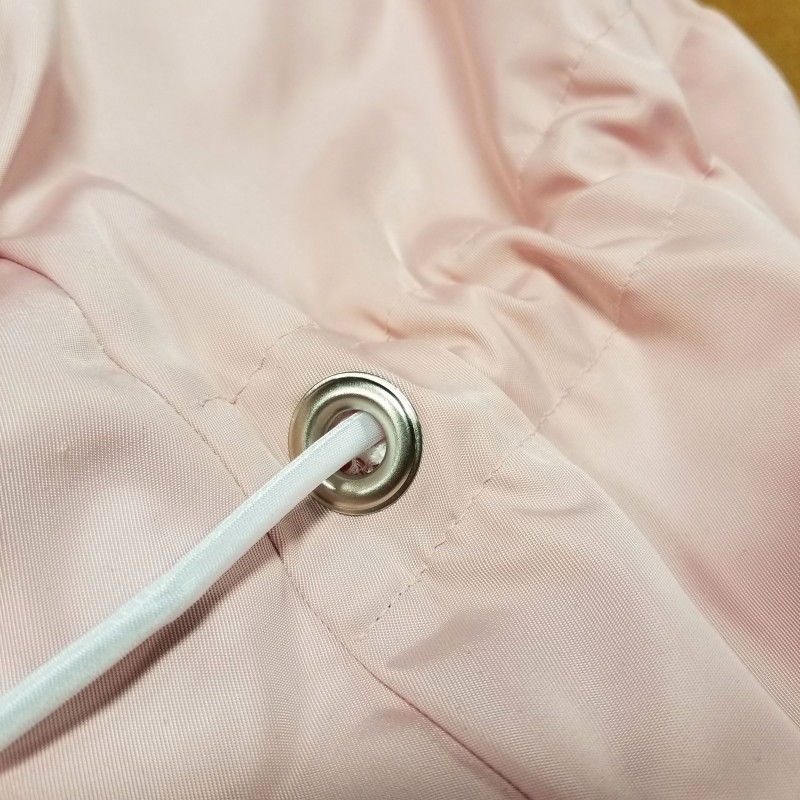
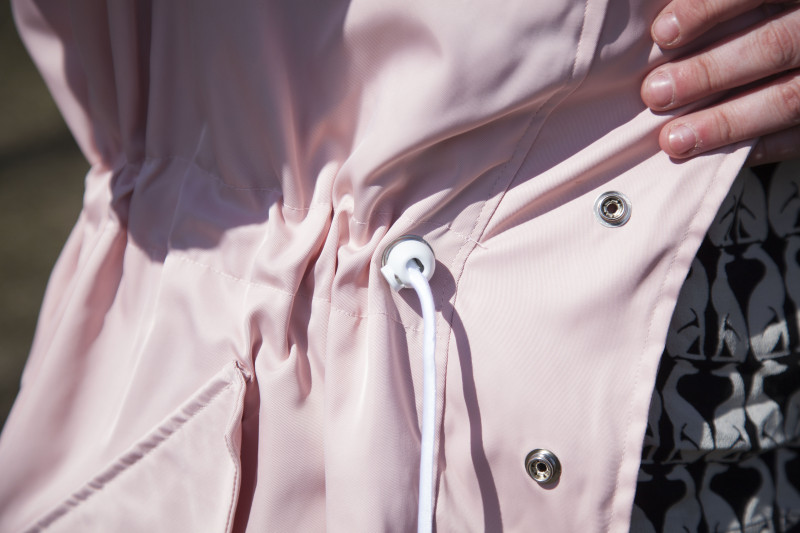
Following the lines on your pattern, pin and stitch through both layers of fabric to make the waistband drawstring casing, like above.
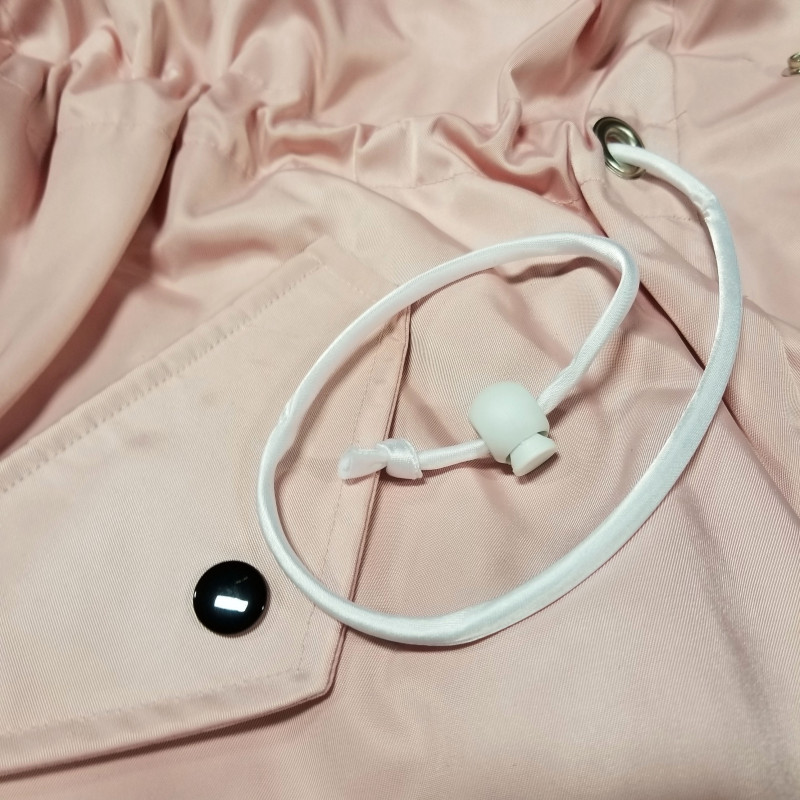
Take half of your 4 yards of drawstring and feed it through the casing. Finish each end off with a stopper and a knot.
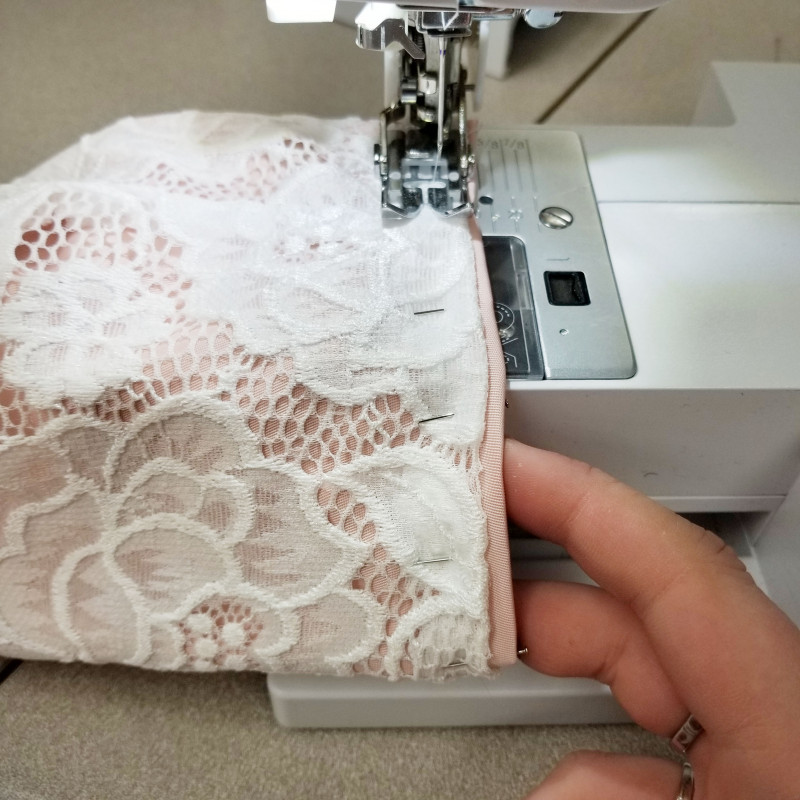
Pin and edge-stitch the lining into place along the end of your sleeve. Place your sleeve tab 3/4″ below your sleeve snap and sew into place so when you roll you sleeve up, you can snap the tab to secure it.

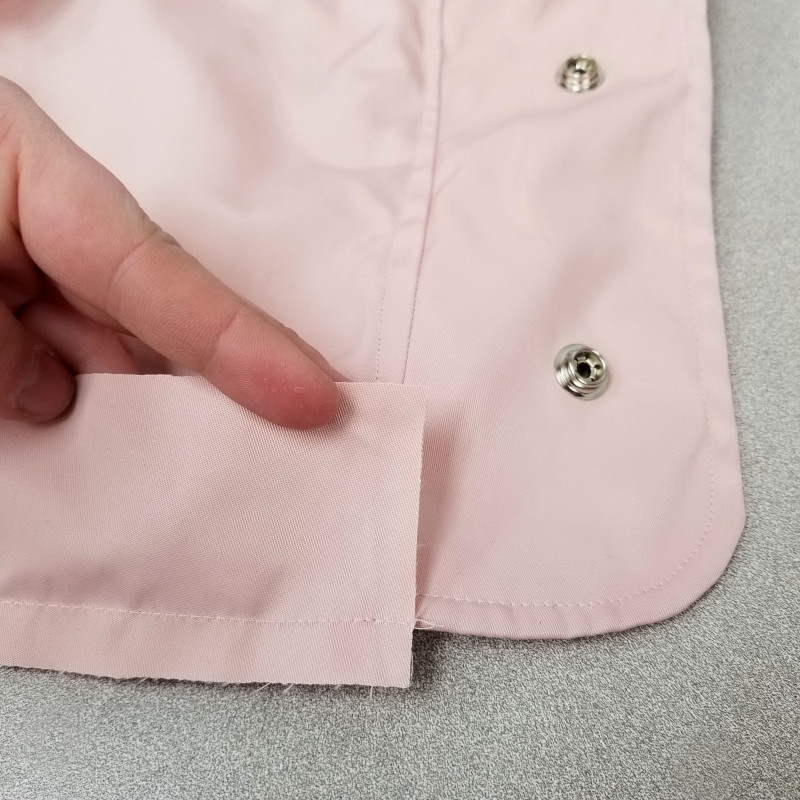
Lastly, add your hem drawstring casing to the bottom of your main jacket fabric, faces together. Fold it up and fold your raw edges inward. Top-stitch along the top edge, securing the bottom of your lining as well.
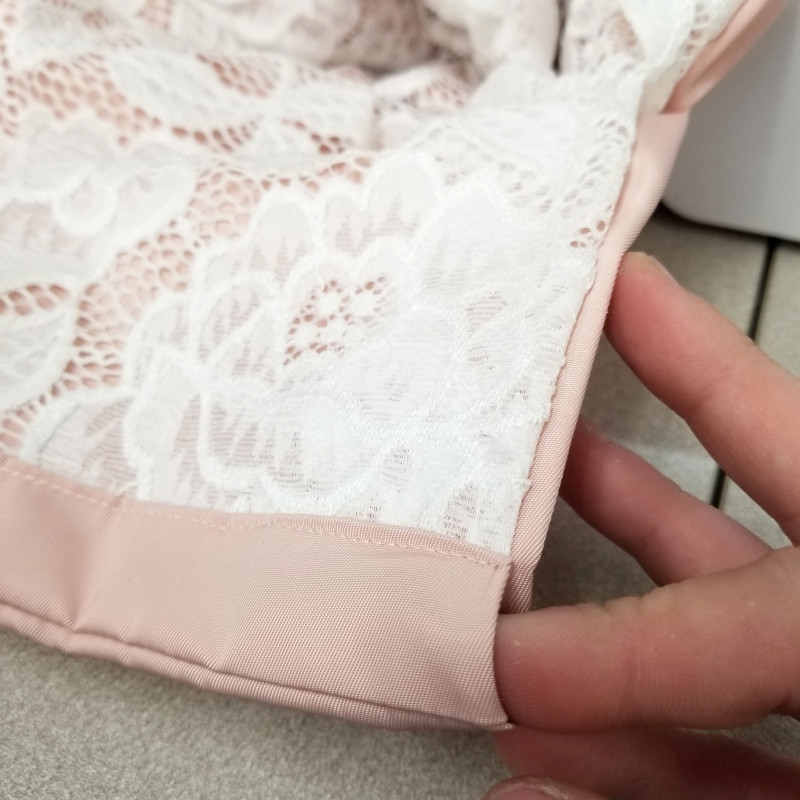
Thread your remaining drawstring through the hem casing, add stoppers, and you’re ready to take your new anorak on a gorgeous spring hike!

I’d love to hear what fabrics you’re considering for your own version! The rain resistant poly I used comes in a ton of colors and their selection of crochet lace is pretty terrific as well. Will you be trying something similar? Let me know in the comments!


15 comments
So unexpected and springy in pink and lace. Your directions and pictures are super helpful – fabulous job!
Thank you so much! That’s lovely to hear 🙂
How pretty! Love the lace lining…but wonder if it will snag on rings? Maybe put smooth lining in sleeves.
This is fabulous!! Love the unexpected and springy lace lining!
Love the materials you used and so appreciate the photos you included. They are helpful in all the right spots of construction. Plus, I am so glad to see a real woman, with real curves, modeling this jacket! It is sometimes difficult to calculate how a pattern will ultimately turn out without a bit of visual reality to help out! Thanks so much! I gonna get sewing. I live in LA and might have to use some other fabrics though. :))
Thank you! And, what a fun twist on the use of fabrics.
Thank you! And, what a fun twist on the use of fabrics.
Should there be 2 rainguards?? Pattern piece indicates to cut only 1??
Mine only has it on one shoulder, but you could certainly add another if you’d like!
Lovely! I have been planning to make a black PVC anorak, and now you´ve inspired me to add lace lining (I´ll go with navy lace :)) Sadly I´m in Europe so I´ll probably have to find a good lace closer to here.
How could I lengthen the jacket to go past my bum? Would I just cut the jacket pieces a little longer than it is?
Yes, this pattern is pretty boxy, so you can just lengthen it fairly easily it without having to adjust anything.:)
Y’all need to redux this and make it available in larger sizes. I want to make one for myself, but reeeeally don’t want to slash and spread a printed pattern lol
Thank you! This is exactly that I needed and sought. I am using this to make a warm, waterproof raincoat for camping.
I decided to do this pattern in a winter coat version. The main fabric is a red velvet like material. I believe it’s actually curtain fabric. The lining is a tan and white faux fur and quit batting for extra warmth .No bottom drawstring. No rain flap. fur lined hood. With gold hardware.