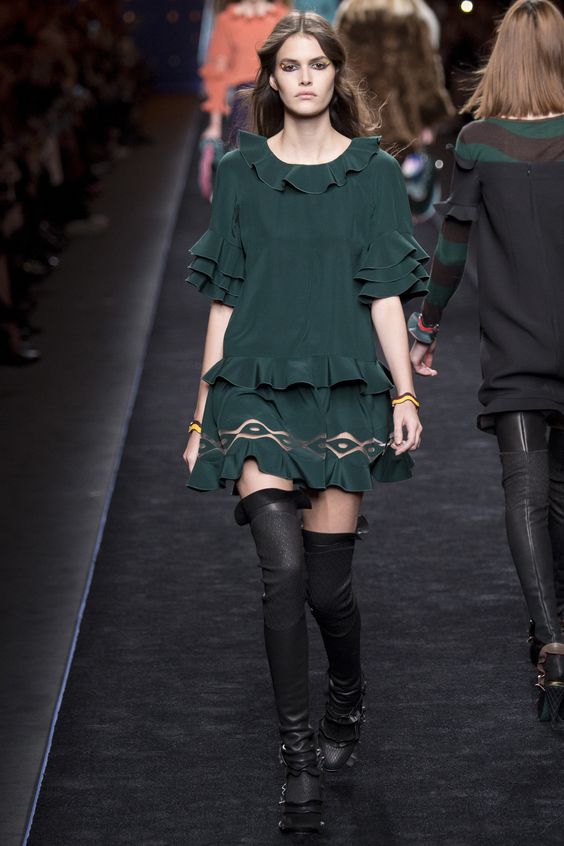
Ruffles are all over the runway this season, but you certainly don’t need to pay designer prices to stay on trend – you can make them yourself! In fact, ruffles are one of the easiest things to create and this post will show you just how easy they are to add to any pattern or design.
1. Gathered Ruffles
Gathering fabric is one of the simplest ways to make ruffles and there are several ways to do it! One of the most common is gathering as you pin or sew, but there’s a great way to get quick, perfect ruffles every time.
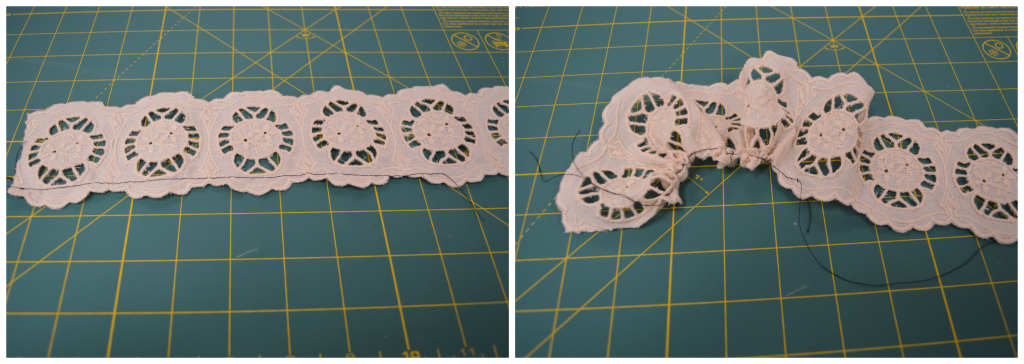
Set your machine to its widest straight stitch, and sew along the bottom edge. Take one end of your thread and pull. Your fabric or trim will bunch up, perfectly spaced along your stitches.
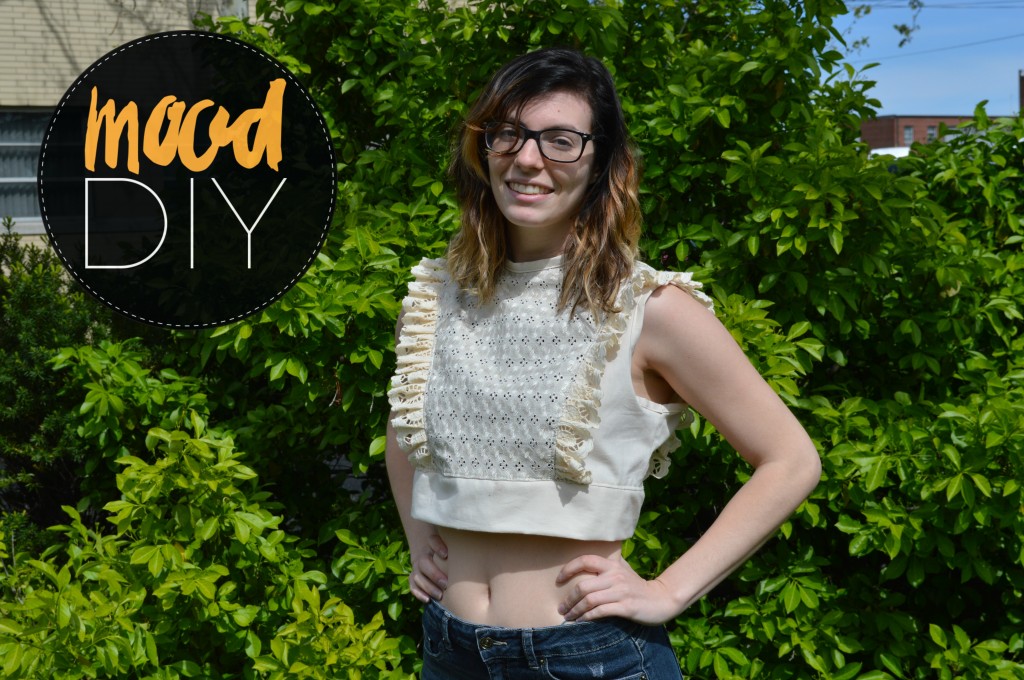
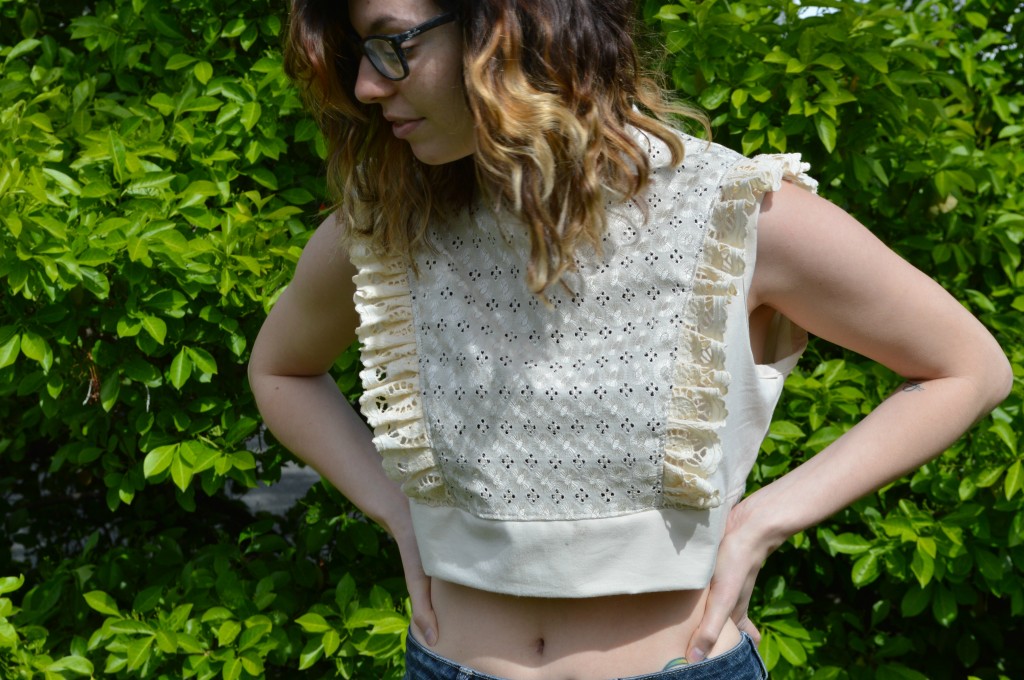
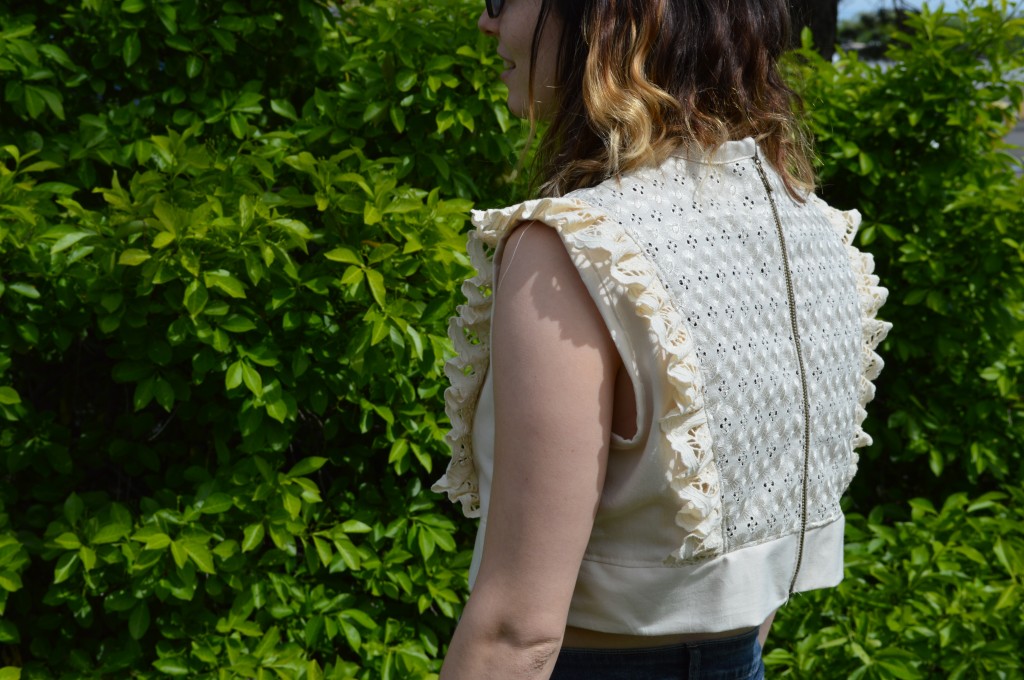
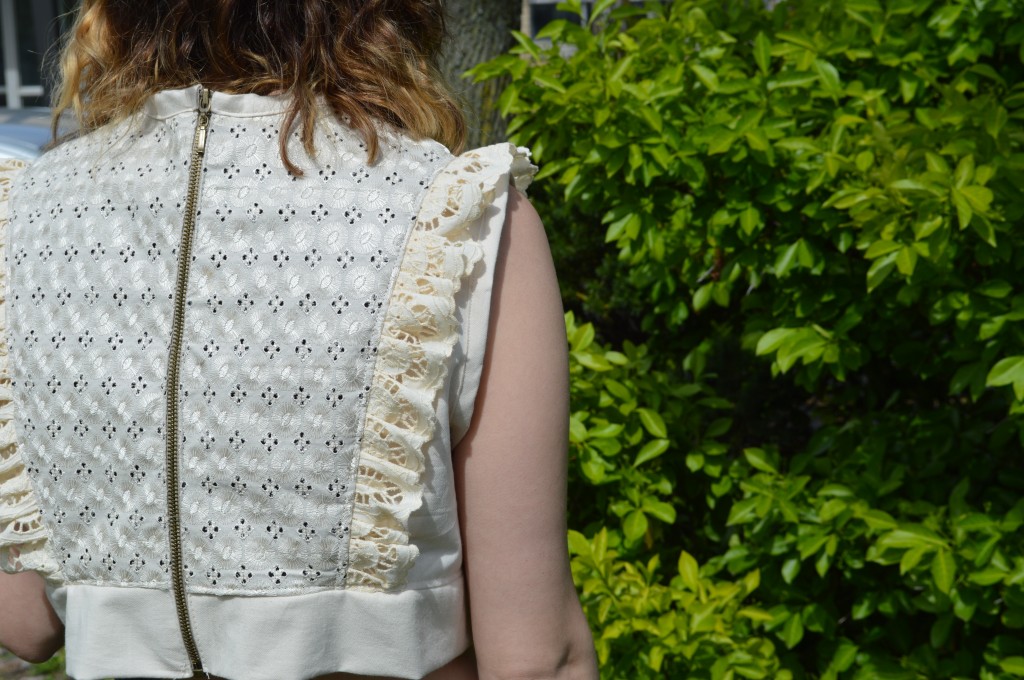
These types of ruffles work well along seams, making them terrific if you’re thinking of adding them to a pattern. For this crop top you could easily alter anything with princess seams, such as Simplicity 8345.
I cut the pattern at the waist, added the ruffles and a bottom band. It was made with 3/4 yard White Swan Cotton Chambray. The front and back panels are 1/2 yard Sand Classically Embroidered Cotton Eyelet, lined with an Italian black cotton shirting. The ruffles are a 3″ Italian ecru cotton eyelet trim.
2. Circle Ruffles
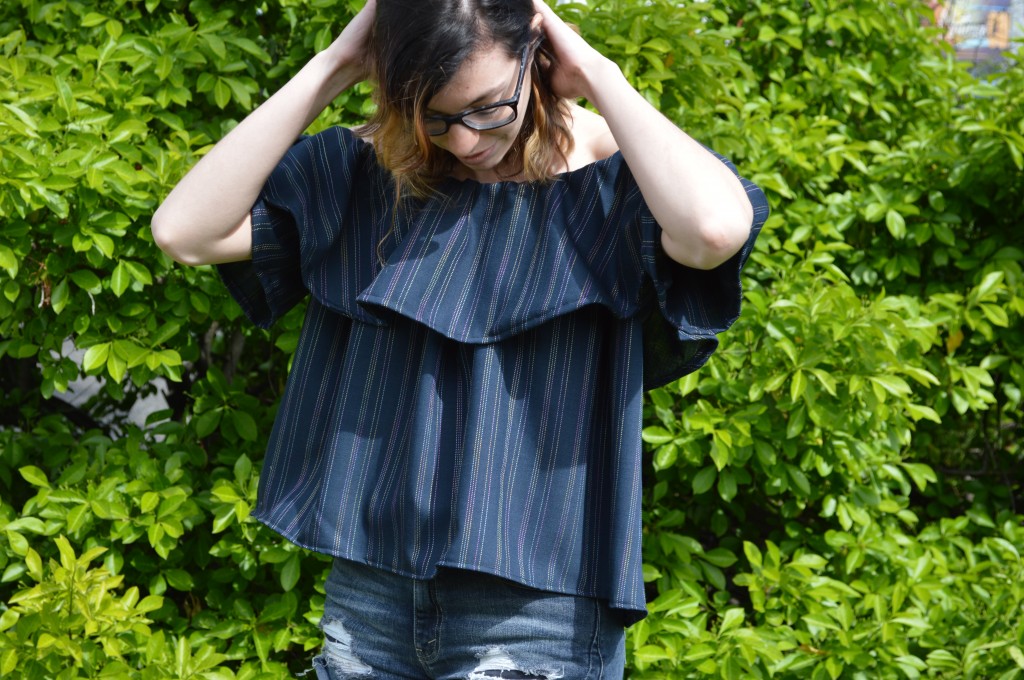
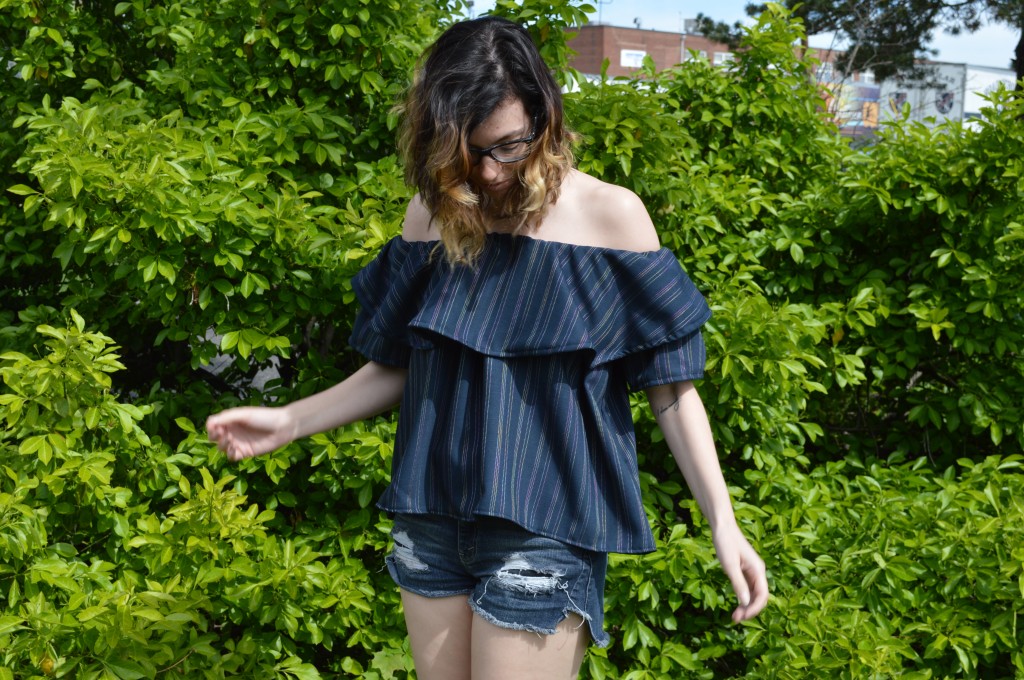
Off the shoulder shirts are making a comeback this Spring, so why not combine them with ruffles?
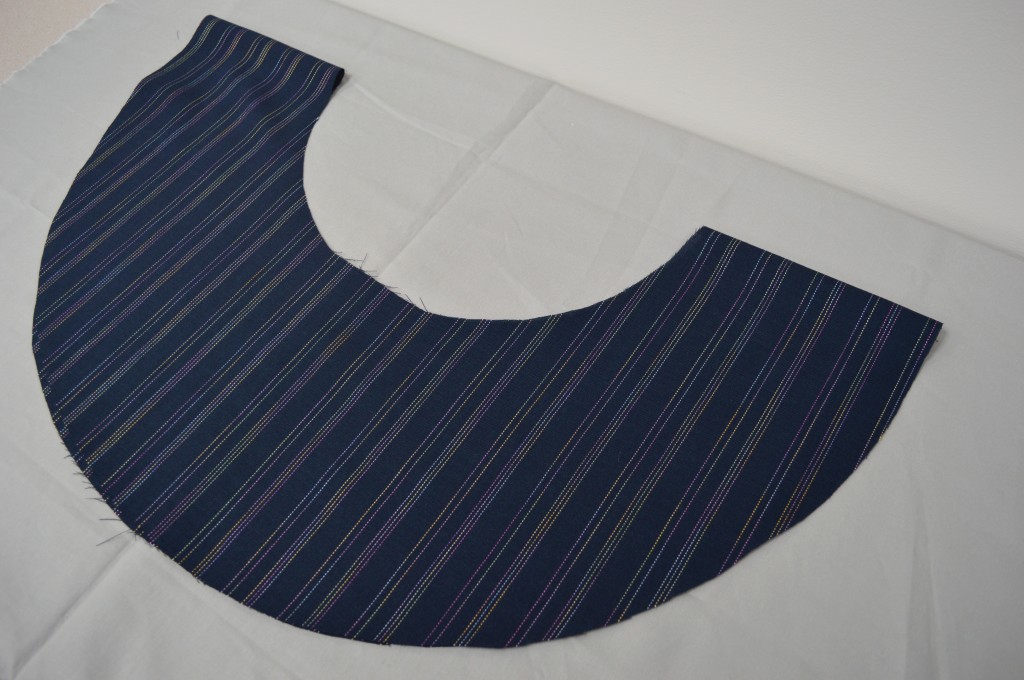
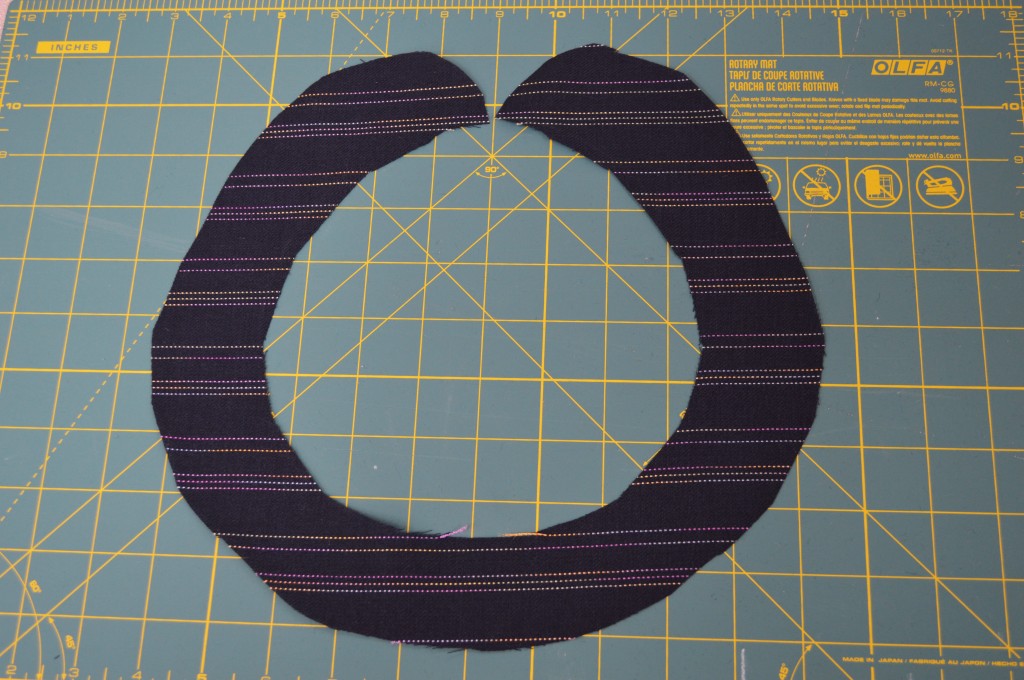
For a large ruffle like this, you essentially just need a small circle skirt shape. The inside of the circle should be about 3 inches larger than the circumference of your shoulders. On this shirt, the ruffle is about 8″ long in the front and back, and 6″ toward the sides.
This top called for 2 yards of a striped lightweight twill and a vintage pattern. It’s not completely unlike a renaissance blouse, or a trendy 70’s shirt. Simplicity 9582 is a great option as it gives several options for ruffle type and size.
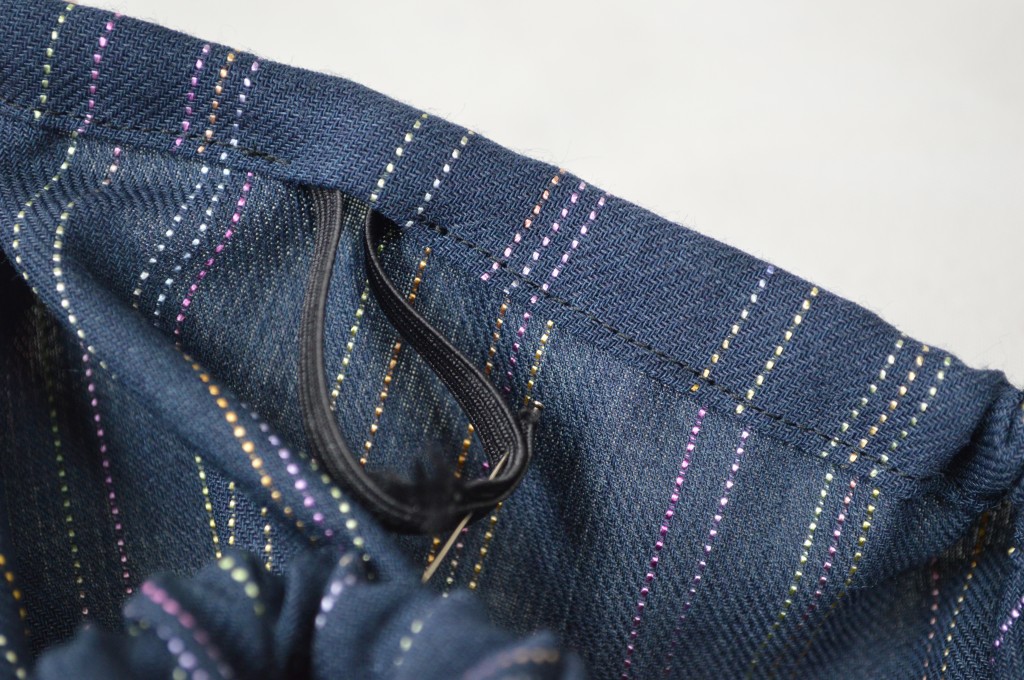
If you’re going the renaissance pattern way, however, there’s really only one alteration you need to do. Once your elastic is sewn into the neckline, skip the elastic in the waistband and sleeves. Instead, add the ruffle to the inside of the neck, so that the right side flips out, over the neckline.
3. Ruffle Finishes
If you’re looking to add delicate ruffles to hems or seams, you’ll be working with circle ruffles, but on a smaller scale.
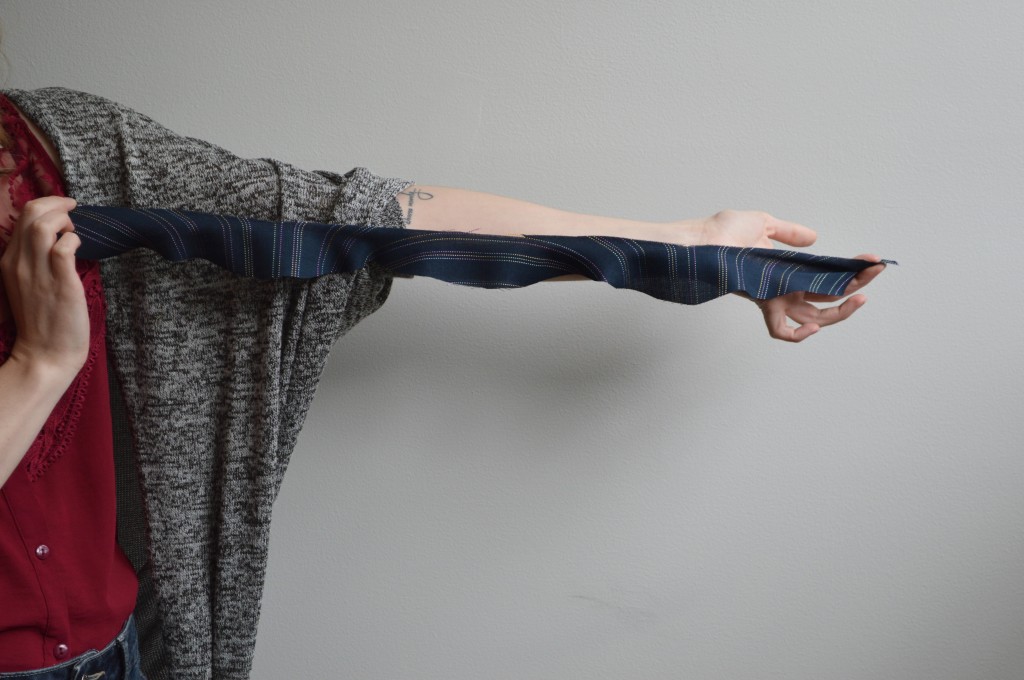
For these, the inside of the circle should always be the length of whatever you’re trimming. The tighter the circle, the more ruffled your trim will be when you pull it straight. For a ruffle that gradually fades, you can cut a spiral instead of a circle!


3 comments
Both of your tops are SO cute.
This is an awesome post, and I am inspired to add a ruffle to my next project. Love it!!
Thanks so much, I’m so glad you like them! Tag Mood in your next project – we’d love to see how it comes out!!
Absolutely Adorable!